
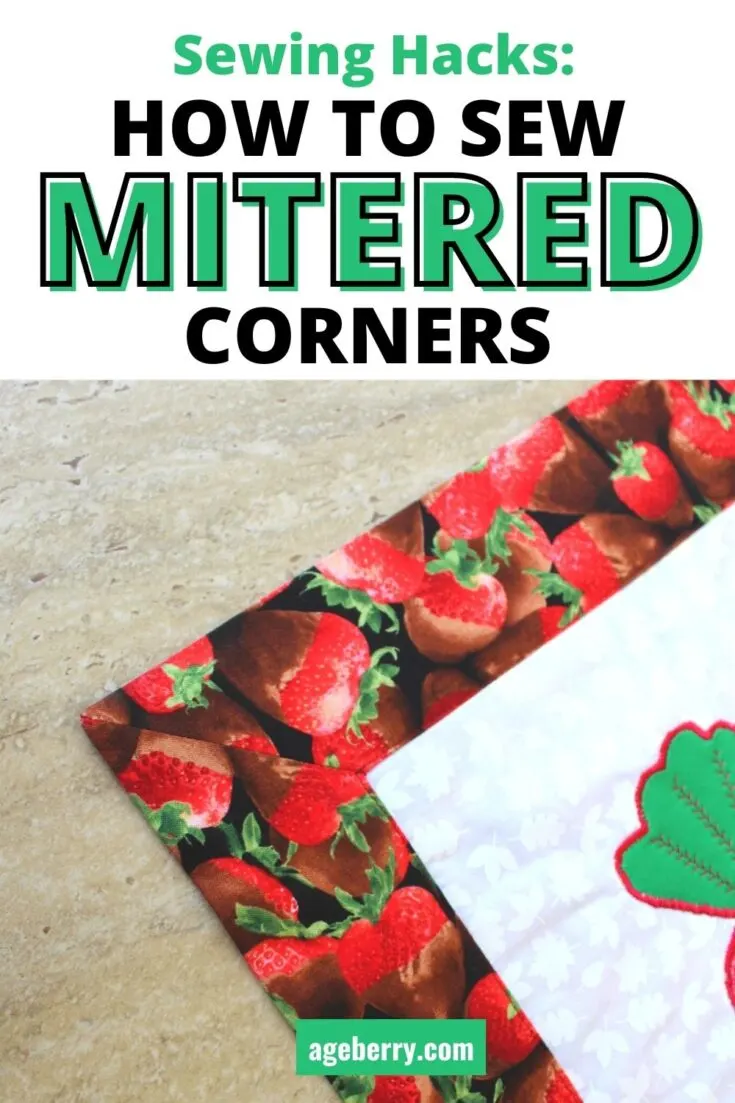
In this sewing tutorial, I will show you how to sew mitered corners and how to bind a quilt with mitered corners. Or better to say how I miter a corner. I started to do some quilting quite recently, for many years I was mostly sewing clothes and made embroidery.

So, I made a fancy table runner for Easter and needed to miter corners on this runner. I knew how to do it because I was always using this technique to sew skirt slits and coat facings. But I decided to check how professional quilters sew mitered corners. To my surprise, everybody was doing it differently from what I do. So check now how I am sewing mitered corners, maybe you will like this simple method and use it for your projects.
If you prefer to watch the tutorial you can see directly the video below ( 16:30 minutes) but I suggest reading about it first for a better understanding.

I am doing self-binding for my Easter table runner. For this, I cut the back fabric bigger than the top. I decided to make it bigger by 7.5 cm all around.
Note: Some of the links on this page are affiliate links. This means I will receive a commission if you order a product through one of my links. I only recommend products I believe in and use myself.
By the way, if you like to use the imperial system and measure in inches, use one of these measuring tapes that have inches on one side of the tape and metric (mm & cm) on the other. Look, 7.5 cm is 3 inches.

Find the number you want to convert and compare it to the same place on the other side of the tape. I bought a bunch of them some time ago and now I am well prepared for both inches and centimeters! You can of course buy them individually, but I find buying in bulk makes sense since if you sew, you always need one handy!
So, I will fold it over the top of the table runner and bind the raw edges, but also it will be an additional decor for the runner, right? That’s why I made it so wide. And it will be a really quick way to finish the project. From this 7.5 cm, I will use 1.5 cm for folding in raw edges and the final binding will be 6 cm wide.
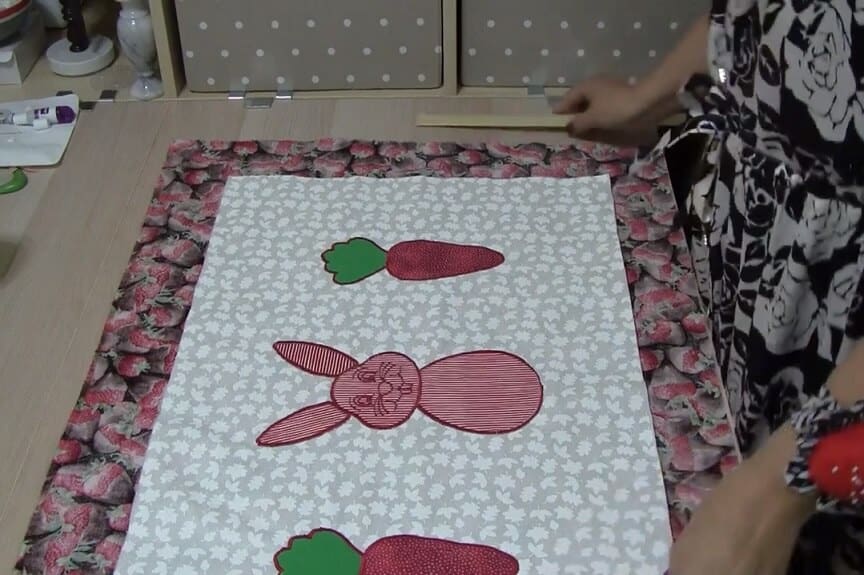
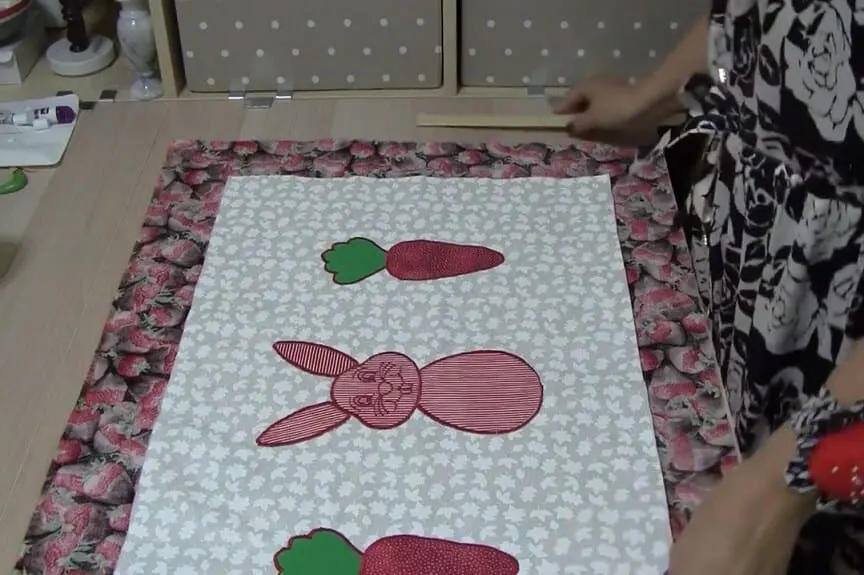
For this tutorial, I decided to take the top out and sew 2 of the 4 mitered corners just on the back fabric so it will be easier for you to see the method.
Step 1
Fold the corners together so the raw edges line up as I am doing now, the right sides of the fabric together. Align the edges very well.

Step 2
Now we need to draw a line exactly perpendicular to the raw edges line. For this find points on the folded line and on the raw edges line where the length of that line is exactly 7.5 cm – that was the number I wanted to use for my binding. If you wanted to use a different number you can do it.
Use a disappearing marker or another marking method that will not damage or stain the fabric.

Step 3
Fold the fabric along the line drawn in step 2 aligning raw edges as I am doing it in the video clip below.
Mark the fabric along the folded edge and draw a line.

Step 4
Find a spot on the marked line where the length of a perpendicular to the raw edges line is equal to the length of the seam allowances – 1.5 cm in my case. Mark the point.
This is our stitching line between these two points. Pin along this line to hold your fabric together so it doesn’t move while you sew.

Step 5
Do the same with another corner. It’s really very simple and fast but it’s not easy for me to describe it in words. But I hope you see how I am doing this (check the video clip below).

Like sewing tips? I have other popular tutorials on my site that might be interesting for you. Check them out below.


Step 6
Sew over the marked lines. You can start at the fold and sew toward the edge of your fabric, or start from the edge point and sew toward the fold, it doesn’t matter. What matter is securing the stitches in the beginning and in the end?

Step 7
Cut the excess fabric leaving ¼ inch seam allowances or 5-6 mm. Trim the corner seam allowances but be careful not to cut the corner. The purpose of the cuts is to remove excess material that would make folding and press difficult.

Step 8
Press the seam allowances open. For this, you will need a point presser. Otherwise, I don’t know how you can press these small seam allowances. Seams look so much nicer when they are pressed.

These are readily available, below are some examples from Amazon:


Step 9
Turn corners right side out. Here we have our perfect mitered corners.

Step 10
We have to fold edges to make the final binding. Mark the 7.5 cm seam allowances along all edges, fold the fabric in, and press.
Insert the tip into the prepared backing.

Step 11
I did show you how to make 2 mitered corners using just the backing fabric. Now I will show you how to sew the other 2 corners with the top fabric already inside. Pin the top to the backing, or you can baste it.
We are going to repeat exactly the same steps: Mark a perpendicular line, fold along this line, mark the new line, and stitch, cut, and press.

Step 12
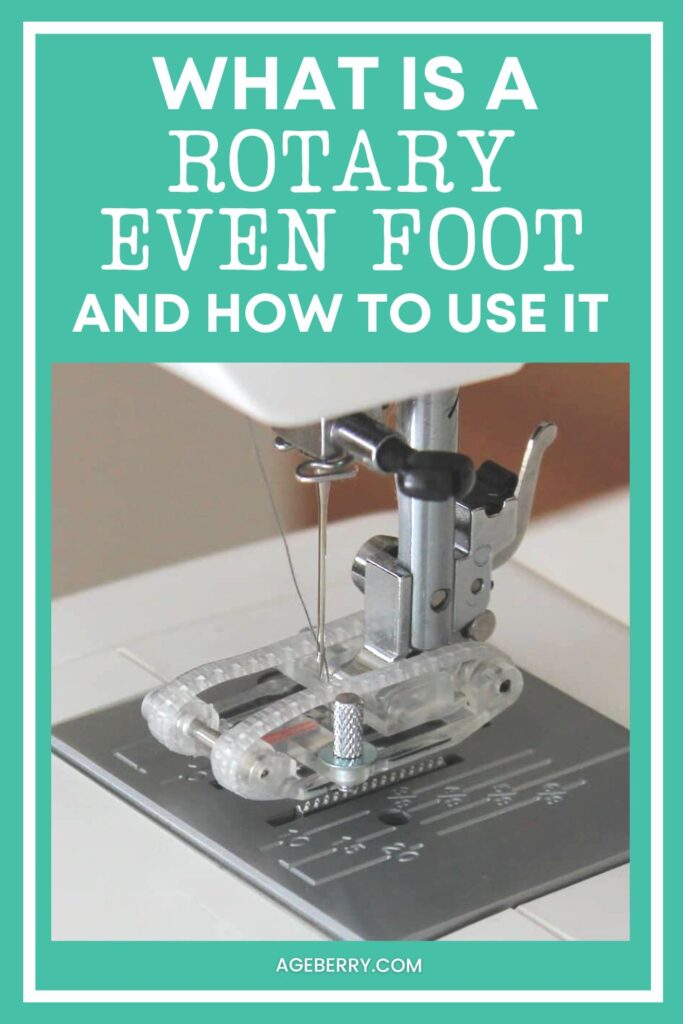
Now tuck the raw edges in (1.5 cm in my case ), pin and press. Topstitch all around using a walking foot so your layers will not shift. Or you can use a rotary even foot if you have one. Don’t know what it is? Check out my tutorial on using the rotary even foot.

This foot is available on Amazon too:


What do you think about this method? So simple, right? Are you going to use it?
I also published a step-by-step tutorial on making the table runner, so if you are interested check it out here.
Did you find this tutorial helpful? If so, save this pin (see below) on your sewing board so you can come to this tutorial later when you need to sew mitered corners and follow me on Pinterest for more tips, tutorials, and inspiration!


latest posts
- Think You Know Zippers? This Installation Guide Might Surprise You
- Why Does Your Seam Ripper Have a Red Ball? Discover Its Purpose!
- Topstitching Troubles? This Simple Trick Will Turn It Around Instantly!
- How to Sew Shirring: A Step-by-Step Guide to Elastic Thread Gathering
- Are Self-Threading Needles Really Useful?
- Amazon Spring Sale: Best Choices
- Elevate Your Prom Look: A Guide to 10 Neckline Choices (2024)
- No Pattern, No Problem: Turn Scraps into a Quilting Masterpiece
- Prom Perfection: A Guide to Choosing the Perfect Dress Color (2024)
