
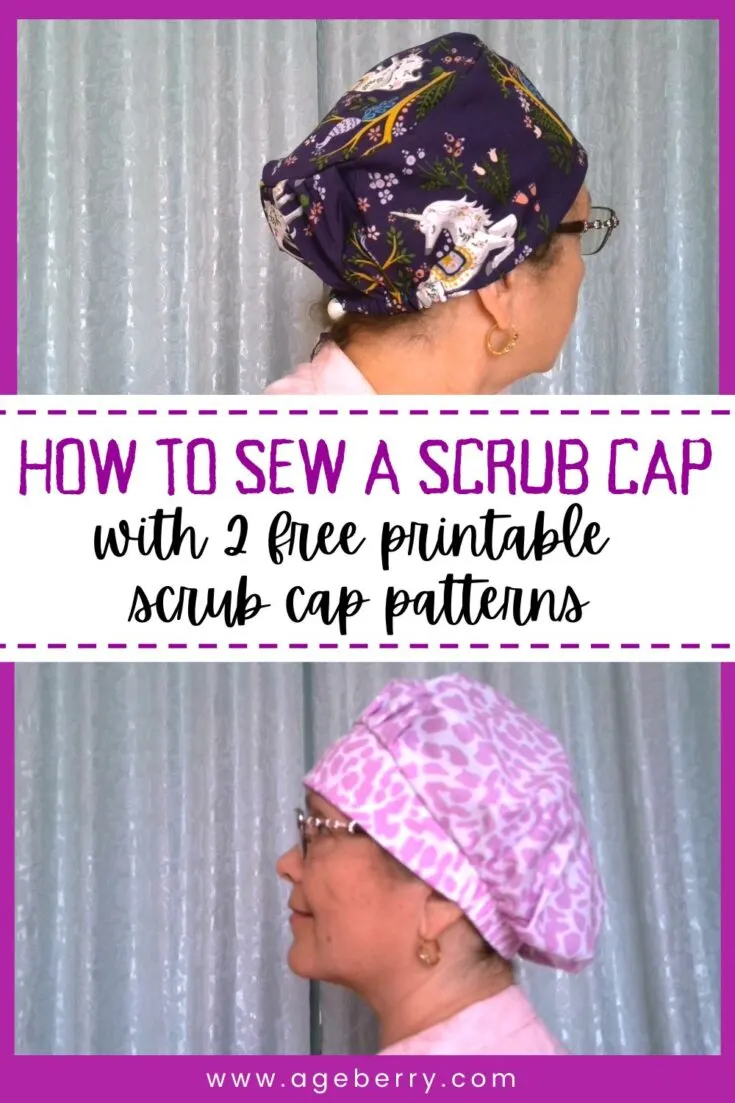
In this video sewing tutorial, I will show you how to sew scrub caps – I have 2 different styles and two free printable scrub cap patterns. They seem comfortable enough and are made to hold longer hair (they are made for medium hair). They both have a soft sweatband made from double cotton gauze to absorb sweat. They have some elastic for a comfortable fit around the head.
One size fits most – but you can adjust the size if you make these hats yourself.
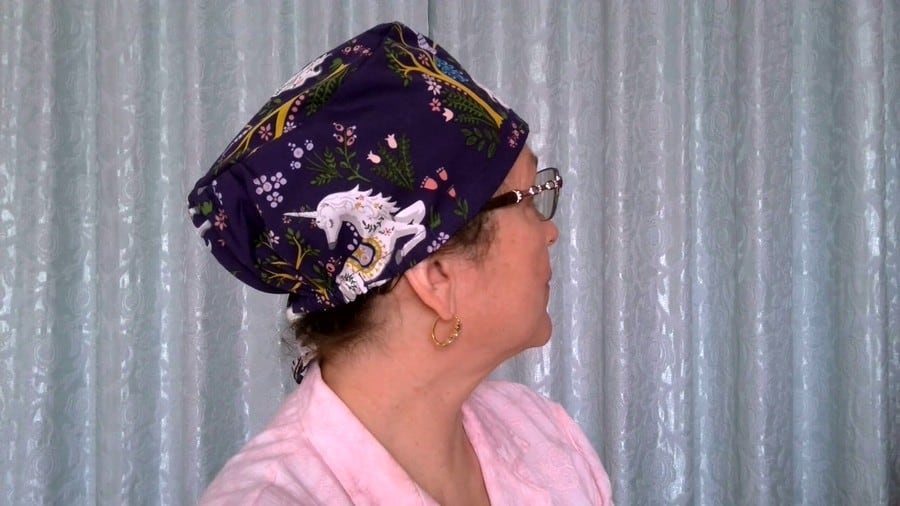
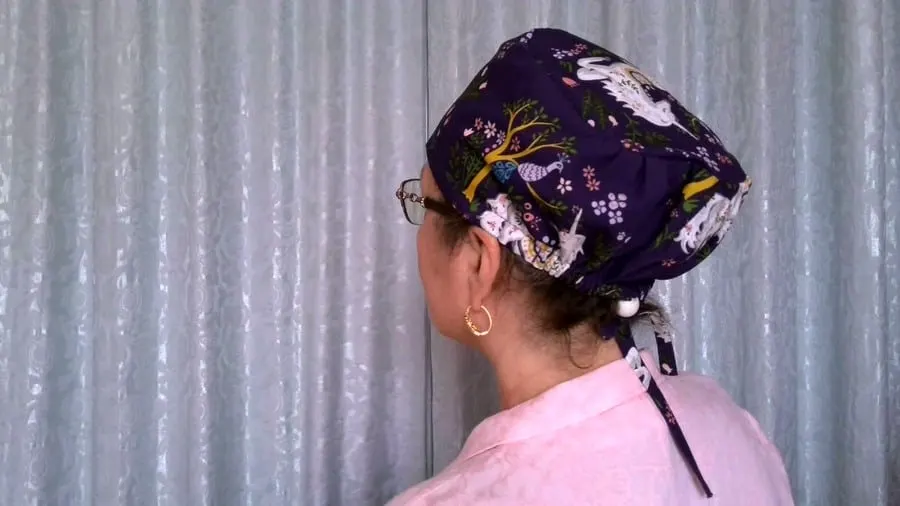
Surgical scrub cap A expands in the back to hold longer hair and can be easily adjusted in size in the back with a plastic stopper attached to drawstrings. You can tighten or loosen the hat without the use of knots while wearing gloves.


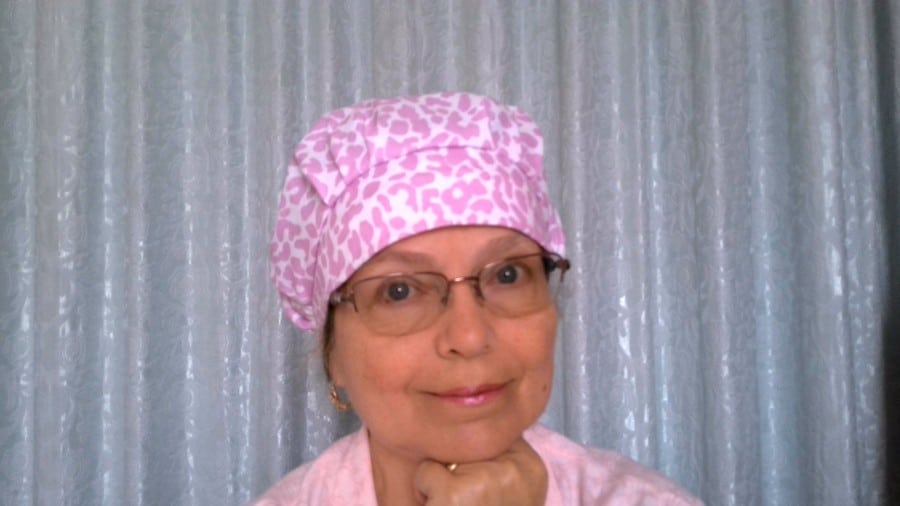
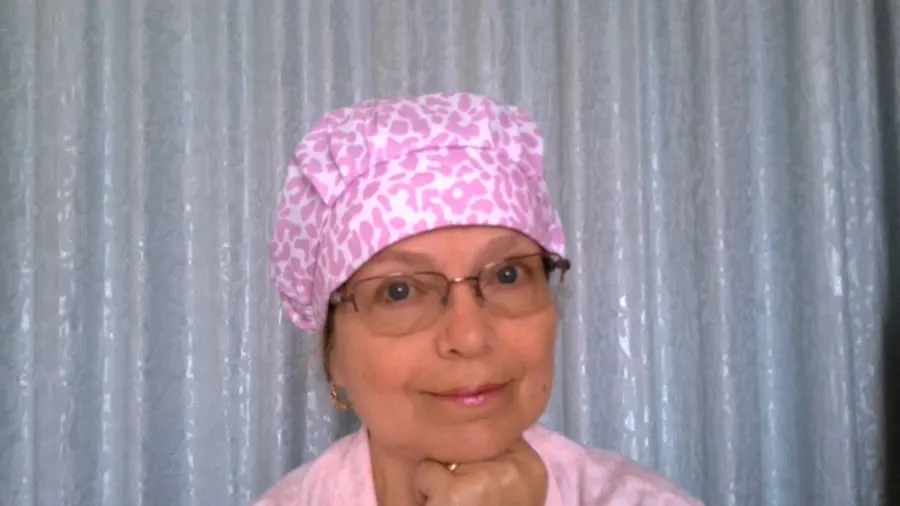
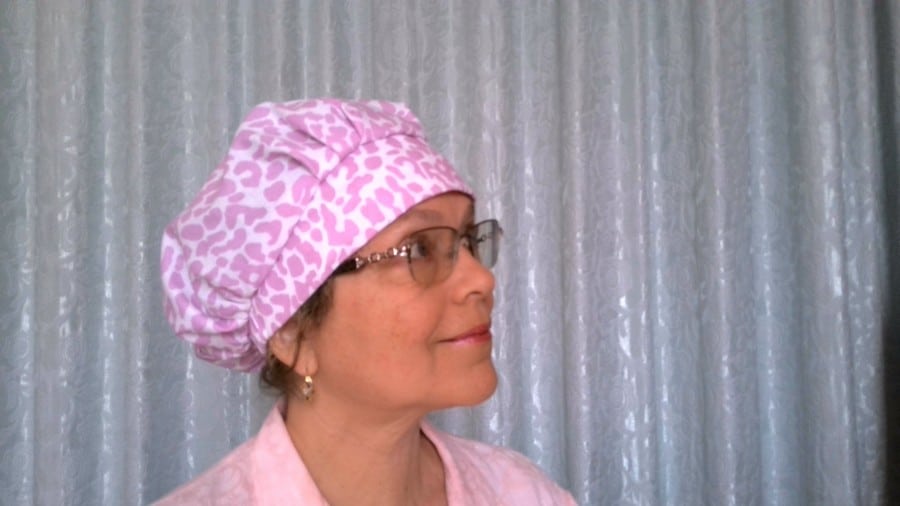
Scrub cap B is a hybrid of the standard surgical cap and the “old style” bouffant (as they call it). It has a flat headband on the front of the hat. Made to hold longer hair (medium hair).

Note: Some of the links on this page are affiliate links. This means I will receive a commission if you order a product through one of my links. I only recommend products I believe in and use myself.
What you’ll need to make scrub hats
- Cotton fabric ( preferably organic cotton)
- Small piece of cotton fabric for absorbent sweatbands
- Narrow elastic (about 15 inches long)
- Wide elastic (about 10 inches long)
- Cord lock – 1
- Regular sewing notions
The free printable scrub cap patterns PDFs are in my RESOURCE LIBRARY. Subscribe to my weekly newsletter to get access to the LIBRARY.
Read the full tutorial before starting.
Surgical scrub cap A
For this surgical scrub hat, I used organic 100% cotton fabric with Unicorns. It’s lightweight fabric but closely woven, feels absolutely luxurious. I made a well-fitted face mask from it and now I am making the scrub hat.
Just for your information, organic cotton plants are grown without pesticides and chemical fertilizers and when they dye the fabric they eliminate all materials harmful to the skin.
If you are new to using organic fabric in your sewing projects check out my article Organic cotton benefits.
If you would like to purchase organic fabric for your next project check out this online store that has quite a big selection of organic fabrics.
I also made sweat-absorbing sweatbands for my scrub hats. I decided to use double cotton gauze fabric for the sweatbands, the fabric is like cheesecloth and is super absorbent. I think you can also use a piece of thin terrycloth for this.
IT’S VERY IMPORTANT TO PREWASH THE FABRIC FOR YOUR PROJECT!
Step 1
Cut pattern pieces for the surgical scrub cap from the fabric of your choice
Seam allowances are included and they are ⅝ inch for main pieces.
So you should cut the following pieces:
Crown – 1 piece on the fold
Crown lining – 1 piece on fold
Top – 1 piece
Bias strip 14 inches long and 1 ¼ inch wide
For my bias strips, I use sometimes the width of my ruler – it’s easier to draw the strip this way.
Cut 1 piece for an absorbent sweatband from double cotton gauze or terrycloth – the size of the rectangle is 8 inches long and 3 inches wide.

Step 2
Make 2 buttonholes for inserting elastic.
Take the crown lining piece and find places for buttonholes. It’s the mark closest to the center front.
Attach 2 pieces of fusible interfacing to the wrong side of the lining. It’s always better to make buttonholes on interfaced fabric.
Mark the size of the buttonholes – for this take your elastic, measure how wide it is, and make the buttonholes slightly bigger than the elastic.
Find a button that size and insert it in your buttonhole presser foot. Or you can make the buttonholes by hand – it may be even faster because you need only two small buttonholes.
Cut the buttonholes. I am usually using my seam ripper to do it. Insert a pin so you don’t cut beyond the securing stitches. Cut threads using regular scissors.
Press your buttonholes after you are done cutting.


Step 3
Sew the center back seam on the crown and on the crown lining.
But leave 2 inches from the bottom UNSTITCHED.
Press the seams open.

Step 4
With the right sides together pin the crown and the crown lining matching all notches and make a stitch at the bottom part of the crown.
Cut seam allowances close to the stitching and press them on one side.

Step 5
Fold the rectangle we cut from the double gauze in half lengthwise and stitch (seam allowances around ¼ inch), turn it to the right side, and press. Finish the short raw edges with a zigzag seam and with a serger.
Attach the sweatband to the right side of the lining.
Turn the crown right side out and topstitch ½ inch from the edge.
Step 6
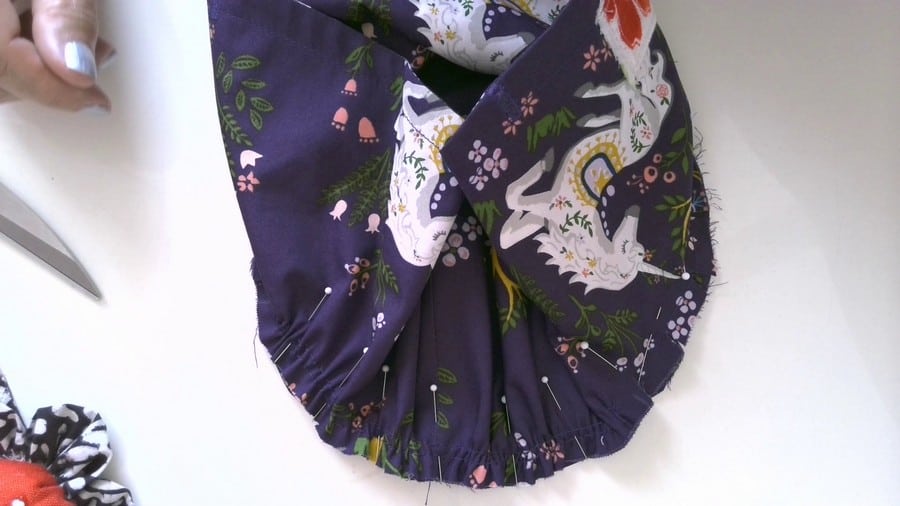
Now we need to baste the top side to the crown. Make a basting stitch through the center front and make two rows of gathering stitches from each notch to the back seam.
Gather the crown and make cuts in the other part of the crown (about ½ inch) around 1 inch from each other. These cuts will help us to attach the crown to the round top.

Step 7
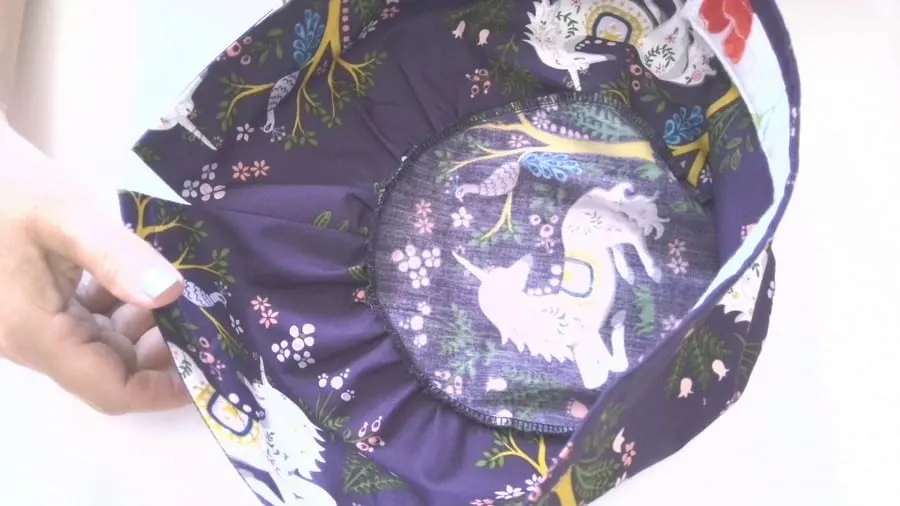
With the right sides together, pin the crown to the top, matching notches and having raw edges even. Distribute the gathers evenly.
Make a stitch.
Finish raw edges with overcasting stitches. By serger or by sewing machine. If you need to know how you can finish raw fabric edges without a serger check out my tutorial
Press seam allowances toward the crown.

Step 8
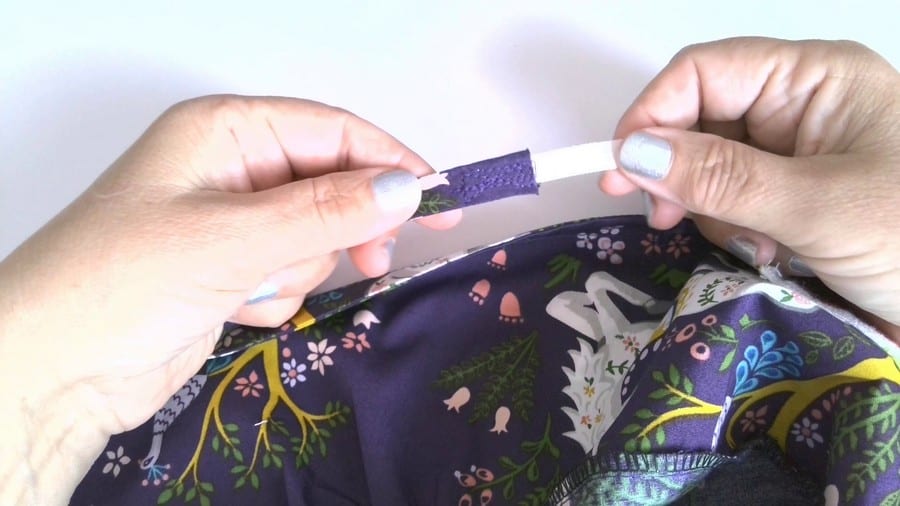
Sew the bias strip, turn it to the right side, and press.
Take 2 pieces of elastic about 5 inches long each and sew together the bias strips and elastic.
Using a safety pin insert the elastic with attached bias strips into the casing through the buttonholes.
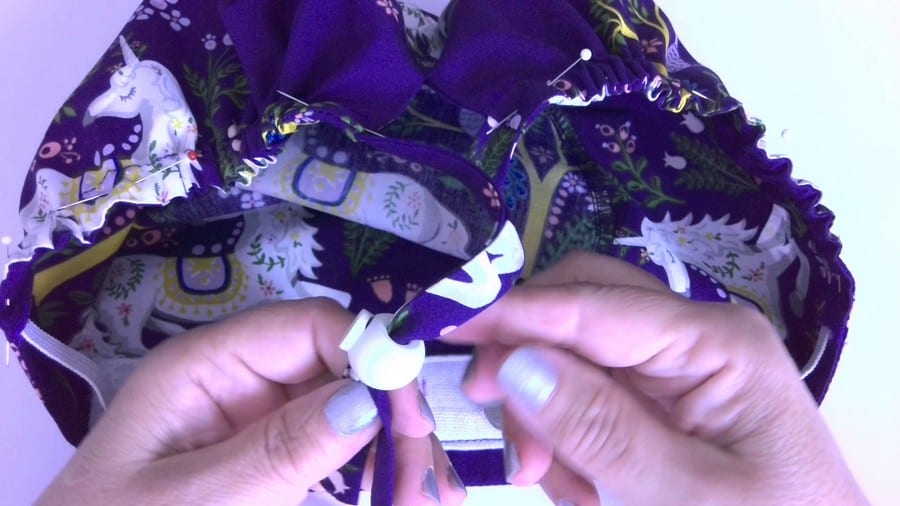
Gather the bottom part of the crown and try it on to check the fit.
Insert the bias strip ends into the stopper.
Surgical scrub cap B
For this surgical scrub cap, I used a piece of quilting cotton (100% cotton) and a small piece of double cotton gauze for the sweatband.
IT’S VERY IMPORTANT TO PREWASH THE FABRIC FOR YOUR PROJECT!
Step 1
Seam allowances are included and they are ⅝ inch for main pieces.
Cut the piece for the band on the fold.
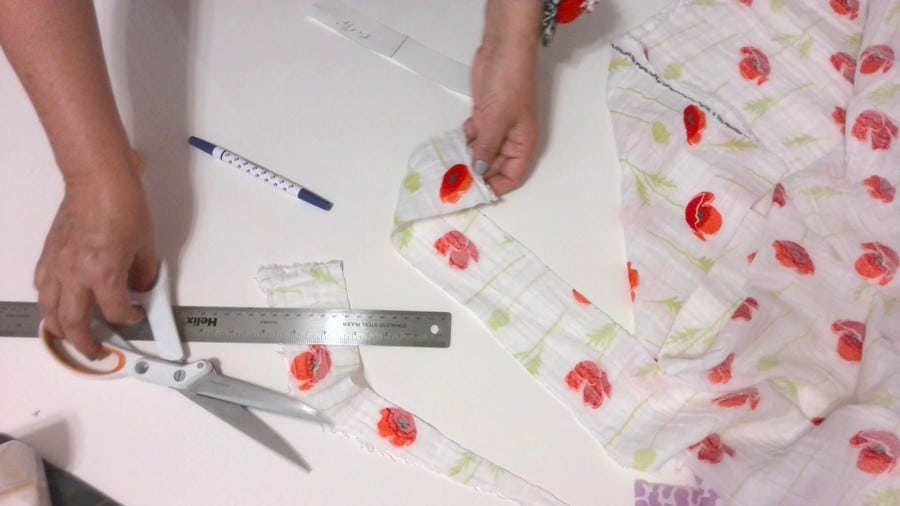
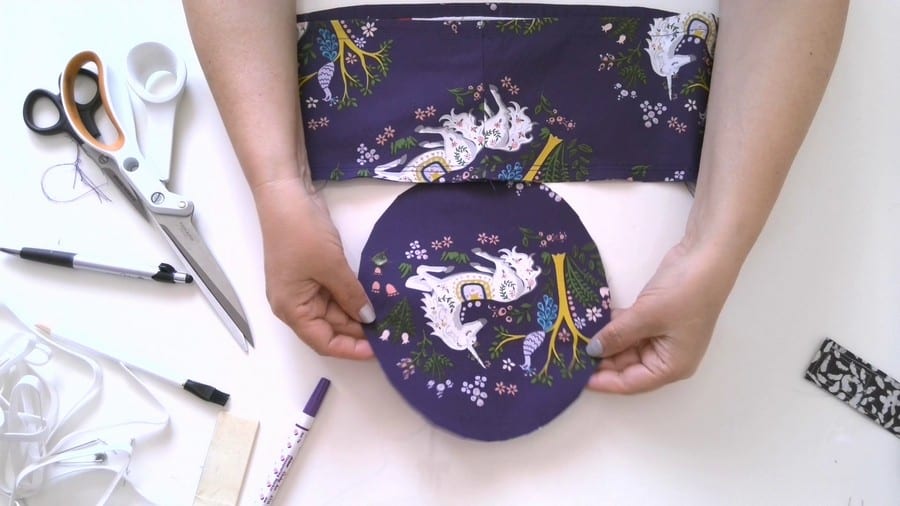
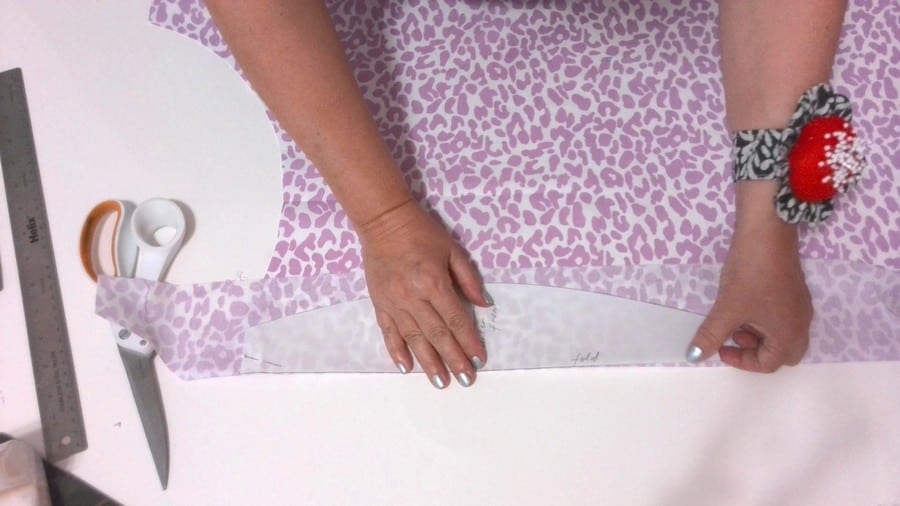
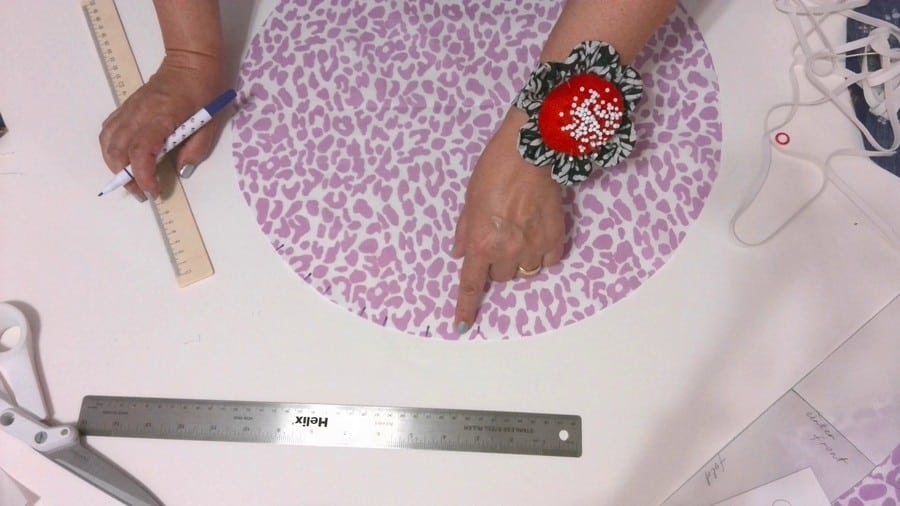
Cut a circle from fabric with a radius of 8 (for shorter hair) or 8.5 inches (for longer hair). I didn’t make a separate pattern for the circle because it’s very easy to do it right on the fabric.
Fold the fabric like I am showing here and measure 8 (for shorter hair) or 8.5 inches (for longer hair) from the point in the corner. I made mine 8.5 inches.
Cut also a rectangle 18 inches long and 3 inches wide.
Cut 1 piece for an absorbent sweatband from double cotton gauze or terrycloth – the size of the rectangle is 8 inches long and 3 inches wide.
Step 2
Fold the rectangle we cut from the double gauze in half lengthwise and stitch (seam allowances around ¼ inch), turn it to the right side, and press. Finish the short raw edges with a zigzag seam and with a serger.
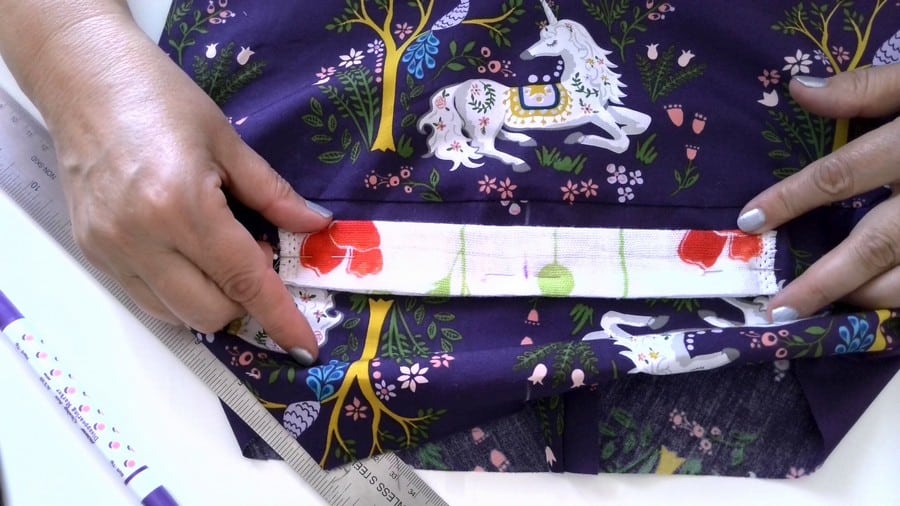
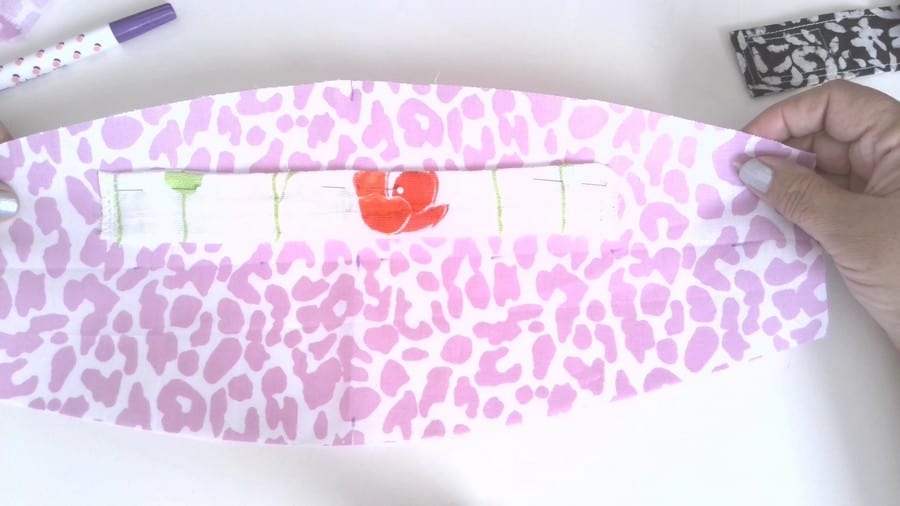
Attach the sweatband to the band as you see it here.

Step 3
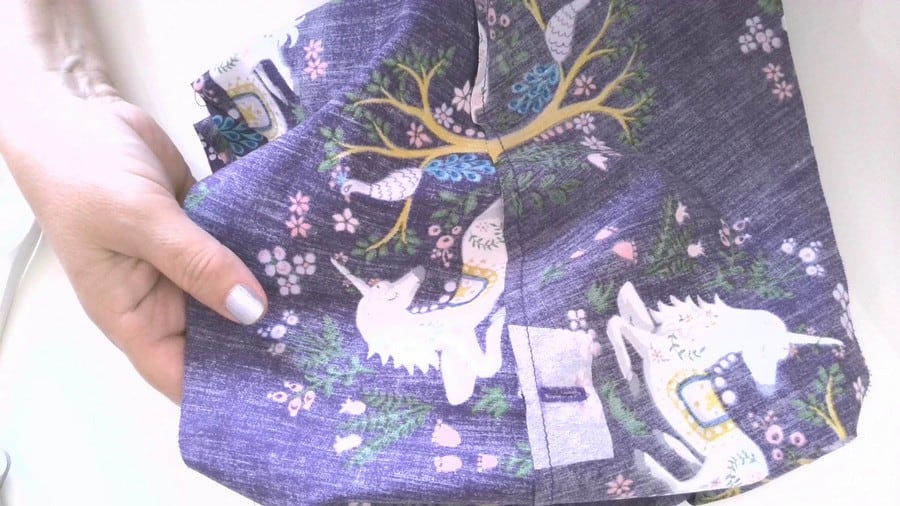
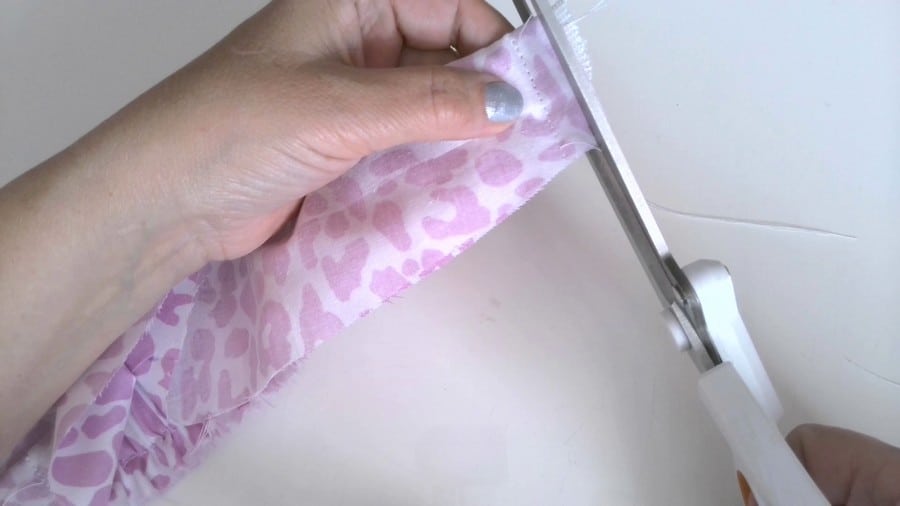
Fold the rectangle piece of the fabric (18” x 3”) in half lengthwise WRONG SIDES TOGETHER and make a stitch for the casing to insert elastic. I used ⅞ inch wide elastic.
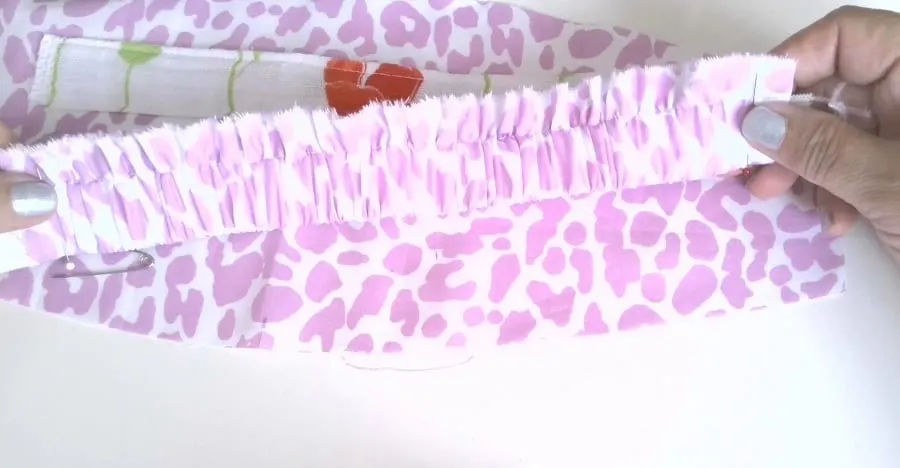
Insert a piece of elastic 10 inches wide.

Step 4
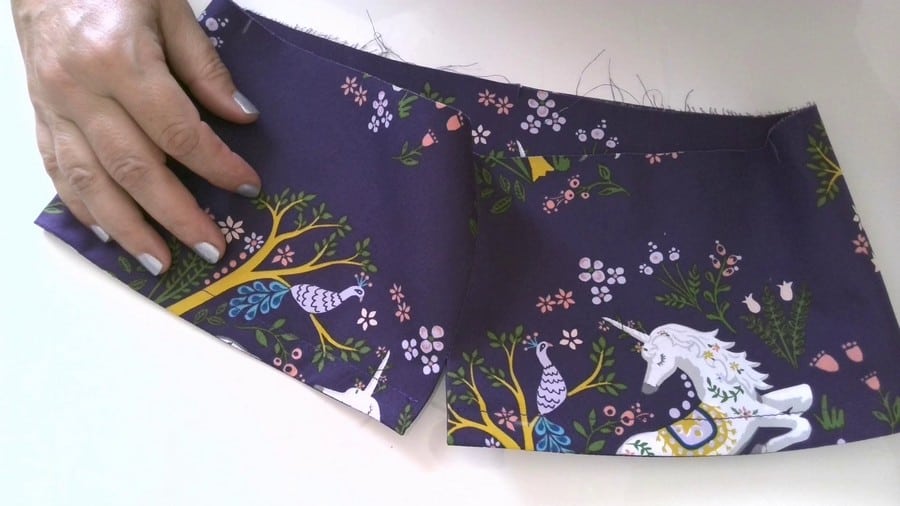
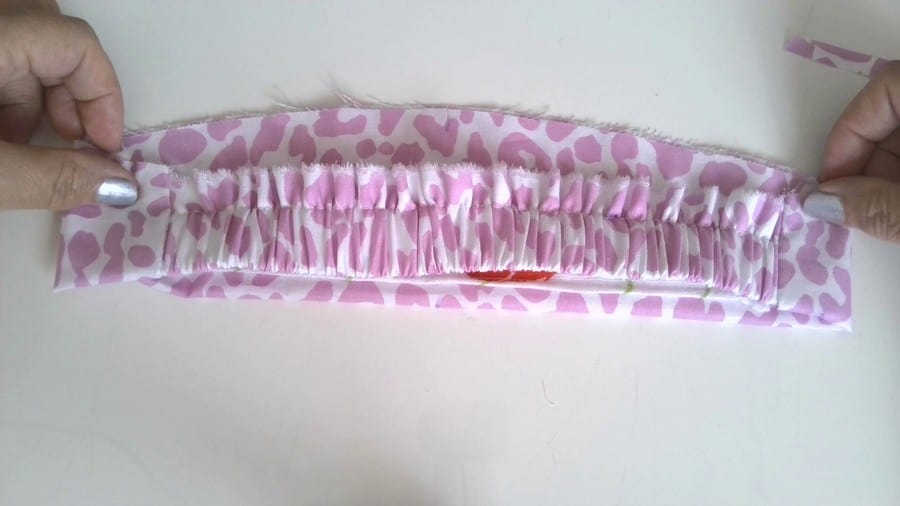
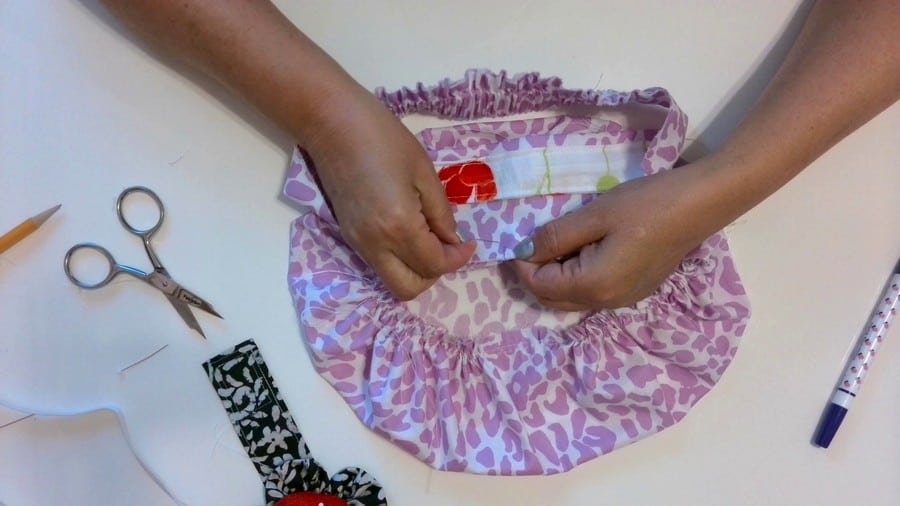
Pin the band with inserted elastic to the sides of the front hat piece like you see it here. You need to try on this headband to see how it fits. So baste those pieces (instead of pins) so you can try it on safely.
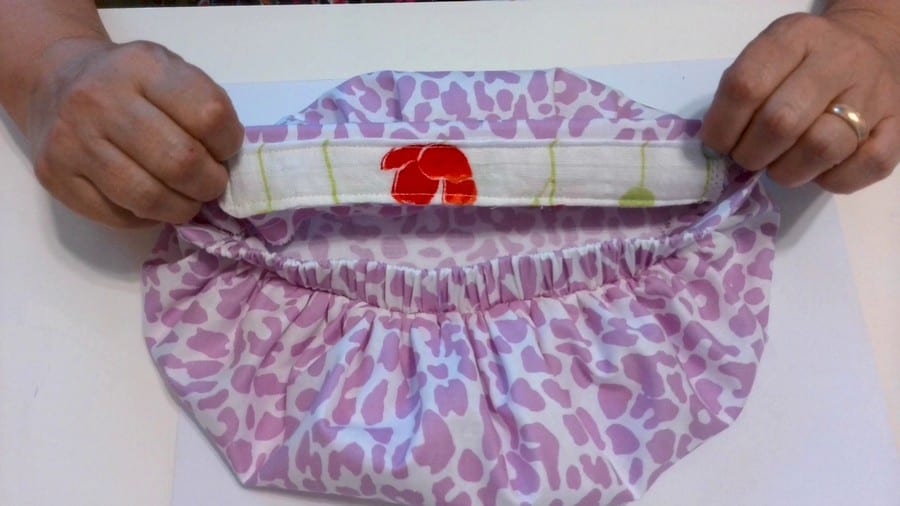
Turn the band to the right side to try it on and to check the fit and the size of the elastic.
Adjust the length of the elastic for a better fit (not too loose, not too tight either)
Sew the ends of the elastic to the hat band.
Step 5
Now let’s work with the hat top (which is a circle).
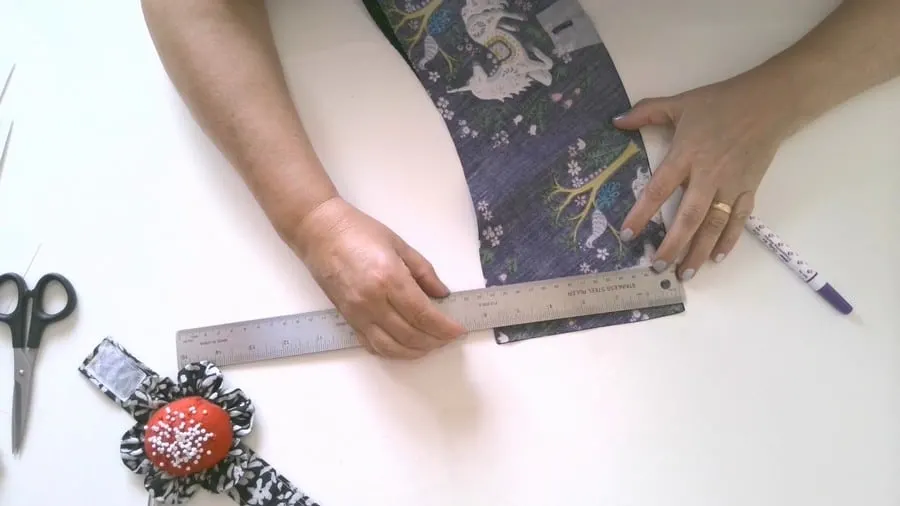
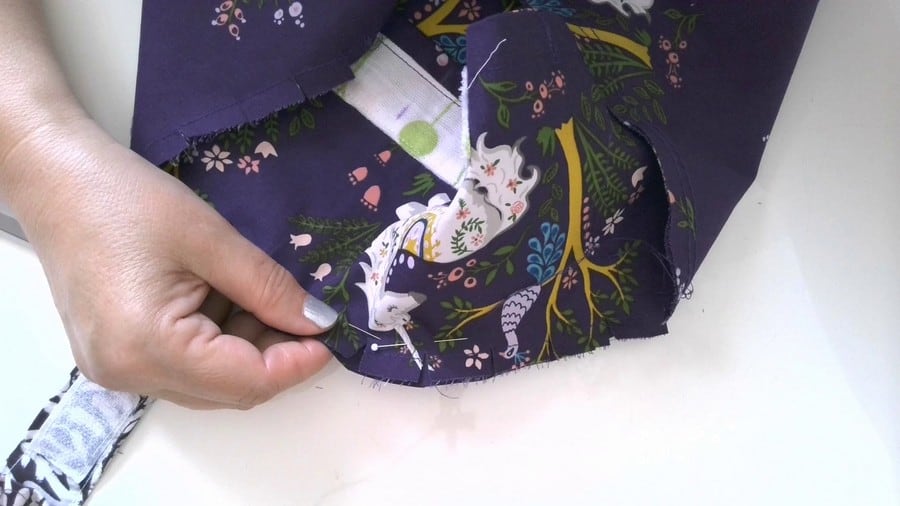
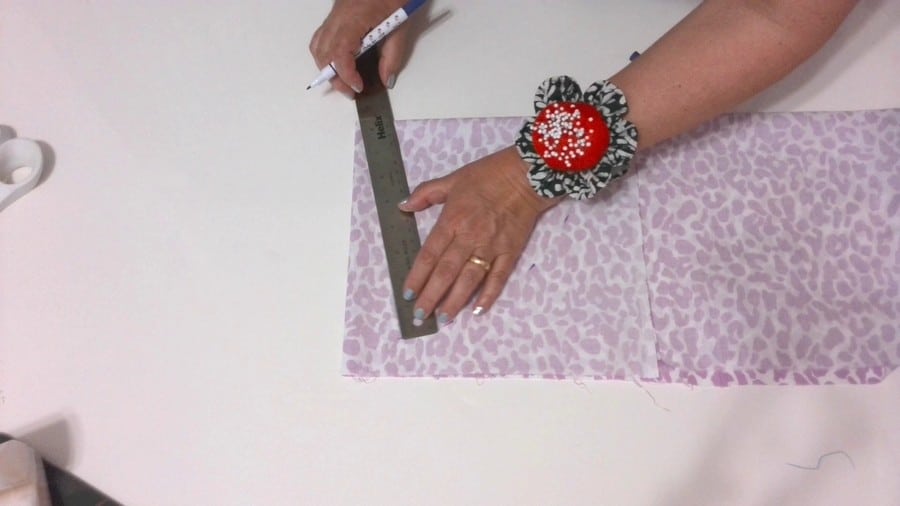
Make 3 pleats on each side from the center front. In the video, I am using my ruler in centimeters. I just didn’t have time to count all these 7/16 and ⅝. But here I will give you numbers in inches which are slightly different (but it doesn’t really matter for the hat)
So, measure from the center front 11/2 inches (I did exactly 1 and 9/16 inches). The next measurement is the size of the pleat and it’s 1 3/8inch. Make the distance between the pleats ¾ inch (mine was ⅞).
Here is the image showing the pleats on one side. Mirror them on the other side. Make a stitch to hold the pleats in place.
Step 6
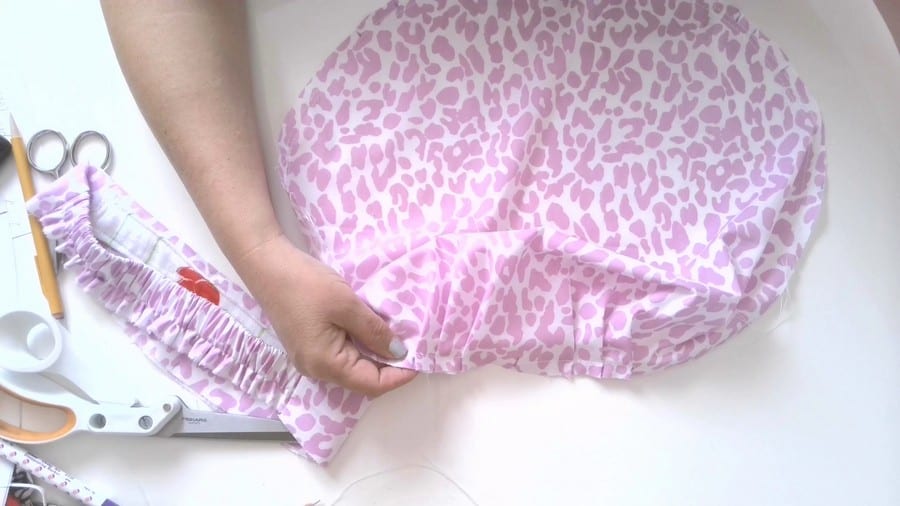
Make 2 rows of gathering stitches on the other part of the circle starting about 3 inches from the last pleat. Gather the fabric.

Step 7
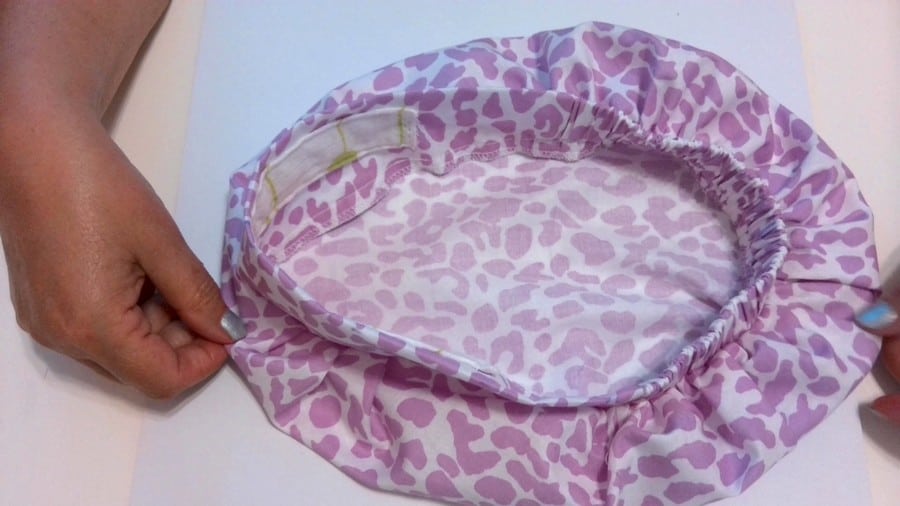
Pin the top to the band matching notches and having raw edges even. Seam allowances are ⅝ inch. Distribute gathers evenly.
Make a stitch.
Finish raw edges of the hat using your serger or an overcasting stitch of your sewing machine.


If you prefer to watch the tutorial here is the link to my YouTube video.
Did you find this tutorial helpful? If so, save this pin (see below) on your sewing board so you can come to this tutorial later when you are ready to sew your own surgical scrub caps with sweatbands and follow me on Pinterest for more tips, tutorials, and inspiration!

Ready to take the next step in your sewing journey? Check out more step-by-step tutorials from my blog and don’t forget to share!


latest posts
- Think You Know Zippers? This Installation Guide Might Surprise You
- Why Does Your Seam Ripper Have a Red Ball? Discover Its Purpose!
- Topstitching Troubles? This Simple Trick Will Turn It Around Instantly!
- How to Sew Shirring: A Step-by-Step Guide to Elastic Thread Gathering
- Are Self-Threading Needles Really Useful?
- Amazon Spring Sale: Best Choices
- Elevate Your Prom Look: A Guide to 10 Neckline Choices (2024)
- No Pattern, No Problem: Turn Scraps into a Quilting Masterpiece
- Prom Perfection: A Guide to Choosing the Perfect Dress Color (2024)
