
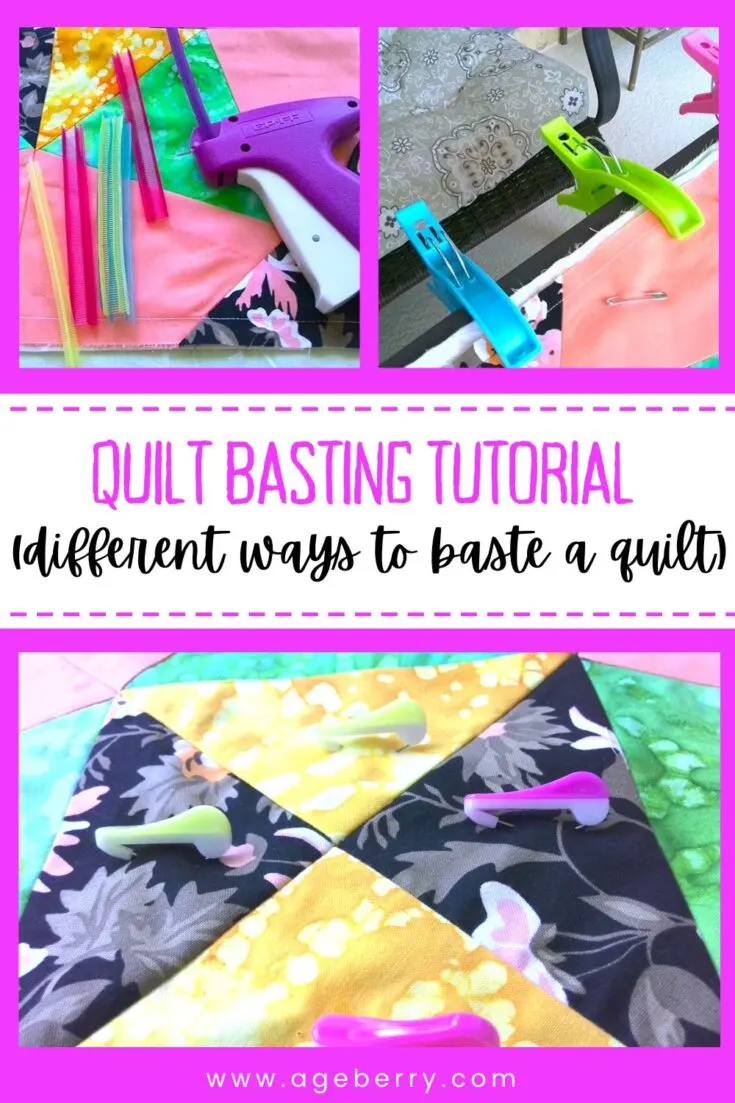
This tutorial is focusing on different ways of quilt basting.
You’ve just spent a month or maybe a year crafting that most beautiful quilt top, but what happens next?
If you’re new to the art of quilt-making, you must acquaint yourself with the basting process. Basting takes place after your quilt top is complete, and you’re ready to add batting and backing. To keep all three layers lined up and wrinkle-free, you must baste them together before quilting (by sewing machine or by hand).
The only time you won’t need to baste a quilt is if you’re quilting it on a long-arm quilting machine.
There are several popular methods textile artists use to baste quilts. In fact, if you ask a hundred different quilters how to baste a quilt, you just may get a hundred different answers.
Every experienced quilter has its favorite quilt-basting technique. Therefore, choose the one that works best for you and own it.

How to Baste a Quilt
There’s a quilt-basting technique to suit every quilter, from the most meticulous sewist to those who just want to get the process over and done, including:
- Spray Basting
- Gun Basting
- Pin Basting
- Board Basting
- Pool Noodle Basting
- Thread Basting
When most people think of quilt basting, they picture the thread method that uses long, loose stitches to hold the three layers together securely. Thread basting is the oldest method and the one your great-great-great grandmother probably used when she stitched those quilts of necessity. Modern times call for modern measures, however, and today’s quilters are all about finding the simplest means to the end. After all, a finished quilt is always better than a perfect quilt, and it’s all the little idiosyncrasies that add charm and individuality to every project.
In other words, don’t be afraid to adopt the method that’s easiest for you. There’s no wrong way to baste a quilt so long as your method holds all the layers of the quilt “sandwich” together securely throughout the quilting process.


Note: Some of the links on this page are affiliate links. This means I will receive a commission if you order a product through one of my links. I only recommend products I believe in and use myself.
How to Baste a Quilt Using Quilt-Basting Spray
Basting spray may be the best invention ever created for quilters who want to shave that extra hour or two off the preparation process. Spray baste is essentially a low-stick adhesive that you spray between the layers of your quilt to hold them together instead of using pins or thread. Basting spray holds the layers securely, but it’s also able to be repositioned. This means you can lift a layer and reposition it after spraying, in case you missed a fold or wrinkle.
To baste your quilt using basting spray, you’ll need the following:
- A large, flat surface such as a cutting table, kitchen table, or even a wood floor
- A protective cloth, such as an old flannel sheet, to keep adhesive off your workstation
- Your quilt’s backing
- Your quilt’s batting
- Your quilt top
- Basting spray
To begin, cover your workstation with your protective cloth and clamp or tape it in place. Flannel adds the perk of holding your backing securely, so there’s no need to pin or clamp the backing before you begin. Otherwise, you’ll need to secure your backing in place with painter’s tape or basting clamps.
Next, lay your quilt backing, right side down, on the protective cloth and use your hand to flatten all wrinkles and fold.
Place your batting, folded or rolled, at the edge of your backing, and work in sections to apply the adhesive. In other words, you’ll spray a small section of the backing, then stretch the batting over it, unfolding it as you go. When you’re done, your batting will be securely attached to your backing.
Repeat the process with your quilt top, spraying the batting as you go and unfolding the quilt top, right side up until the whole quilt has been securely sandwiched. At this point, your quilt layers are basted, and it’s time to begin quilting.
Basting Spray FAQs
Is basting spray safe for baby quilts?
When using any type of basting spray, you should wash your quilt before gifting it. Does quilt basting spray wash out completely? Yes, it does. Quilt-basting spray washes easily away and does not leave a residue that is harmful to babies.
Does basting spray stick to your skin?
Quilt-basting spray may adhere to your skin if you’re not careful. If you’re wondering how to get basting spray off the skin, regular cooking oil works wonders. Simply “wash” your hands in the oil, allow the oil to set for a few minutes, then wash away with dish detergent. This should remove the worst of the spray baste. Additional methods include using petroleum jelly or a commercial adhesive remover such as Goo Gone.
Can you spray baste a large quilt?
You can use basting spray on every size of the quilt, however, you may want to enlist the help of a friend to help you smooth and unroll the layers as you work. When considering how to spray baste a large quilt, it’s important to remember to use a large surface, such as the floor. Simply stretch your layers out flat, as you would a smaller quilt, and then position a friend across from you to help you smooth and flatten each layer.
Can I use my kitchen table to baste my quilt?
Wondering how to spray baste a quilt on a table? It helps to have a table that’s larger than the quilt. But if your quilt is larger than your table, then you’ll have to work in sections to make sure all layers are smooth and wrinkle-free as you work. Start in the middle of your quilt and work outward from there.
Benefits of spray basting vs. pinning?
The biggest benefit of spray basting your quilt instead of pinning it is the time you’ll save. It may take an hour or more to pin-baste a quilt, while spray baste can be applied in minutes. Spray baste does require washing afterward, however. And if you’re someone who is sensitive to chemicals, pinning or thread-basting may be a better option.
Can I make my own basting spray?
You can make your own quilt-basting spray using a simple recipe like the ones listed below. You’ll need the ingredients listed, along with a clean, empty spray bottle.
Types of Quilt Basting Spray
Quilters swear by their basting spray, and once you find the one you like best, you’ll likely feel the same way. The more popular brands of basting spray include:
Dritz Basting Spray
Dritz Quilting Spray Adhesive has mostly good reviews, but can be a bit pricey. Currently, a 5.62-ounce bottle on Amazon will run you around $26. Quilters mostly love this spray, but a few did mention that it may stain or become gummy on delicate fabrics. Be sure to test Dritz brand basting spray on your fabric before using it on your quilt.
Spray N Bond Quilt Basting Spray
A 7.2-ounce can of Spray N Bond Adhesive Spray by Therm O Web costs around $10-15 at most retailers, which makes it a popular, affordable choice for quilt basting. This basting spray has thousands of reviews on Amazon, and most who have used it were happy with its performance. Some did mention that they could only baste a single quilt per can, however.
Sullivan’s Quilt Basting Spray
Sullivan’s Quilt Basting Spray has over 200 reviews on Amazon and has garnered 4 out of 5 stars, overall. A 13-ounce can run you around $15, however, and some who used it say it’s too sticky and leaves a gummy residue on the sewing machine needle. Most who have tried it were happy with its performance.
505 Quilt Basting Spray
505 Basting Spray by ODIF is a fan favorite among quilters because it’s easy to use and does the job well. Those who use it rave over how it’s perfectly tacky and leaves no residue behind. 505 is pricey, however, and a 12.4-ounce can run upwards of $20.
Hobby Lobby Quilt Basting Spray
June Tailor basting spray, sold at Hobby Lobby and other craft retailers, is an affordable choice for quilters at around $8.50. However, some say the new formula has an unpleasant odor. Those who’ve used it say it works well, but suggest venting the room properly before using.
How to Baste a Quilt Using a Quilt Basting Gun
If you’re new to quilting, using a gun, such as a Quiltack basting gun, may revolutionize your life. A quilt basting gun makes quick work of the basting process at the onset. There’s no spray required and no meticulous placement of straight or safety pins. You simply aim and shoot, and tiny plastic tags hold the layers of your quilt sandwich securely together.
A basting gun for quilting looks and functions exactly like the tagging guns used in the retail industry to attach cardboard price tags to clothing. The major difference is the length of the individual tags. The tags used in a Quiltack basting gun and others like it are short, just a fraction of an inch long. As a result, they hold the three layers of the quilt sandwich closely together.


Pros and Cons of Quilt Basting Guns
Much like other quilting supplies, the artists who use a basting gun for quilting have strong opinions about them. That’s to say, they either love them or hate them, with little in-between. Quilt basting guns have both advantages and disadvantages, accordingly.
- They speed up the sandwiching process.
- Adversely, they slow down the finishing process because you must cut away each individual tag after the piece has been quilted.
- They require the repetitive pulling of the gun’s “trigger,” which may irritate conditions such as arthritis or tendonitis.
- Both the gun and the refill tags are inexpensive.
- Eventually, the gun’s needle will need replacing
The Process
To use a basting gun for quilting, sandwich your quilt as you normally would. This means stretching and clamping the backing to a flat surface, right-side-down. Then, layer your batting on top with all wrinkles and folds smoothed out. Last, place your quilt top, right side up, on top of the sandwich. Make sure you have extra inches of batting and backing on all sides of your quilt top to allow both to draw inward as you quilt.
Next, load your Quiltack basting gun with quilting tags and begin basting in the center of your quilt. Shoot the tags through the quilt, making sure they pierce every layer. Place tags no more than one hand’s width (4 inches) away from each other, all over the quilt, working from the center out to the borders on all sides.
Once you’ve finished using your basting gun for quilting and have finished quilting your piece, use scissors to snip away each plastic tag and toss it in the trash.
Several quilt basting guns are fan favorites among experienced quilters, including:
- Quiltack basting gun
- Amram Quilting basting gun
- Dritz quilt basting gun
- Micro Stitch basting gun
You can purchase many types and brands of basting guns on Amazon. You may also find your quilting basting gun at Joann Fabrics or in the basting gun section of Michaels. These retailers also sell the basting gun fasteners needed to use your basting gun for quilting.
How to Baste a Quilt Using Safety Pins
Safety pins are a tried-and-true method of basting a quilt securely, but if you use the wrong type of pin, you’ll wish yourself luck. Regular safety pins, the ones that feature two straight sides and a tip that’s moderately sharp don’t work well for pin basting. The straight sides make it awkward to pin the layers together without bunching the fabric. Similarly, the point is too dull to slide through all three layers easily. For best results, use only safety pins that are specially designed for basting quilts. Size-2 pins typically work well.
Features of Safety Pins Made for Quilt Basting
The top feature of quilt-basting safety pins is the single, angled side that allows you to poke down through the top of your fabric and back up again. That angled side makes pin basting much easier because it eliminates the bunching of the fabric on the bottom side. Basting pins are also super-sharp, and some use thinner metal to slide through multiple fabrics much more easily.
Pros and Cons of Pin Basting with Safety Pins
Like everything quilt-related, experienced artists either love or hate the pin-basting method. Pros and cons include:
- Safety pins may be difficult to use for those with limited mobility in their hands.
- Pin basting is time-consuming at both the beginning and the end.
- If you accidentally leave a pin in, the person using the quilt could get poked.
- If you sew over a pin, it can damage your sewing machine.
- Pin basting is one of the most secure methods of holding your layers together.
- The pins specially designed for basting range in price from inexpensive to pricey.
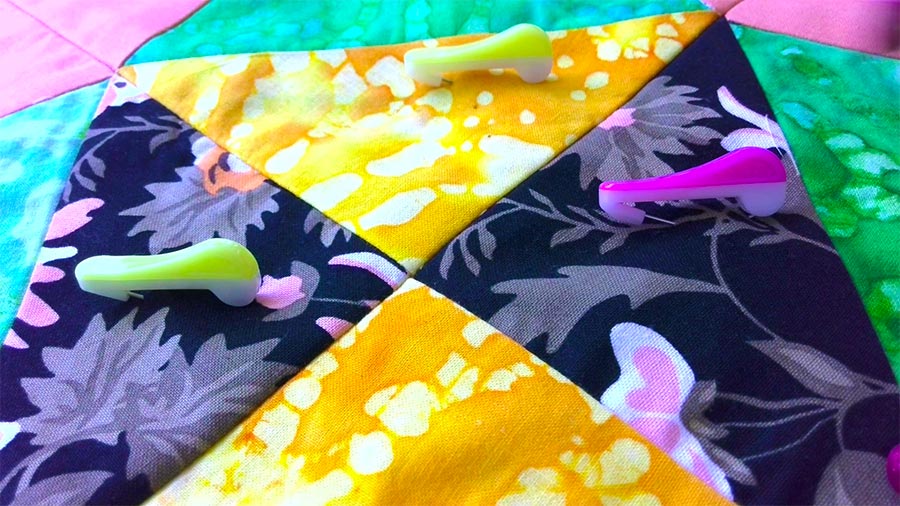
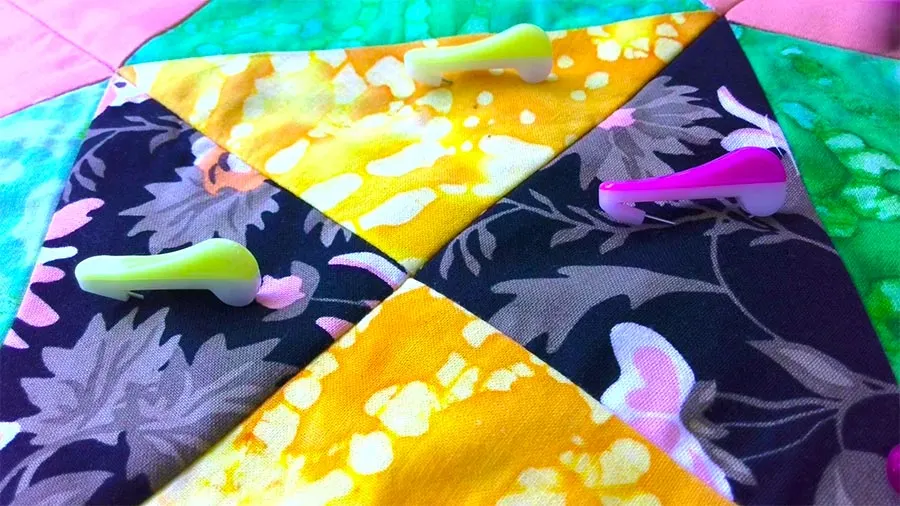
What Are Clover Wonder Pins?
Some pins, such as Clover Wonder Pins, combine the best features of all basting pins. They feature a plastic-covered top that’s easy to handle and bright colors that are easy to find and remove. The angled side and super-sharp tip make pin basting easy, but the price may be prohibitive. Clover Wonder Pins are an innovative solution for pin basting because they’re sturdy and sharp, yet thin enough not to leave large holes in your fabrics.
The Process
Pin basting a quilt requires you to layer all your fabrics as usual, but it’s important to note that you’ll want to use a flat surface that’s used to wear. Don’t use your best dining room table for pin basting because the pins may scratch the finish as you poke them down through the top of the fabric.
To pin baste, tape or clamp your backing to your flat surface, right-side-down and layer your batting on top. Afterward, smooth your quilt top, right-side-up on top of the batting.
Starting in the center of your quilt, begin placing pins a hands-width apart, all over your quilt. Work outward from the center to the borders, taking care to smooth wrinkles as you go and before you place each pin.
Take care if you plan to quilt on a domestic sewing machine. You’ll remove the pins as you go to avoid sewing over them, which can damage your machine.
✅ Related tutorial: How to bind a quilt with perfect mitered corners
Basting a Quilt with Straight Pins
You can also baste your quilt using straight pins in the same way you would use safety pins. The trick is to tuck the tip of the straight pin back into the batting once you’ve used it to hold all the layers together. In this way, your straight pins won’t prick you as you quilt.
✅ Related tutorial: Types of sewing pins and their uses: all you need to know about straight pins for sewing
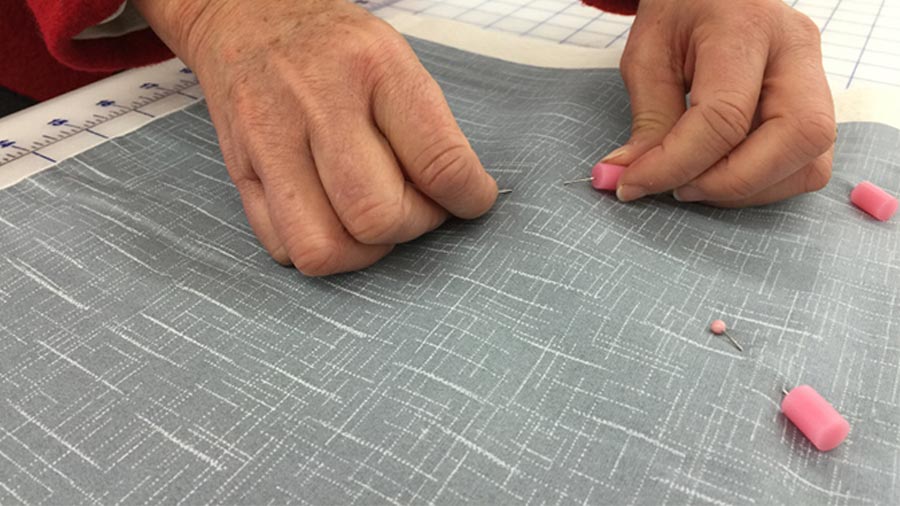
What Are Pinmoors?
Alternately, you may use tools such as Pinmoor quilt anchors, and small silicone nubs that fit over the sharp tips of your pins, to protect you as you quilt.
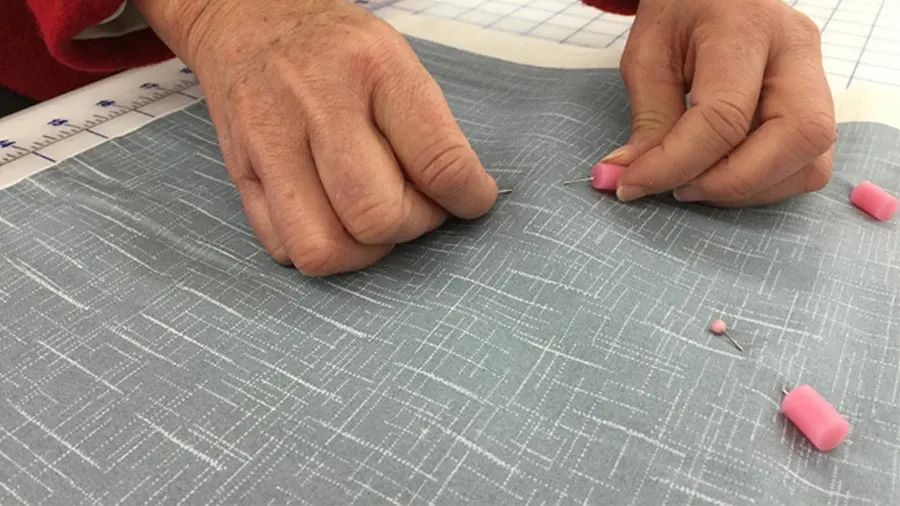
How Do You Use Pinmoors?
To use Pinmoors effectively, simply push your straight pins through all layers of fabric and then back out the top. Slide a Pinmoor quilt anchor over the tip. I couldn’t find Pinmoors on Amazon, but I found a post on how to use them NEW FAVORITE NOTION….PINMOORS! by Aurora Sewing Center. And below is the image from that article.
If you choose to use straight pins to baste your quilt, you’ll encounter the pros and cons that include:
- Straight pins may be easier to use than safety pins, especially for quilters who have limited mobility in their hands.
- Straight pins are more prone to pricking you as you quilt.
- Straight pins may work their way loose from the fabric during handling, making them easier to lose in carpet and furniture.
- Lost pins may result in unwanted folds in your quilt.
How To Thread Baste a Quilt
To thread baste your quilt, you’ll lay out all three layers of your sandwich and start in the middle. Use a darning needle and thread, take large, oversized stitches that are spaced widely apart. Work from the center outward in all directions until your layers are securely attached.
Once you’ve completed basting your quilt in simple, oversized stitches, you can then quilt it using your favorite method. After quilting, use sewing scissors to snip and remove the basting stitches.
Managing Your Quilt Layers During Basting
As you baste your quilt, regardless of the method used, you’ll need to contain all the layers so that they’re manageable. There are several tools you can use to do so.
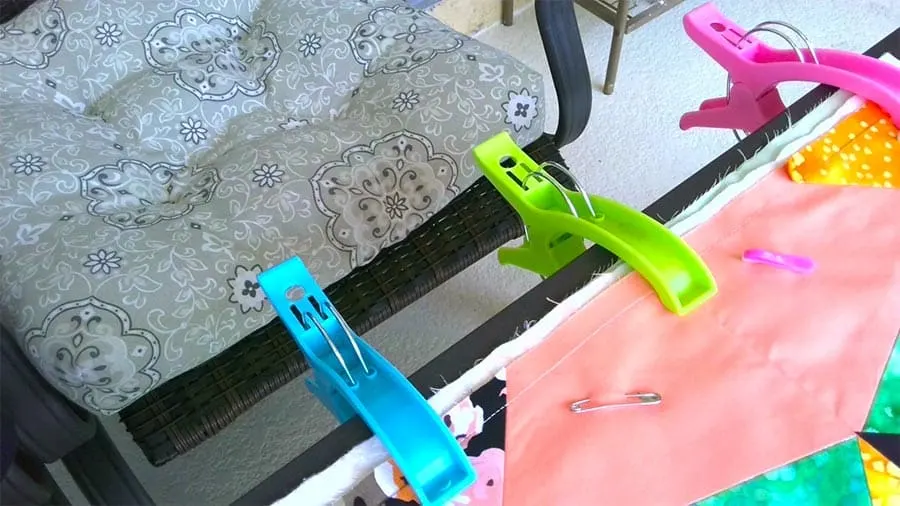
Using Quilt Basting Clamps
Quilt clamps aren’t actually used to baste your quilt, but they certainly make the process run more smoothly. Quilt basting clamps are used to affix the backing of your quilt to your worktable. They allow you to stretch the fabric taut so you can build your quilt sandwich on top.

Buy your quilt clamps by matching them to the width of your tabletop. For instance, if your tabletop is ¾ inches thick, purchase ¾-inch clamps.
Basting clamps will help you baste your quilt regardless of whether you use spray, pins, or thread. Simply stretch your backing fabric across your table and slip the clamps over the edges, capturing the fabric as well as the table. This method offers several pros and cons, including:
- Basting clamps keep your backing fabric from slipping.
- Some basting clamps may scratch or dent soft wood tables.
- The use of basting clamps prevents you from slipping a hand beneath the backing fabric should you need to.
- Basting clamps are inexpensive to buy and easy to use.

Using Pool Noodles
It may sound odd, but pool noodles make great basting buddies, especially if you have limited space to work. Using three clean pool noodles — those styrofoam tubes your kids use as floaties in the pool — you can easily contain each layer of your quilt sandwich, unrolling it in small sections at a time for pinning, stitching, or spraying.
How to Baste a Quilt Using Pool Noodles
To baste a single quilt using pool noodles, you’ll need three noodles — one for each layer. Begin with your backing fabric and smooth it across your work surface, right-side-down. Use your hand to press out any wrinkles or folds.
Next, place a pool noodle on the table closest to you and use straight pins to attach the short end of your fabric to the noodle. Begin rolling the noodle away from yourself, catching the fabric as you go. Be careful to smooth out any wrinkles as you work. When you’ve rolled all the backing fabric onto the pool noodle, pin it in place and set the noodle aside.
Repeat this process with your batting and quilt top, rolling each one onto its own pool noodle and being sure to position the quilt top right-side-up on your table before rolling.
Once all three noodles are neatly rolled, bring the noodle that holds the backing fabric back to your table and begin unrolling it away from your body. When you have a small, flat section to work with, place the noodle holding the batting fabric on top of the backing and unroll a second small section. Last, unroll a small section of your quilt top on top of the other two fabrics, smooth gently with your hands, and begin pinning or stitching that small section. When you’re done, move the basted section toward you, off the table, and unroll the next section from all three noodles.
Using pool noodles in this way, you can neatly contain your excess fabric as you baste, keeping wrinkles and folds at bay.
✅ Related tutorial: Quilted sewing machine cover tutorial
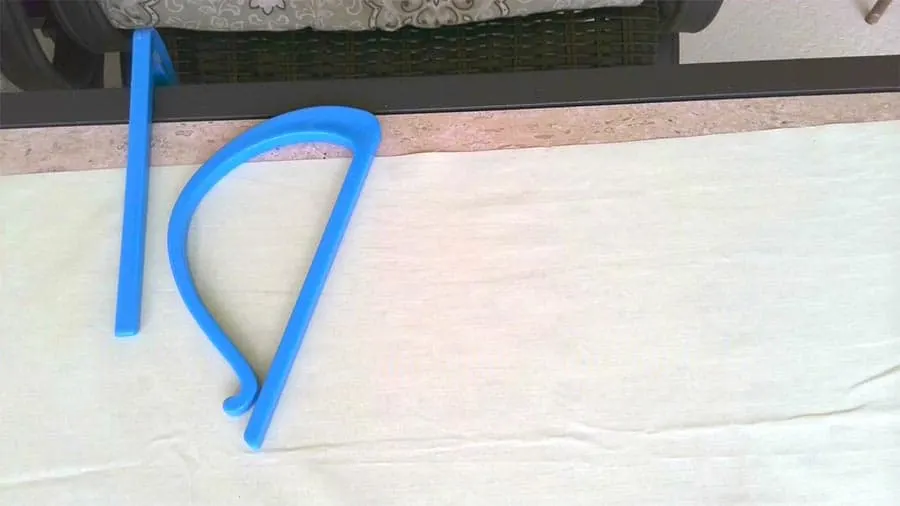
How to Baste a Quilt Using Boards (Board-Basting Technique)
To board-baste your quilt, you’ll substitute small, slender planks for the pool noodles. The technique is basically the same. You’ll roll each layer onto a plank, then unroll them to baste them together.
Quilt Basting Q&A
What Does It Mean to Baste a Quilt?
When you baste a quilt, you attach the batting and the backing to the quilt top in such a way that none of the layers shift during quilting. A properly basted quilt is much easier to work with and will produce a finished product that’s free of unwanted wrinkles and folds.
What to Do After Basting a Quilt?
Once you’ve completed basting a quilt, you can then use your domestic machine to quilt it. Alternately, you may quilt it by hand. After the quilting is complete, you’ll attach your quilt binding, and your quilt will be finished.
How Do You Baste a Quilt Together?
You may baste a quilt together using one of several methods. The options include thread basting, pin basting, spray basting, or using pool noodles or boards. Basting is the first step in the actual quilting process. It’s used to hold all layers of the quilt in place, so no shifting occurs during quilting.
How Do You Baste a Large Quilt?
The easiest way to baste a large quilt is to use a large workstation such as an oversized table, a board cut to exact specifications placed on your workstation, or on the floor. Alternately, you may use pool noodles or boards to contain the excess fabric as you baste an oversized quilt at a regular table.
How Do You Baste a Quilt for Free Motion Quilting?
Pins, basting spray, and thread are all suitable methods of basting your quilt before you quilt it on your domestic machine. The only time you won’t need to baste a quilt is if you’re quilting it on a long-arm quilting machine. Outsourcing the quilting step is a good idea if you lack the space necessary to create the quilt sandwich. Many quilt shops offer long-arm quilting services. Some sewists also offer long-arm quilting services out of their homes.
You can also watch the tutorial on quilt basting on my YouTube channel.

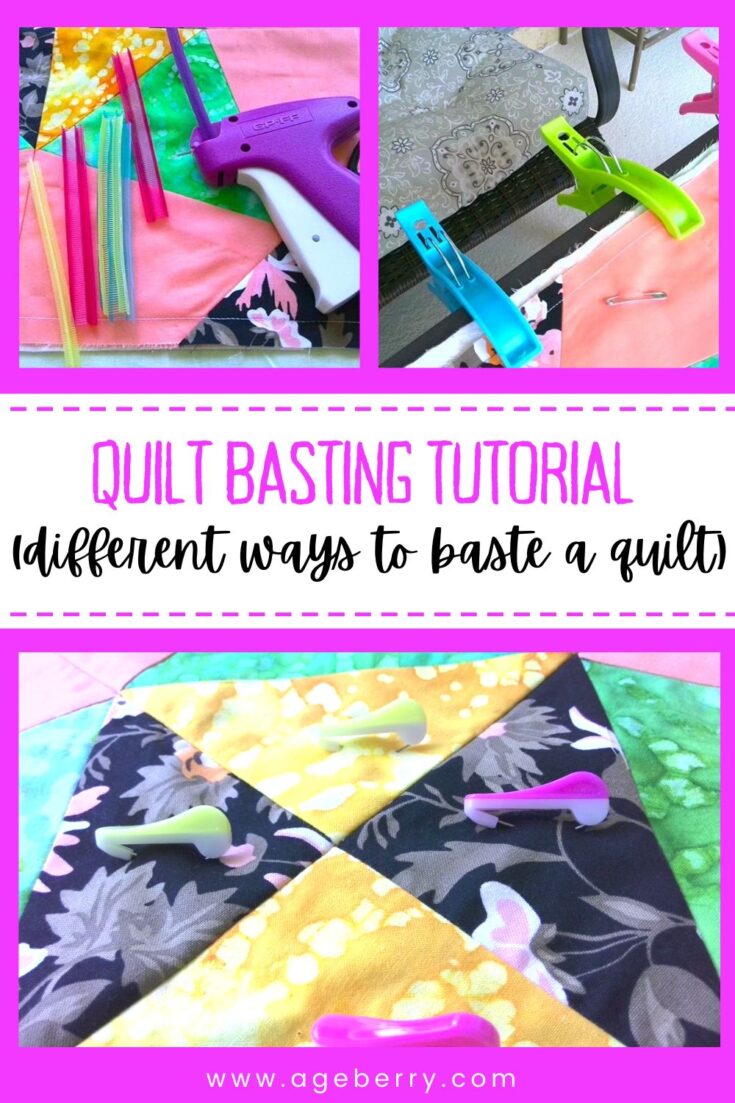
Did you find this tutorial helpful? If so, save this pin (see below) on your sewing board so you can come to this tutorial later when you are ready to use some of these different ways of quilt basting, and follow me on Pinterest for more tips, tutorials, and inspiration!
latest posts
- Think You Know Zippers? This Installation Guide Might Surprise You
- Why Does Your Seam Ripper Have a Red Ball? Discover Its Purpose!
- Topstitching Troubles? This Simple Trick Will Turn It Around Instantly!
- How to Sew Shirring: A Step-by-Step Guide to Elastic Thread Gathering
- Are Self-Threading Needles Really Useful?
- Amazon Spring Sale: Best Choices
- Elevate Your Prom Look: A Guide to 10 Neckline Choices (2024)
- No Pattern, No Problem: Turn Scraps into a Quilting Masterpiece
- Prom Perfection: A Guide to Choosing the Perfect Dress Color (2024)
Betty Gordon
Sunday 21st of November 2021
your information was GREAT and how to use and buy a rotary cutter was a tremendous help. Thanks
Olga Balasa
Sunday 21st of November 2021
Thank you!
Liz
Saturday 9th of January 2021
Very informative. I learned a few short cut tips .and appreciate all the options. Thank you for an excellent tutorial, Olga.
Olga Balasa
Saturday 9th of January 2021
Thank you Liz; if you think it is useful, please don't forget to share, also my YouTube video at https://youtu.be/xUYVUZvfzT0.