
This guide is a step-by-step sewing tutorial on how to make a towel wrap cover-up that’s cute and cozy, and a hair drying shower cap sometimes also called “twist up hair towel” or “DIY turbie twist”. The towel wrap can be also used as a beach towel dress.
This is one of the best gifts you can sew for the holidays! Who doesn’t want a beautiful comfy towel wrap set?
Make it for yourself or for your kids. These instructions are good not only for a women’s size – you can make a child’s towel cover-up as well. I don’t think you can make a towel wrap without sewing – you will need a sewing machine and some basic sewing skills, but this project is really easy even for a beginner sewist.
Note: Some of the links on this page are affiliate links. This means I will receive a commission if you order a product through one of my links. I only recommend products I believe in and use myself.

You can buy a towel wrap set (mostly online, I think). They are pretty cheap and the choice is big. They come in a variety of colors, sizes, lengths, and designs and look really nice in photos.


But read what people are saying after they buy those sets.
This towel is microfiber. It’s sticky and not absorbent.
Ordered as a gift since it had a matching head wrap. I was very embarrassed as this is scratchy and feels horrible to the touch.
Other than the softness of the towel wrap, which is fleece (and 100% nonabsorbent) and not even towel material, this is a horrible product. The head wrap gets fuzzies stuck in my hair even after a vigorous shake, and falls off my head. The Velcro used on the wrap is scratchy and no matter what I do it scratches my skin so badly I am left with marks.
Very poorly made.
The head wrap material is very scratchy and the elastic band that is intended to fasten it is too small to fit the material through. It is also only hanging on by a thread. The actual wrap is nice but the Velcro strips are poky and scratch your skin. I do not recommend this item.
The hair wrap is awful. It has a tiny, tiny piece of elastic that you’re supposed to put the end of the wrap through. It ripped right off on the first use. Do not buy this.
I hate the feeling and the fuzz that comes off on you when you wrap up in it.
When the description read “Microfiber towel,” it should have read “fleece.” This isn’t going to absorb anything after a shower, it’s going to be like wearing a blanket. Also, I wear between a size medium and large and it JUST fits me to the point where I wouldn’t feel comfortable wearing it for more than walking to the shower and right to get changed. The hair wrap is really cheaply made but will probably absorb better than the “towel” will.
And all these complaints go on and on and on.
Of course, you can avoid all these problems if you buy a $300 dollars (and up) set. But I know a better way – sew the towel wrap dress yourself. And then you can make it exactly as you like from the fabric of your choice and in the size you need.
As you will see below, it’s quite easy to sew this set, and most importantly – it’s so useful!
Recently I was traveling for two months and this set was absolutely perfect after taking a shower. It’s also very convenient to use by the pool, in the spa, and in the gym locker room. It’s perfect to have while doing all your daily skincare routines.
It provides plenty of coverage, doesn’t fall down and the elastic at the top and Velcro closure create a flattering fit. I like also the ease of slipping this towel dress on and off.
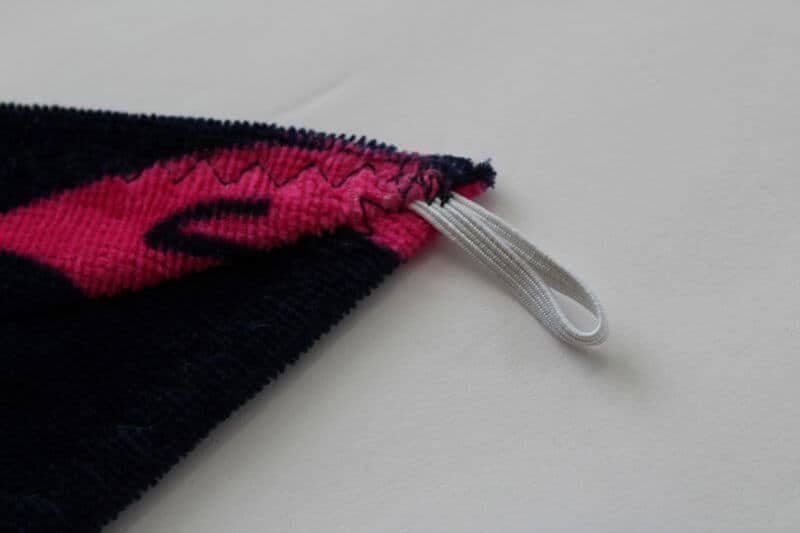
The hair wrap is so much better than a regular towel, it quickly absorbs moisture and would work on thick, long hair as well as short. It doesn’t fall off your head because a button and an elastic loop make it easy to keep in place. Because the loop is elastic it holds the tail much more firmly and comfortably. It’s a good alternative to a plastic shower cap.
The set launders really well. It also looks good! I like my home clothes to be not only convenient and practical but also beautiful.
✅ Related tutorial: How to make a robe without a pattern from natural silk fabric
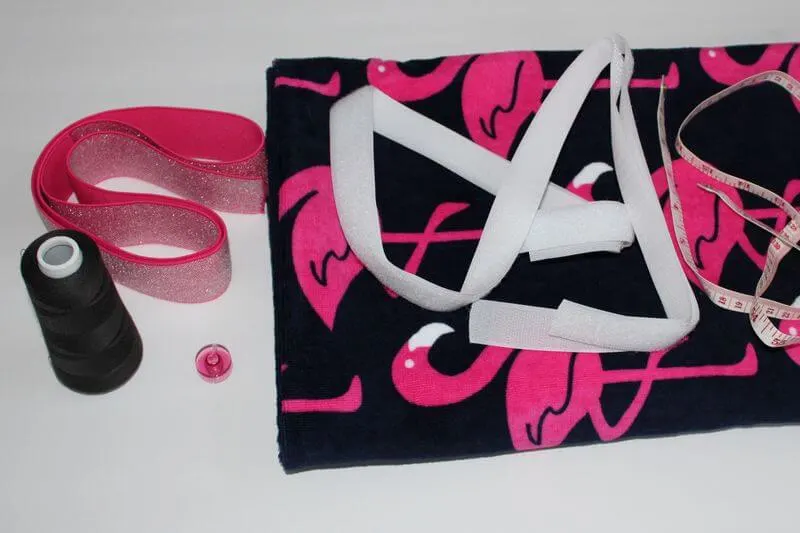
What will you need to make the towel wrap dress and the shower cap?
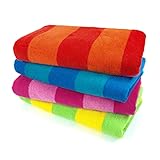
1. First of all, you will need a towel made of terry cloth. Towels can have different thicknesses. For this project, choose one that’s not very heavy and dense. I think the best is to use a beach towel – it’s usually bigger (so one towel will be enough for the towel wrap cover-up and for the head wrap) and thinner than regular bath towels.
Choose only a towel made of 100% cotton. It’s a comfortable, breathable, and soft fabric. It doesn’t irritate the skin. I would never make a towel wrap from synthetic fibers!


Of course, you can make a towel wrap set from yardage of terry cloth also.
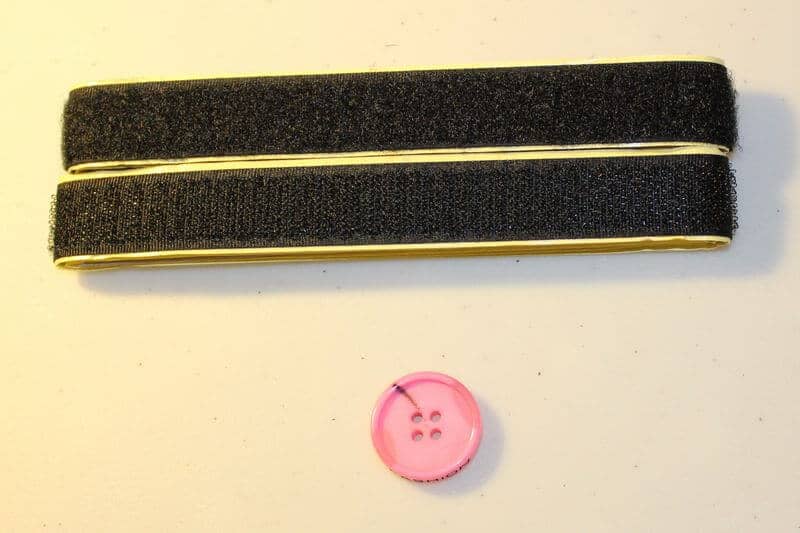
2. A piece of wide elastic to insert at the top of the robe. And a small piece of regular thin elastic to make a loop for a button.
3. One button
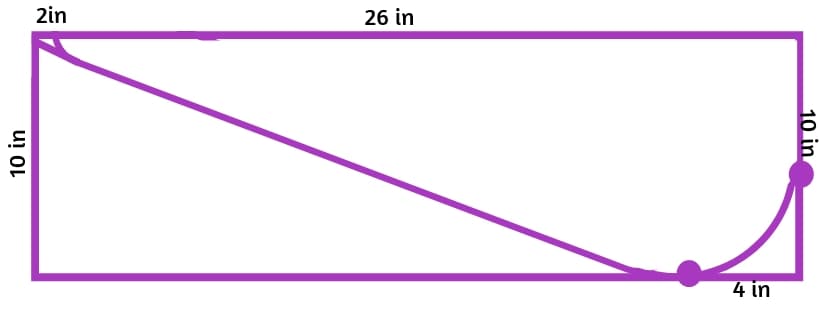
4. A pattern for the cap with seam allowances around half an inch (see drawing below)

5. Regular sewing tools and notions (like a sewing machine, threads, scissors, needles, etc.)


Tips for working with terry cloth
This project is a fast and easy sewing project even for a beginner sewist. You will have to make only a few seams total – no complicated patterns, no darts, no sleeves, no collars, no lining, right?
But sewing terry cloth fabric can be tricky – you will need to have in mind some special considerations for working with terry cloth to complete the project successfully and not to ruin your expensive computerized sewing machine.
So follow my recommendations below and you will be fine.
Any terry cloth (even the best quality one) is bound to shed after cutting and during sewing. The fibers will automatically cling themselves to the rest of your towel, resulting in what seems like eternal shedding.
So if you don’t want flying fibers from the towel

Or take the cut pieces outdoor and shake them well to get rid of any loose fibers.
You can also put your finished towel wrap in a dryer on air fluff or other no heat setting (for 2 – 5 minutes) with a dryer sheet, which will help to remove some loose fibers that are left during sewing.
But on the other hand, sewing as a process, in general, is messy, right? I am sure you agree with me if you sew. All these cut fabric pieces, threads, different needles, patterns, rulers, etc. have to be on the table around you (where else?) so the shedding of this terry cloth fabric is just a minor issue really ( compare to the shedding of faux fur, for example).
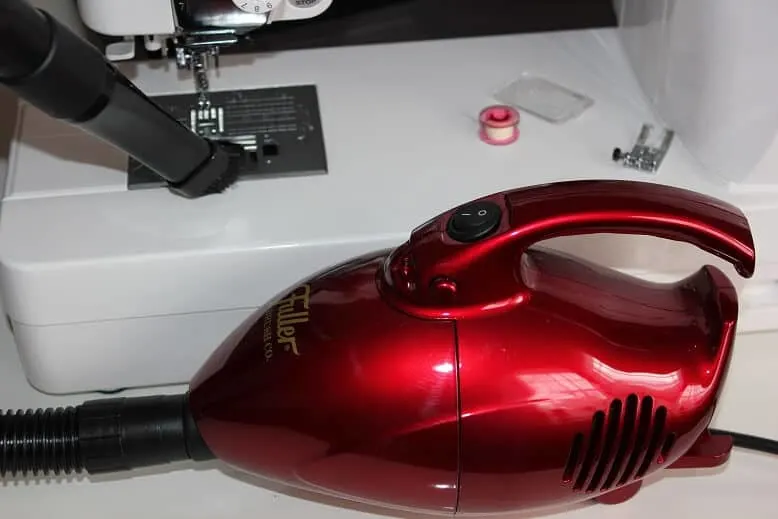
I’d like to add that because of the amount of lint that comes off of terry cloth, it’s necessary to clean out your sewing machine after you’re done with the fabric. A lot of build-ups occur with this fabric. By cleaning it out you will have fewer possible thread jams.
Because of this shedding, you must finish or enclose all raw edges (with a serger or a regular sewing machine).
✅ Related tutorial: How to take good care of sewing tools and equipment
Choose proper threads, needles, and sewing machine settings.
You may need to use a thicker sewing machine needle (like universal size 100/16, but 90/14 can be good also), thicker and stronger threads because the seams on terry cloth can be bulky. Increase also your stitch length. Test your setting on a scrap piece of terry cloth and adjust as necessary.
✅ Related tutorial: Sewing thread sizes
When sewing, try to use tissue paper on top of the towel, it’s not necessary of course, and sometimes not even possible but it will make sewing easier. It would be even better to use a clear water-soluble stabilizer for ease of removal after stitching but if you don’t have it it’s ok to use just tissue paper.
How to make a beach robe from towels – step-by-step tutorial
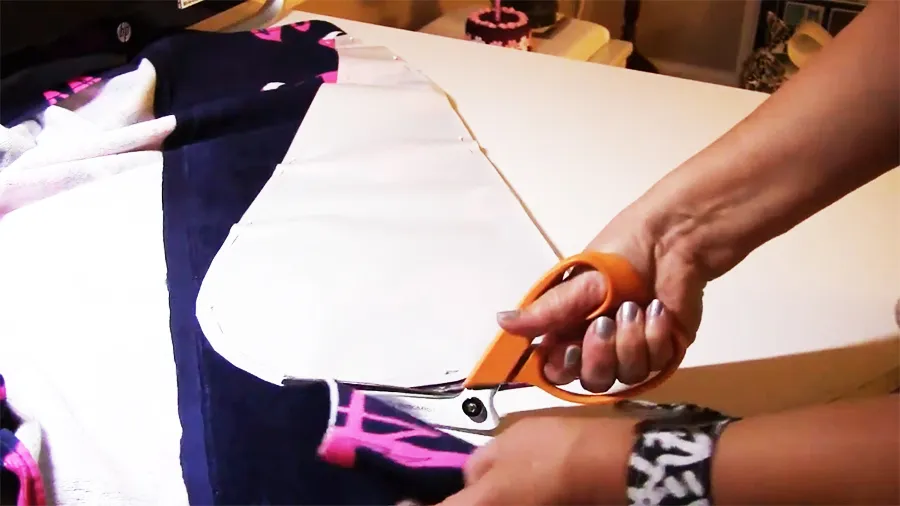
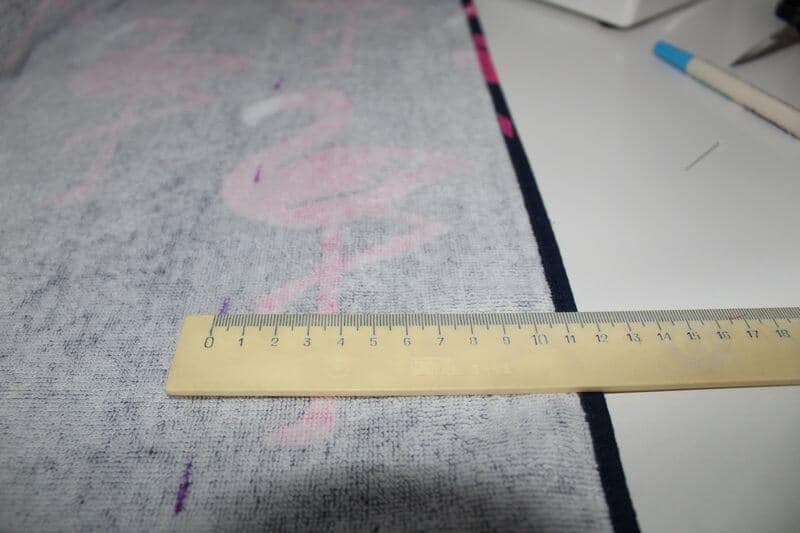
1. Measure the desired width of your towel wrap and cut one edge. How to measure for the towel wrap? You can measure it by wrapping the towel around and making sure you have a good overlap at the front.
If necessary cut also the length if you want to make the robe smaller. I didn’t cut the length – I used the store-bought beach towel and I like the length as it was.
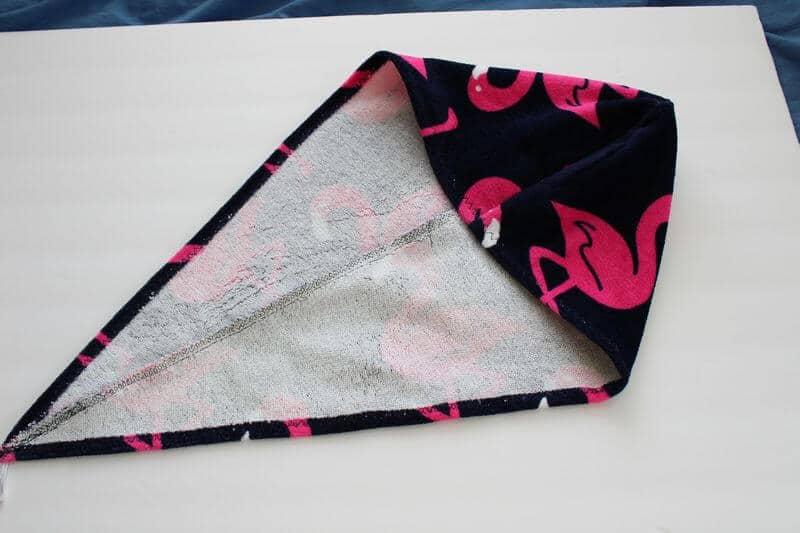
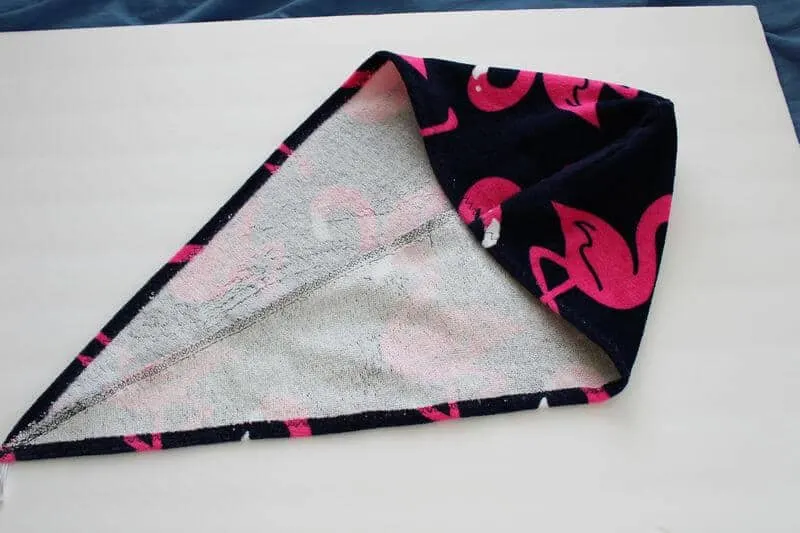
2. Cut 2 pieces for the shower wrap cap using the free pattern (see the drawing up).
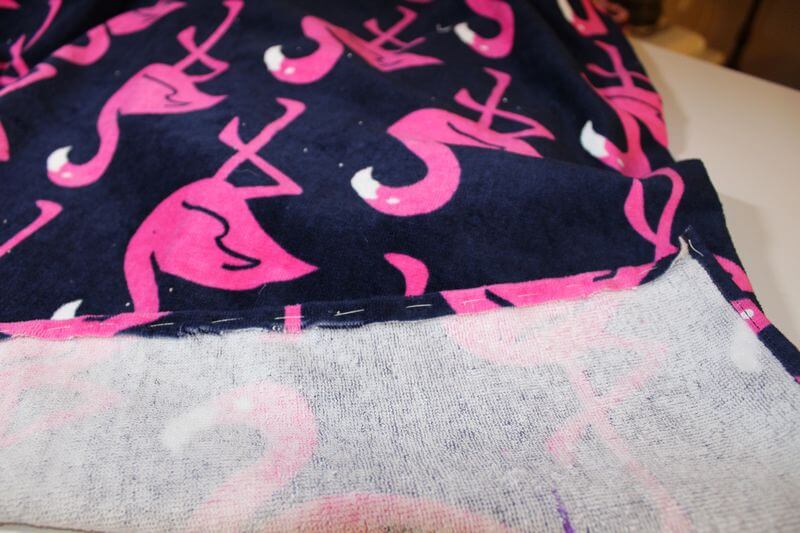
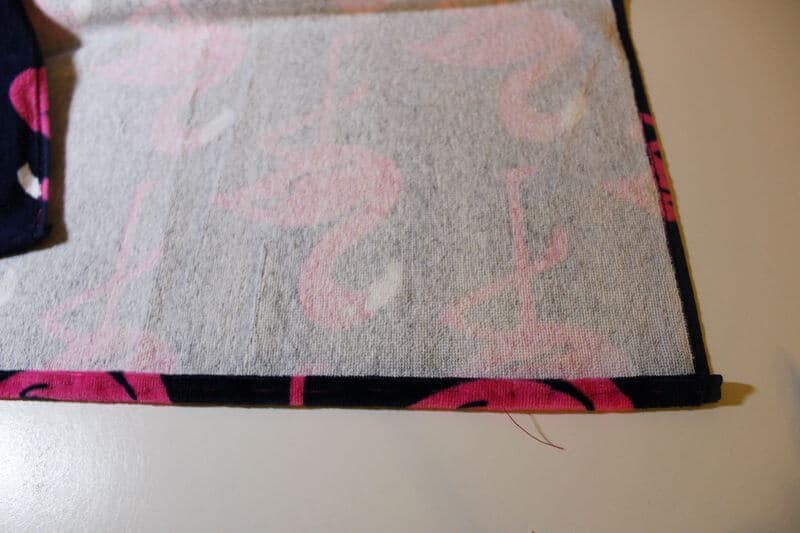
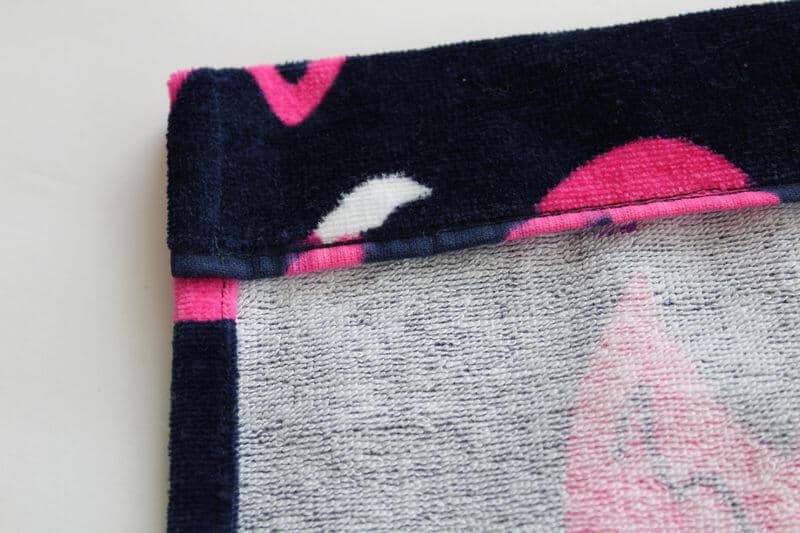
3. Finish the cut edge on the towel wrap. The best way is to fold the edge over, baste it and then fold over again and stitch it in place.


✅ Related tutorial: Types of Sewing Machine Stitches: Unraveling the Mysteries of the Straight Stitch
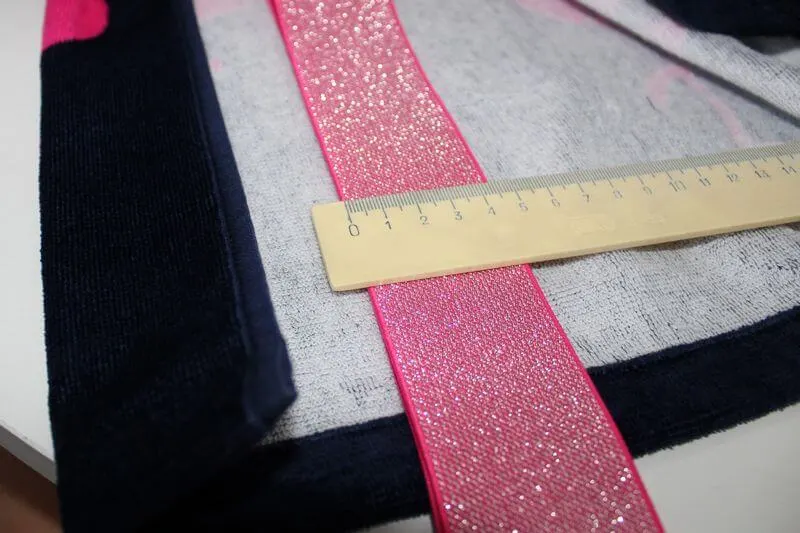
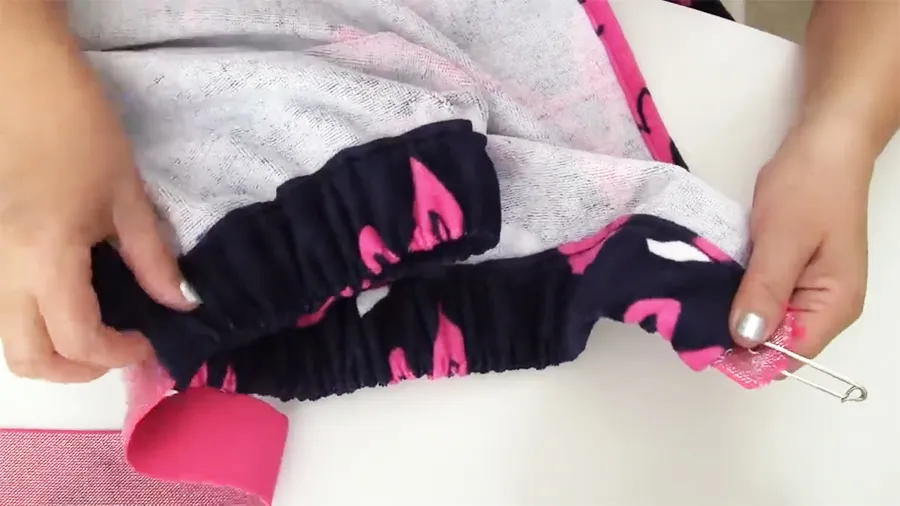
4. I think the easiest way to sew an elastic at the top of the robe is to make a casing for a wide elastic to go in. The casing has to be a little bit wider than the elastic width. Measure your elastic first. I used an elastic 1 ¼ inch wide and I think this is a perfect size.
If it will be smaller the robe may fall down (because the terry cloth fabric is heavy when wet), and if it will be bigger you will have trouble inserting it. Also, choose an elastic that’s not very thin and flimsy.
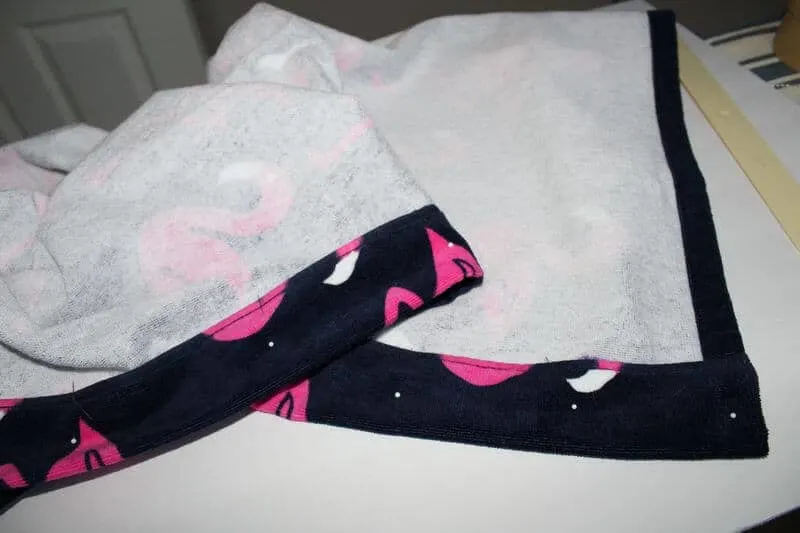
Fold over the top edge for the casing.


5. I usually insert an elastic with a safety pin. So, place a safety pin at the one end of your elastic and pull the elastic through until you reach the other opening. Measure your chest line (I measure it right on the person I want it to fit, of course), cut the elastic according to the measurement but make sure it’s not going to slip back through.
Sew in place on both ends first and trim the elastic off at both edges. You have to keep the elastic band from twisting after you start wearing it if you don’t want to find yourself frustrated. I usually stitch up the areas where the elastic can get tangled – sew along the sides of the towel dress and the center back. This will help to keep the elastic stay in place.
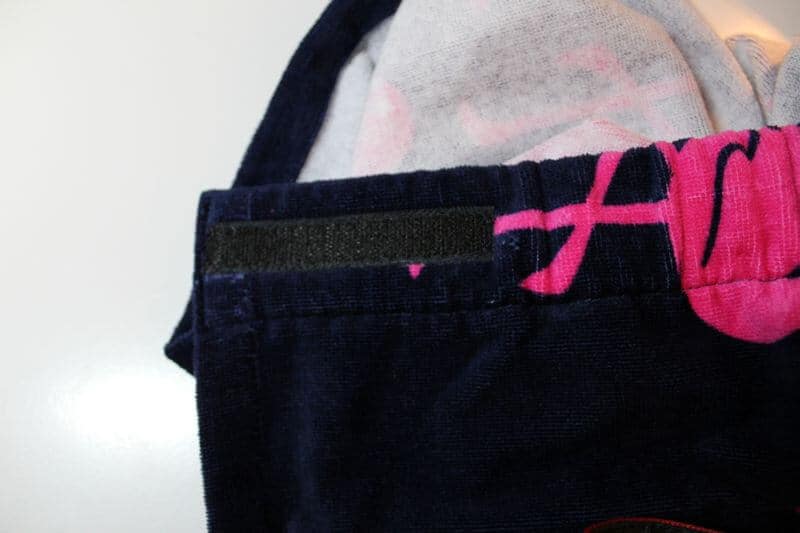
6. Sew Velcro strips. I prefer not to make it long (4 inches is a perfect size). You don’t need to consider different sizes because you are making the towel wrap for a specific person and you have the measurements.
But you have to make sure it doesn’t scratch your skin. It will help also if you put the softer part of the Velcro (called loops) on the inside edge of the right front and the scratchy part (called hooks) on the outside edge of the left front because if it touches your skin it won’t hurt you.
Also, I use a little bit of sewing glue to attach the Velcro strips before I sew them. The glue will keep them in place very well.

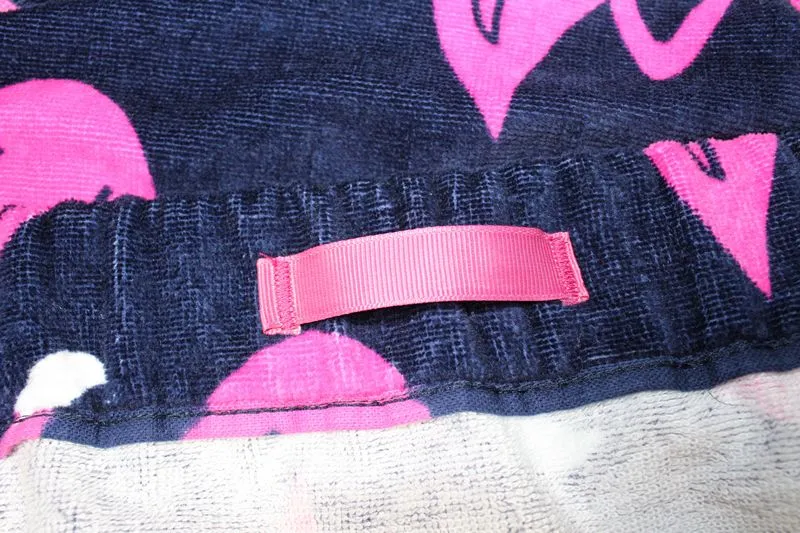
7. I also put a piece of ribbon to easily hang the towel wrap on a hook.
Basically, that’s it with the towel wrap cover-up.
I left my towel wrap unembellished. But you can personalize it as you like. You can make a towel wrap with straps, you can add pockets, embroidery, appliques, and beautiful trims.
Now let’s make the hair-drying shower cap.
After I made mine, I decided to change the pattern a little bit. I had a small problem finishing the cap’s acute corner (check out my tutorial on finishing acute corners easily – you will love it!) because I had the seam in the middle which made the corner bulky. So I advise you to make it rounded as you see in the pattern (not in the images below).
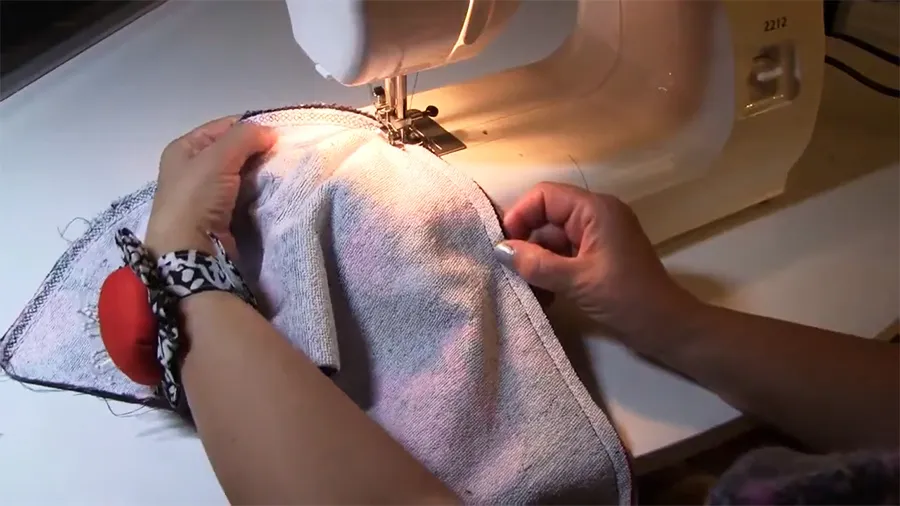
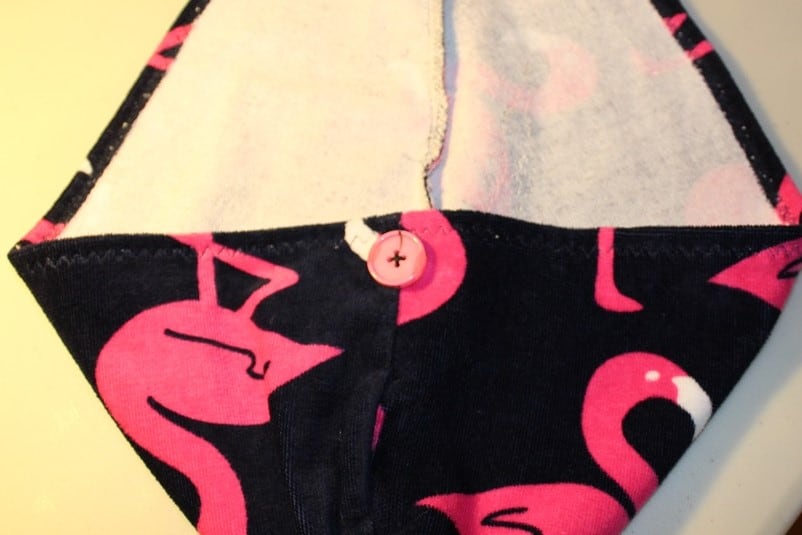
8. Sew the center seam and finish the raw edge.
But before stitching insert a piece of thin elastic (mine was 4 mm) at the end of the seam (about ⅝ in from the end) to make a loop for a button closure. I used a pin to hold it in place.

If you have a serger, finish the seams with it, but if you don’t have one it’s not a problem – finish the seams with one of decorative stitches of your sewing machine.
9. Finish the hem – fold over about half an inch and stitch.
10. Sew a button – choose one that is not too small (mine was 1 inch in diameter).
✅ Related tutorial: How to sew a button
Use this hair wrap for drying hair, conditioning hair, coloring hair, facial cleansing, shower, sauna, hot tab.

The towel wrap set is ready!


Did you like this tutorial? If you want to save it for future reference and to use it later when you are ready to make the towel wrap set, pin the image below or the first image of this guide to your sewing board on Pinterest, and follow me on Pinterest for more tips, tutorials, and inspiration.

Like sewing tips? I have other popular tutorials on my site that might be interesting for you. Check them out below.


latest posts
- Think You Know Zippers? This Installation Guide Might Surprise You
- Why Does Your Seam Ripper Have a Red Ball? Discover Its Purpose!
- Topstitching Troubles? This Simple Trick Will Turn It Around Instantly!
- How to Sew Shirring: A Step-by-Step Guide to Elastic Thread Gathering
- Are Self-Threading Needles Really Useful?
- Amazon Spring Sale: Best Choices
- Elevate Your Prom Look: A Guide to 10 Neckline Choices (2024)
- No Pattern, No Problem: Turn Scraps into a Quilting Masterpiece
- Prom Perfection: A Guide to Choosing the Perfect Dress Color (2024)
