
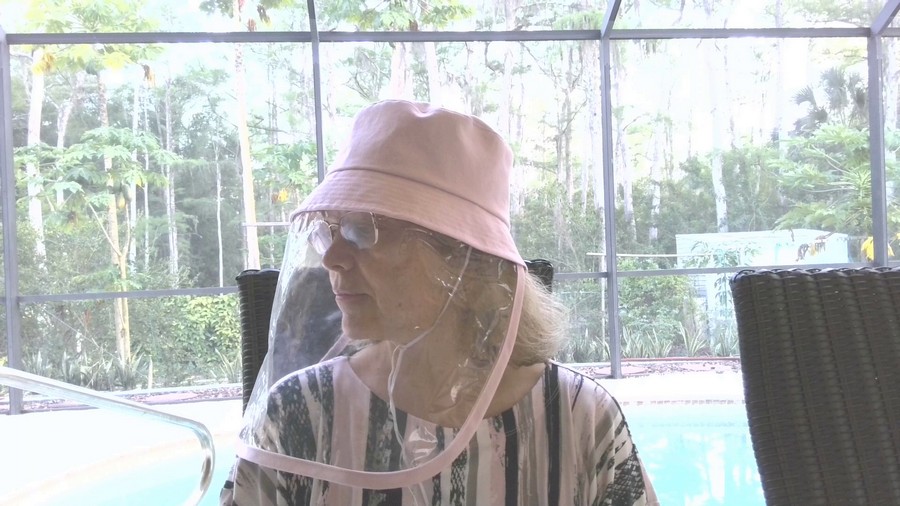
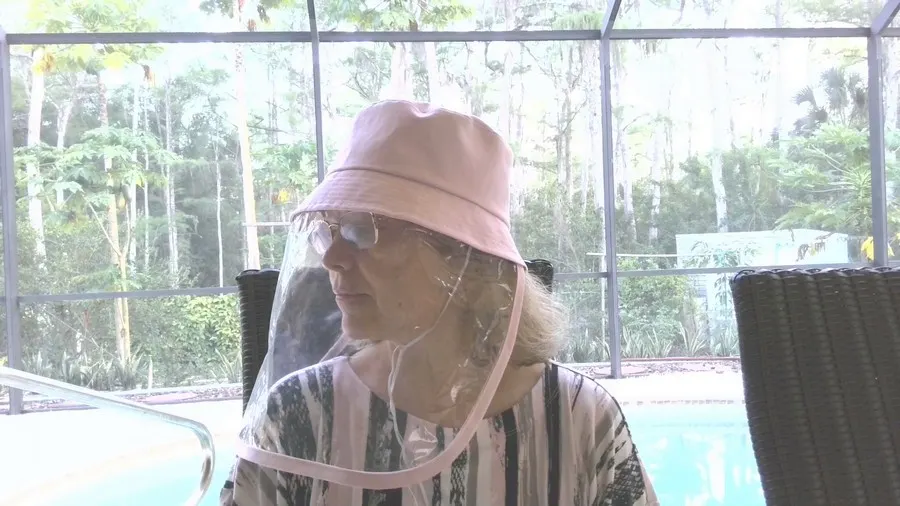
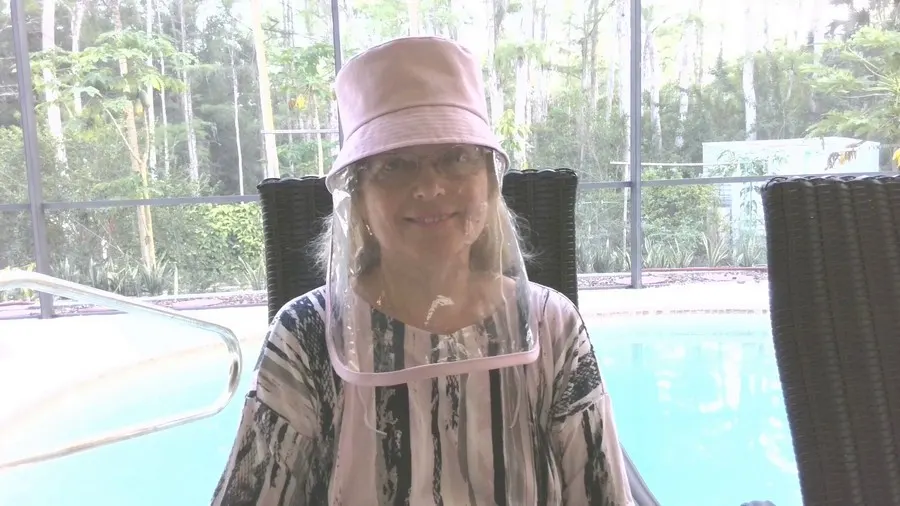
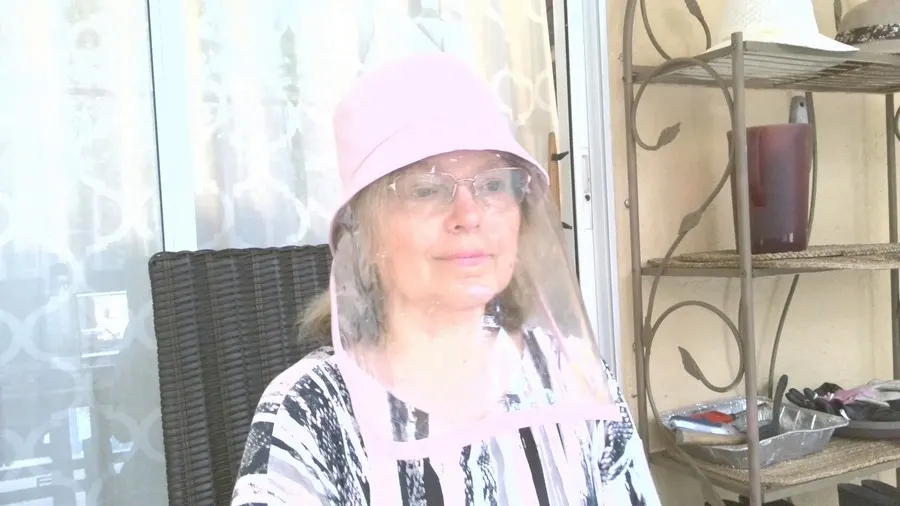
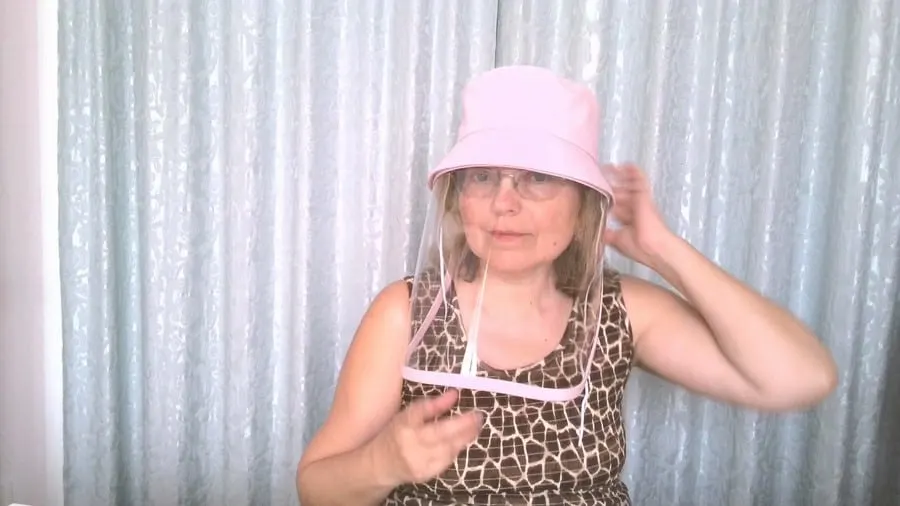
In this video sewing tutorial, I will show you how to sew a special bucket hat with a transparent shield made from clear vinyl. I made a sewing pattern in two sizes – adult and child. The project is very easy even for beginners.
The hat covers your nose, mouth, and eyes without blocking your view and can be used indoors and outdoors. It doesn’t fog because it’s not very close to the face. The vinyl shield can be disinfected. The hat has thin straps to secure it under the chin on windy days.
The PDF pattern is offered for free to all subscribers to my newsletter, details are further down in the article. A printable version of this article which also includes the pattern and the .svg files (usable with Cricut or Brother ScanNCut) is available for convenience in my Etsy shop or in my site shop.


Note: Some of the links on this page are affiliate links. This means I will receive a commission if you order a product through one of my links. I only recommend products I believe in and use myself.
Remember, this is not a medical device, it was not tested for the prevention of viruses and bacteria and you have to always follow the guidelines given by CDC. This hat may help in protecting you but neither the hat nor the face mask will protect you 100% in all instances. Be careful and follow all necessary precautions. This is a very useful link and I recommend everyone read it carefully: https://www.cdc.gov/coronavirus/2019-ncov/prevent-getting-sick/prevention.html
What you’ll need
Fabric for the hat – medium-weight cotton (more about it below)
Fabric for the lining of the hat
Clear vinyl (more about it below)
Thin elastic for straps
Regular sewing notions
Sewing pattern – This pattern can be found in my RESOURCE LIBRARY.
I have chosen organic 100% cotton jean fabric – this is a medium-weight fabric that doesn’t need interfacing. For the lining, I used 100% cotton batiste.
I decided not to use interfacing because I wanted the hat to be comfortable to wear even indoors (for example, when you go grocery shopping) and to be well-ventilated. The cotton jean fabric was a good choice because the hat has to keep its shape well.
Prewash your fabric in hot water before sewing and iron it. Cotton fabric may shrink after laundry so you don’t want surprises.
For this project I recommend 4 gauge or 8 gauge clear vinyl (the higher the gauge the thicker the vinyl). Vinyl is a flexible but durable material, it’s waterproof, it’s sturdy without being rigid, and it’s easy to sew and easy to clean. Some vinyl is even UV treated.
For my project, I used clear vinyl I had for years (I didn’t even know what gauge was it) and it didn’t have any smell. But the vinyl I just bought to make more hats has some plastic smell, not very strong, just a faint odor, but I hope it will go away quickly if I put it outside for a few days.
But you can also use clear plastic you already have at home. I used clear vinyl from a big garment bag to make my trial hat. Some of my readers used medium-weight vinyl shower curtains and some used a cover for a tablecloth: that’s the feedback “It was very easy to work with and oddly you can crunch it in the hat if you don’t want it down and take it down and the wrinkles seem to fall right out”.
Some manufacturers say that their clear vinyl can be machine washed cold and tumble dry low, others say that it can be clean by wiping down with warm water and mild soap solution.
Read the full tutorial before proceeding.
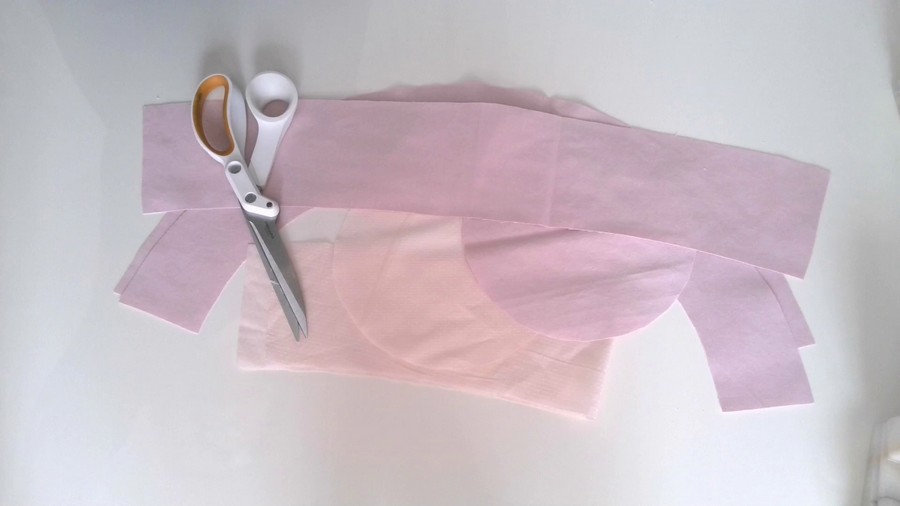
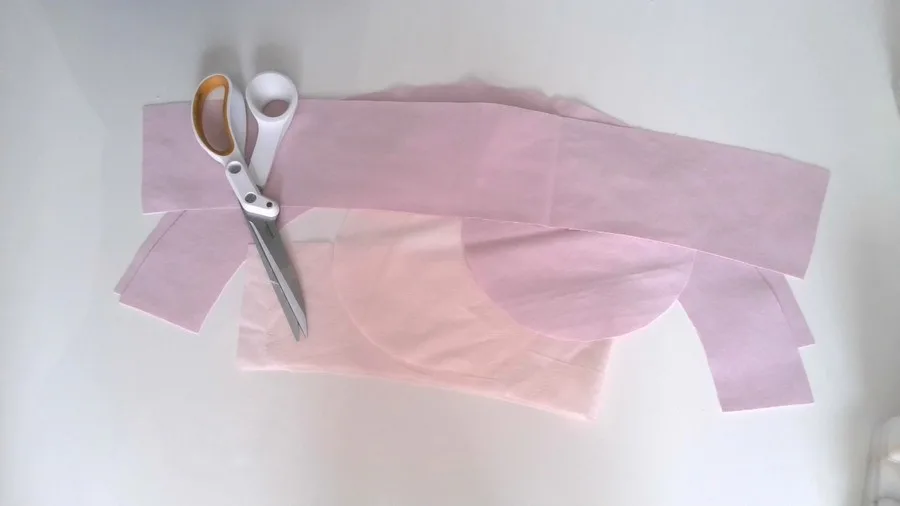
Step 1
This pattern can be found in my RESOURCE LIBRARY.
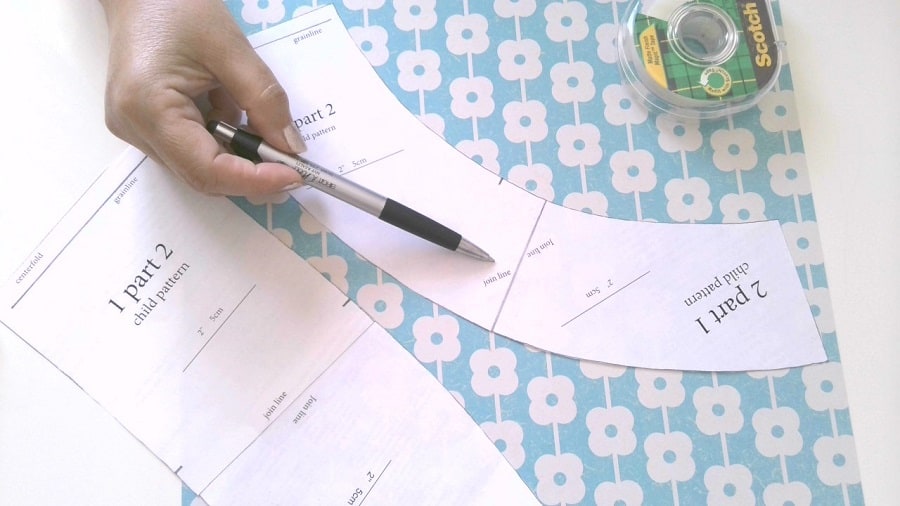
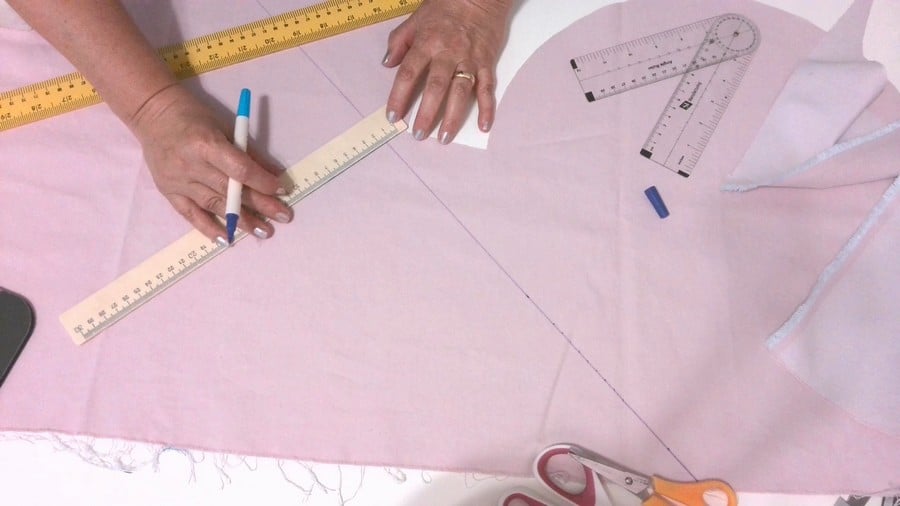
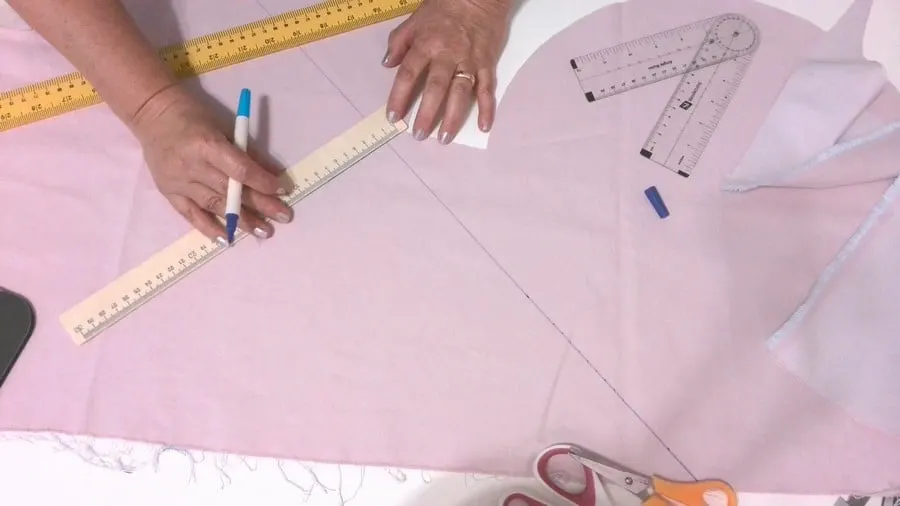
Download the pattern pieces in the size you need – adult or child.
Have in mind please, I am not a professional pattern designer so the pattern is hand-made: after I made the pattern on paper, I scanned it and converted it to PDF files, so some printers may print it with some kind of a dotted background. But the pattern is perfectly used to make the bucket hat with a face shield.
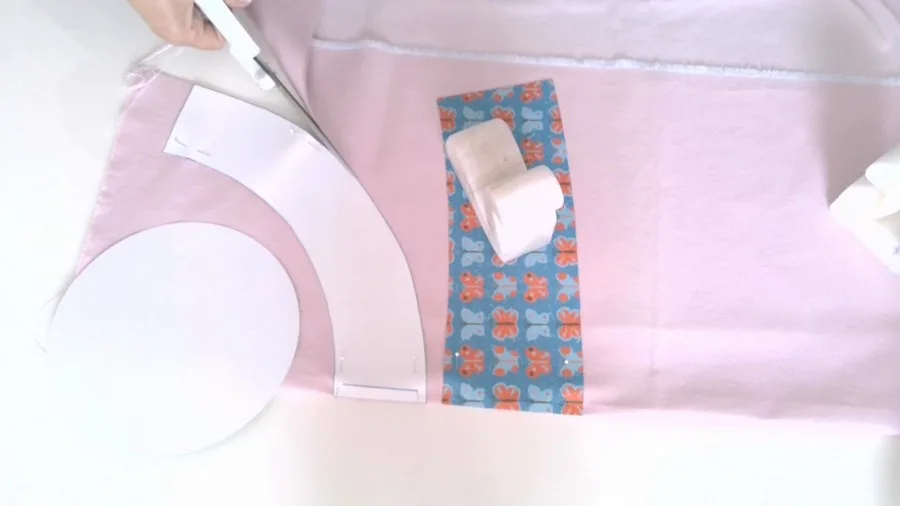
1 – Crown (cut 1 piece on fold from main fabric and 1 piece on fold from lining ) – there are 2 PDF pages you have to join. Join them with scotch tape.
2 – Brim (cut 2 pieces on fold from main fabric) – there are also 2 PDF pages you have to join. Join them with scotch tape.
3 – Top (cut 1 from main fabric and 1 from lining)
4 – Shield (cut 1 piece from clear vinyl) – read more about it below
For my hat I cut the pattern pieces with my Cricut – that’s why you see this colorful paper. I made SVG files for the pattern to cut with a Cricut and if you would like to get SVG files, contact me by email and I will send you the files.
Seam allowances are included and they are ⅜ inch (or 1 cm).


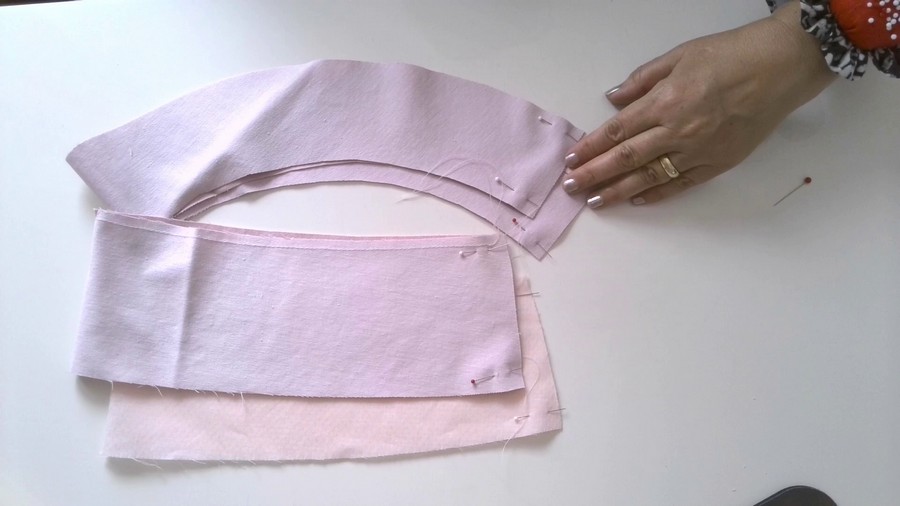
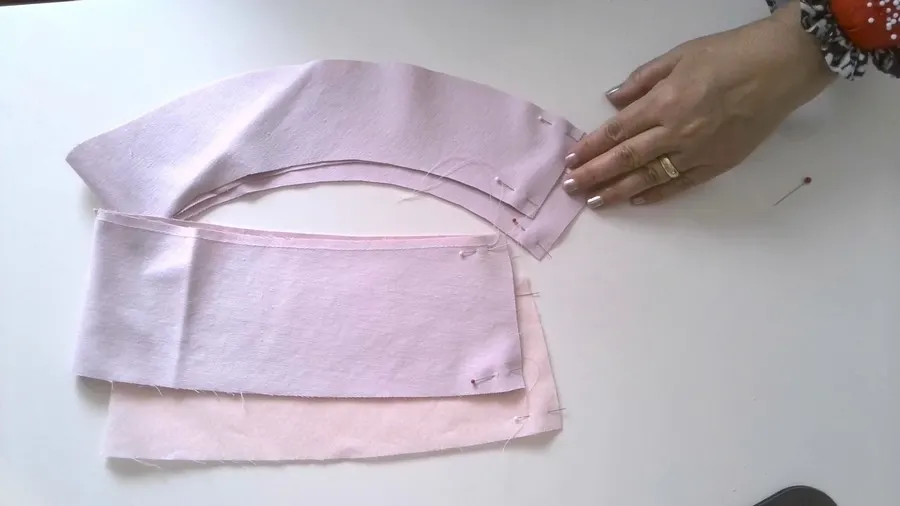
Step 2
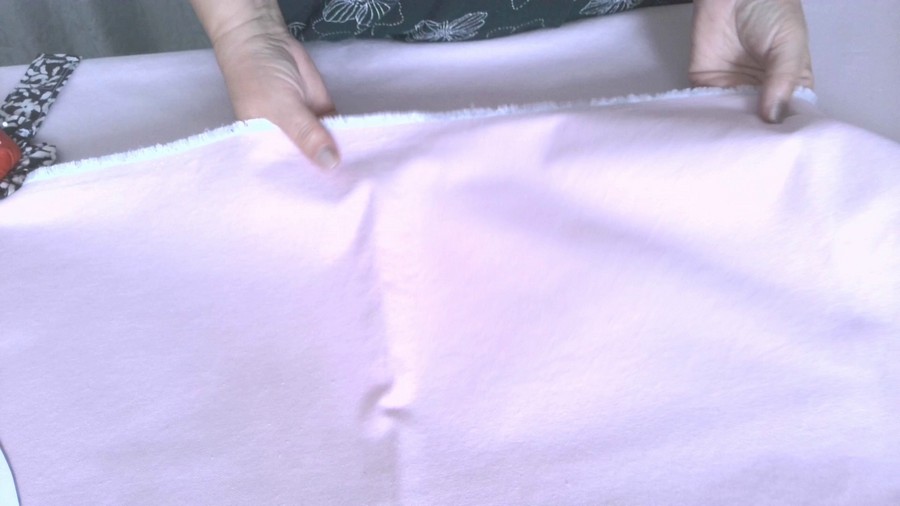
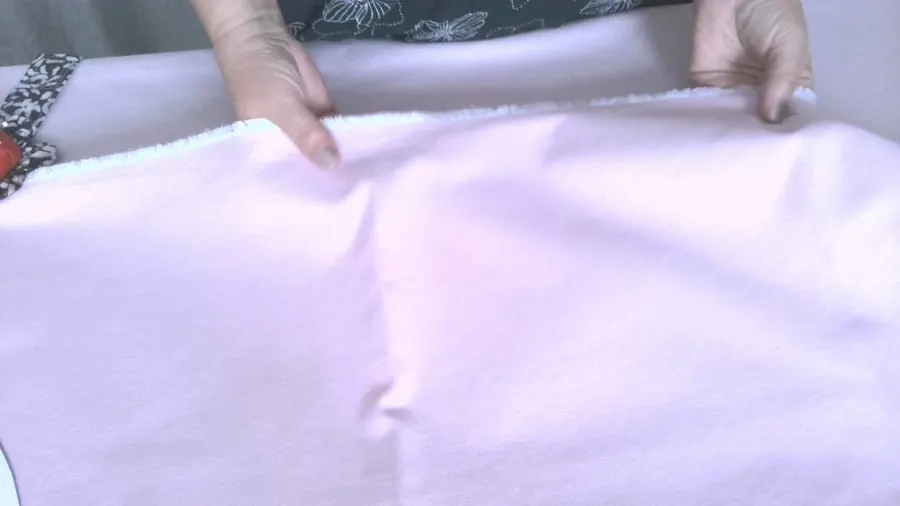
Pin the crown edges right sides together and stitch the crown at the center back. Do this for the main fabric and for the lining.
Pin the brim edges right sides together and stitch each brim piece ( you should have 2 of them) at the center back.
Step 3
Press all the seams open.
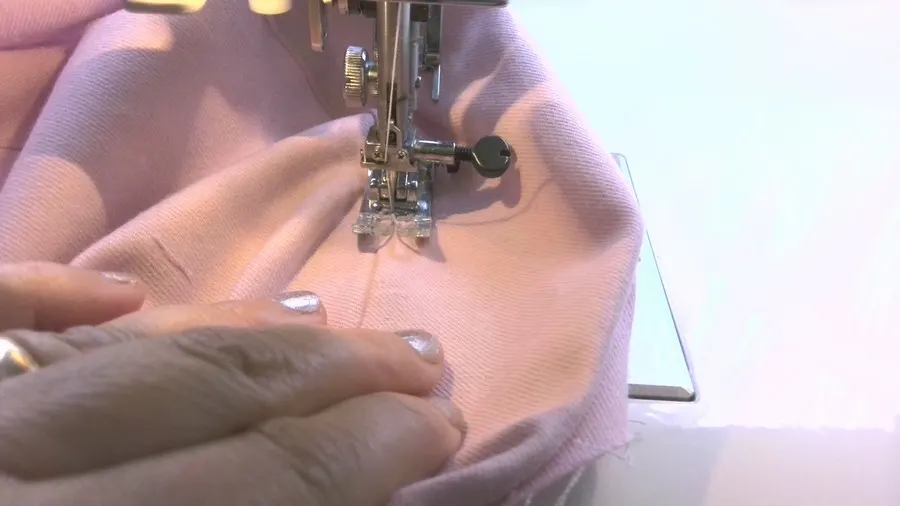
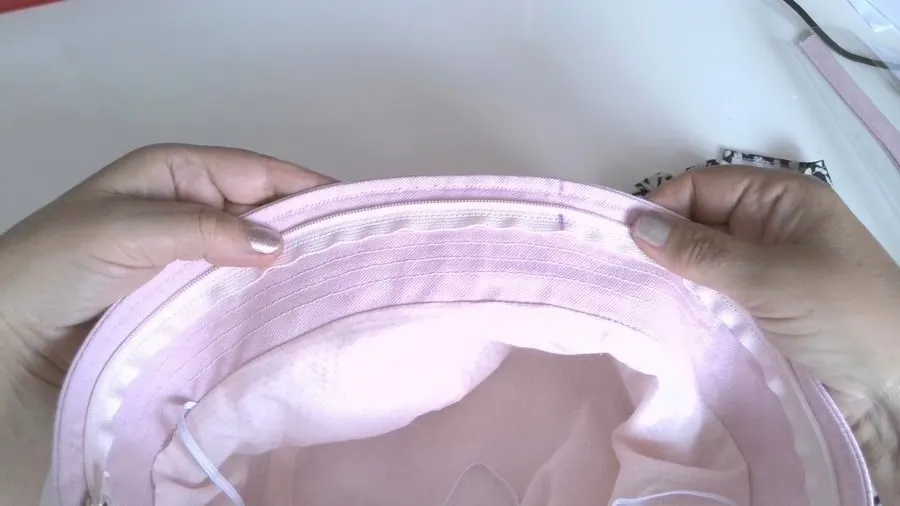
Edgestitch the crown along the center back seam.


Step 4
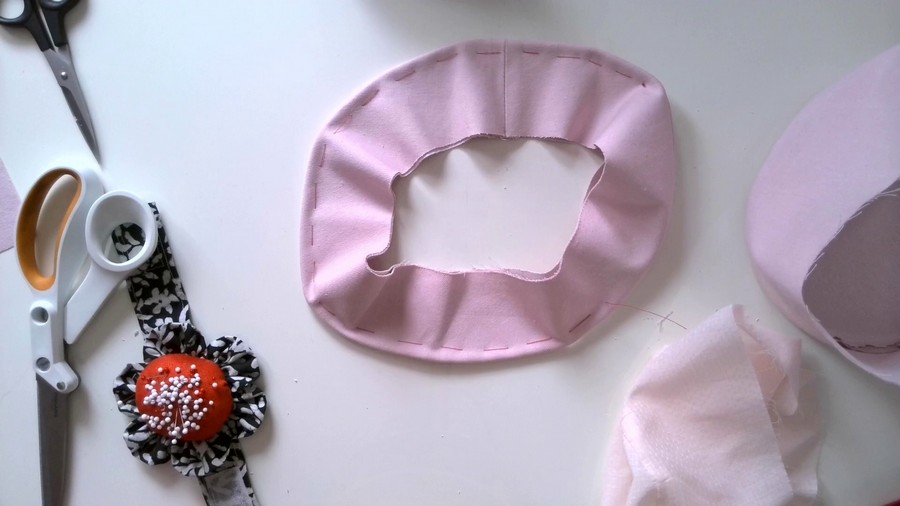
Pin the top to the crown with matching symbols (that divide the pattern pieces into 4 equal parts). Clip the crown in 3-4 places between the symbols.
Stitch and press seam allowances toward the crown. Cut the seam allowances of the top (circle) piece with pinking shears close to the stitching.
Do the same for the lining piece.
Edgestitch the crown along the seam.
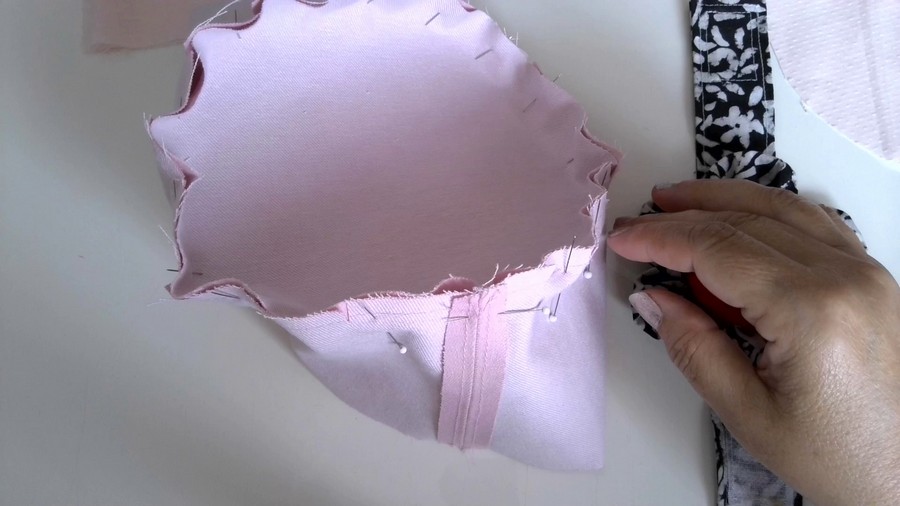
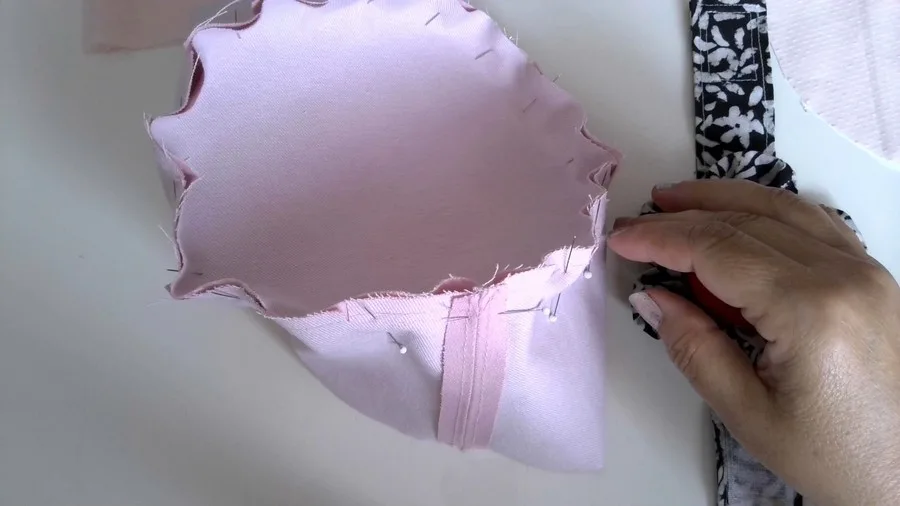


Step 5
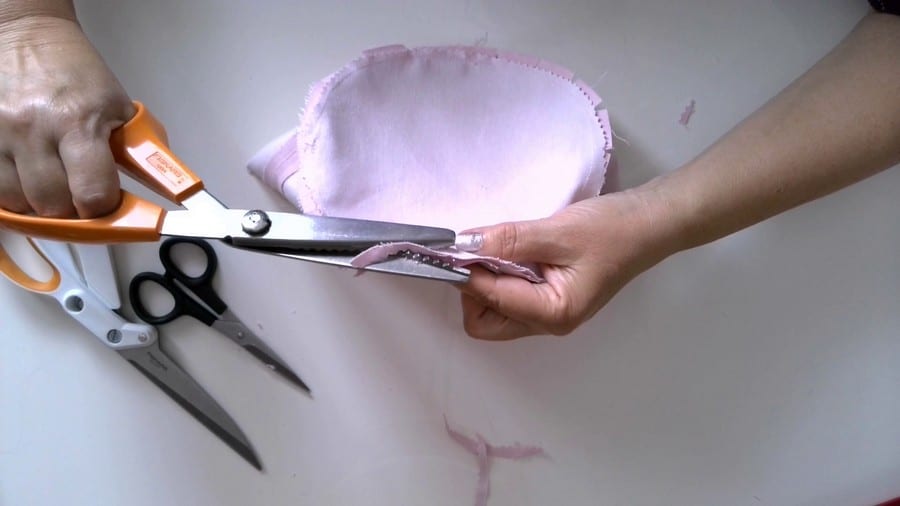
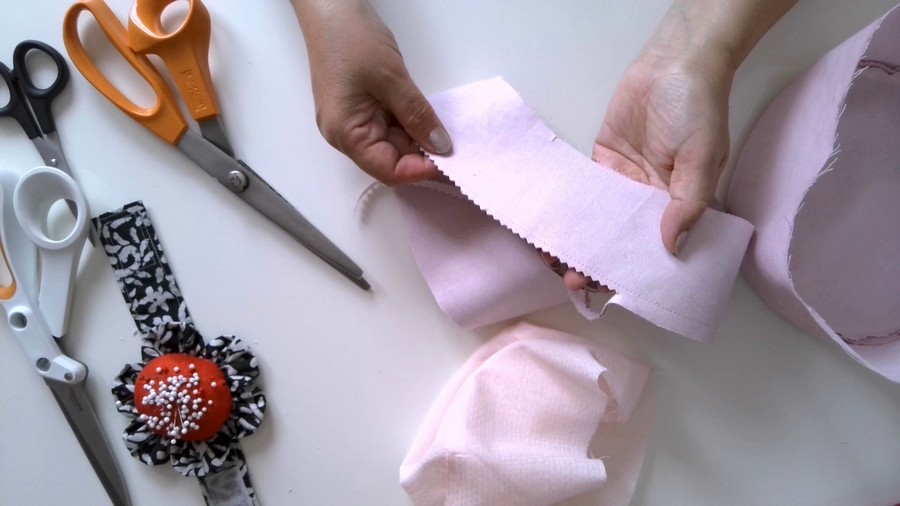
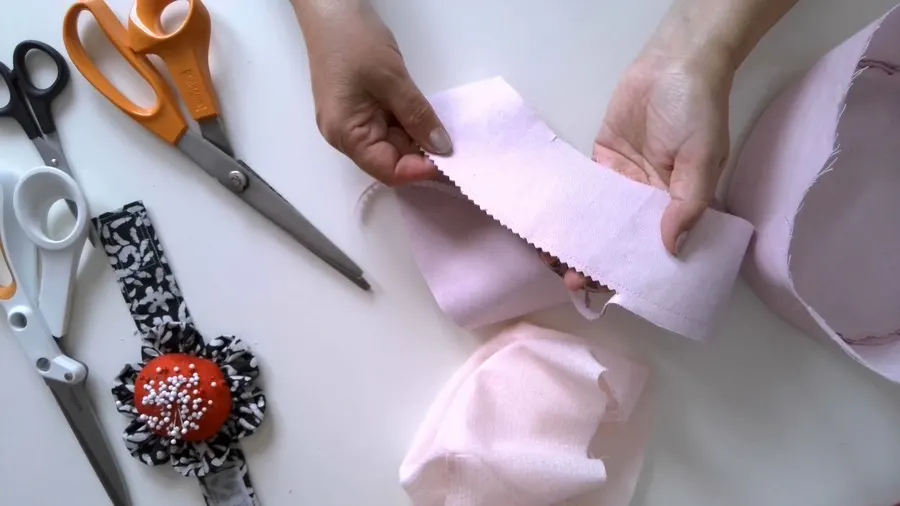
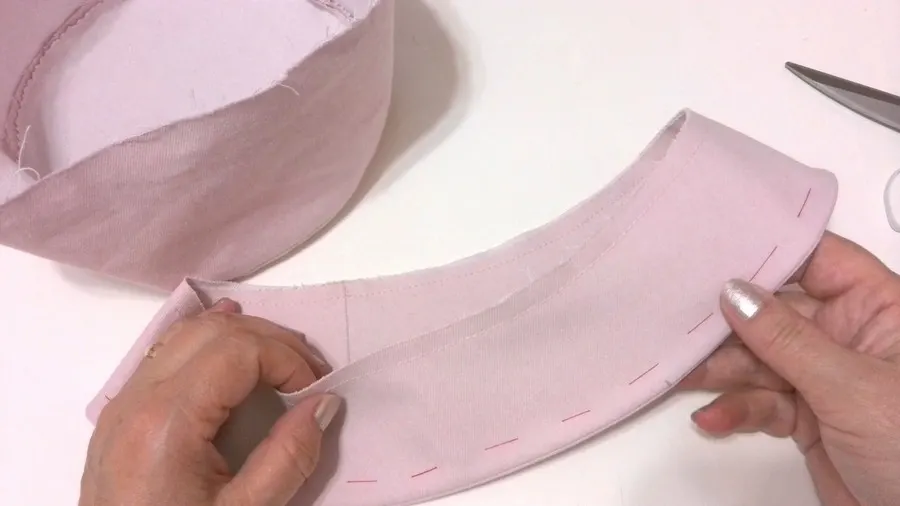
Stitch 2 brim sections together along the outer edge. Trim seam allowances close to stitches with pinking shears. Turn the brim right side out. Baste along the seam and press.
Make a stitch along the inner edge of the brim ( ¼ inch or 6 mm from the fabric edge).


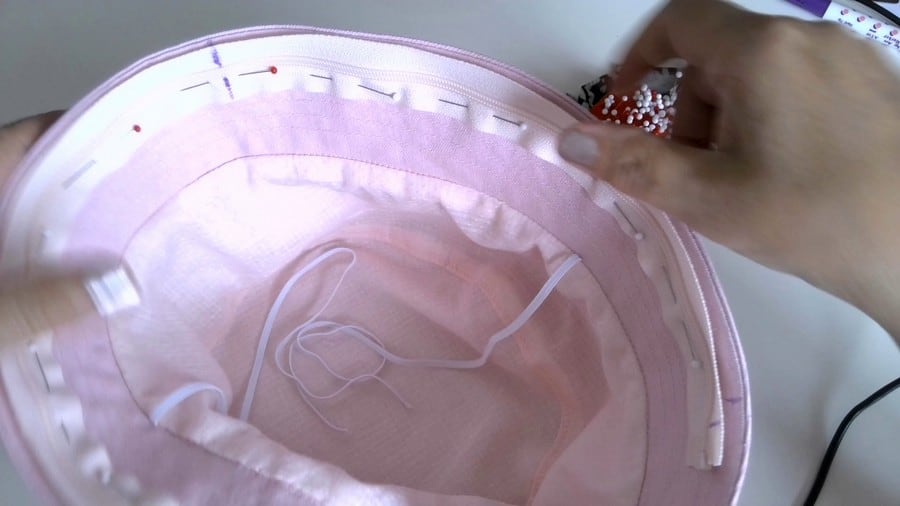
Step 6
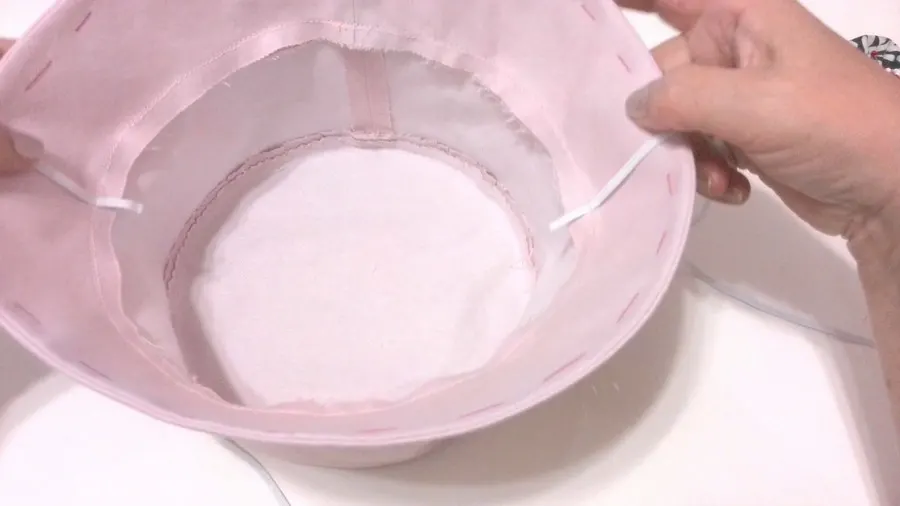
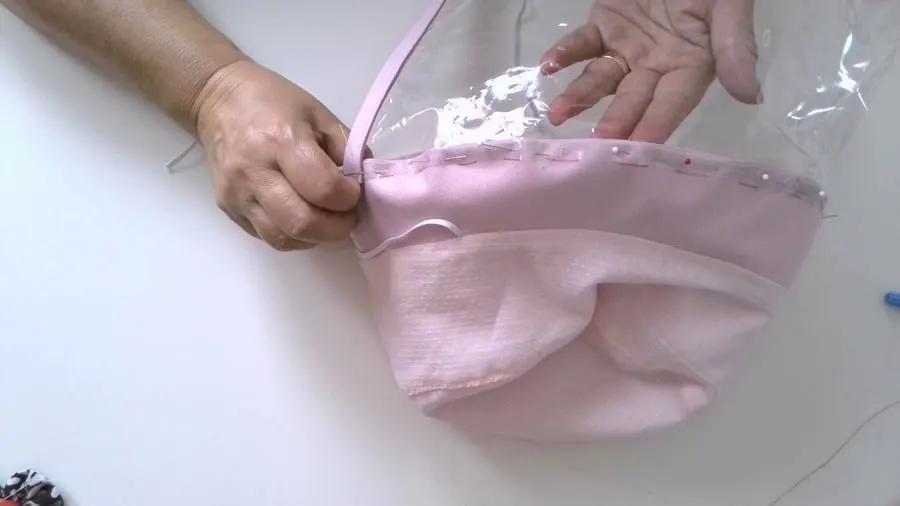
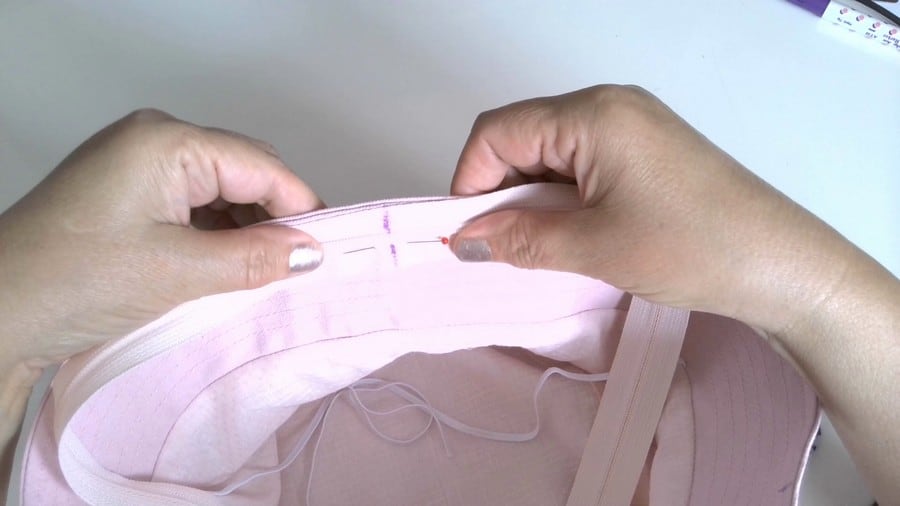
Pin the brim to the crown, matching symbols. Pin straps at the side symbols.
Stitch, Make sure you stitched over straps a few times and press seams allowances toward the crown.

Step 7
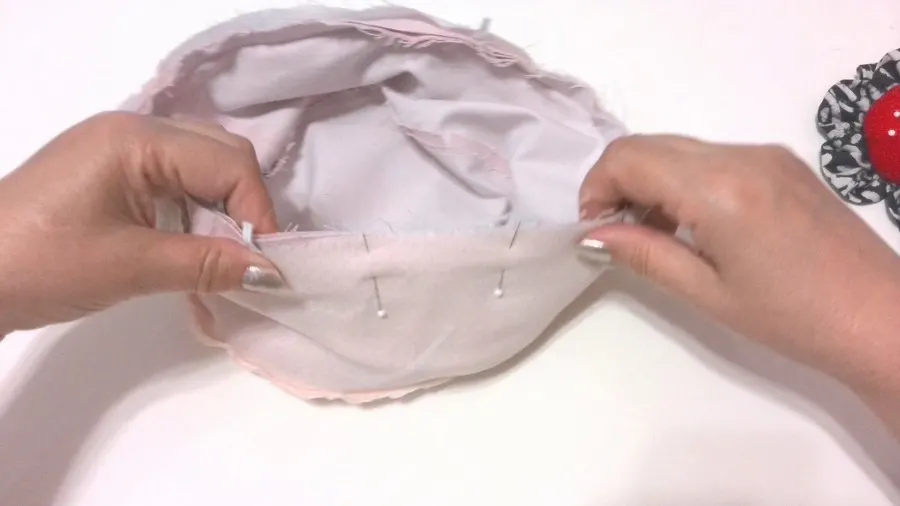
Place the hat and the lining right sides together and make a stitch at the brim section. Leave a few inches for turning the hat to the right side.
Turn the hat to the right side and close the opening by hand. If you want to know how to do an invisible stitch by hand sewing check out my tutorial Invisible stitch: how to use it for fixing a tear and sewing invisible “blind” hems


Step 8
Now let’s start making the clear protective shield.
Cut the pattern piece 4 from clear vinyl on a single layer.
You can use a rotary cutter and a cutting mat but vinyl can be cut by scissors especially since it’s only one piece. In the finished item, no vinyl edges can be seen.
If you need to take wrinkles out of vinyl – use an iron on medium settings, sandwich the vinyl piece between cotton fabric pieces, and press for a few seconds.
Clip the center point of the straight edge.
Step 9
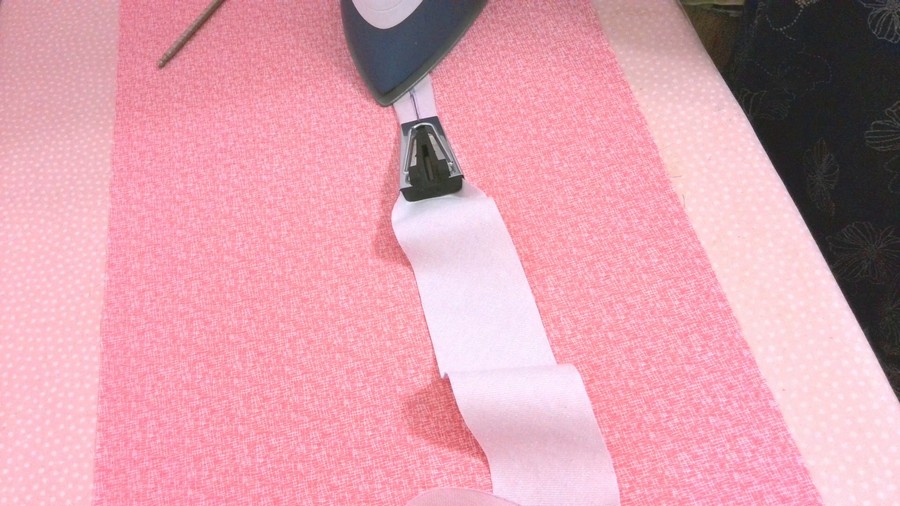
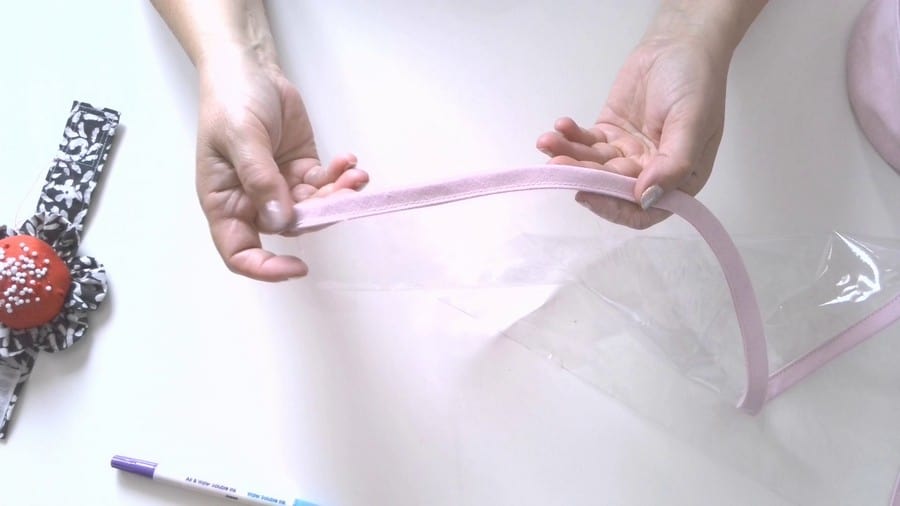
The curved edge of the vinyl shield has to be finished with bias tape.
You can make a bias tape yourself from the main fabric as I did. But you can also use a ready-made bias tape that coordinates with your fabric.
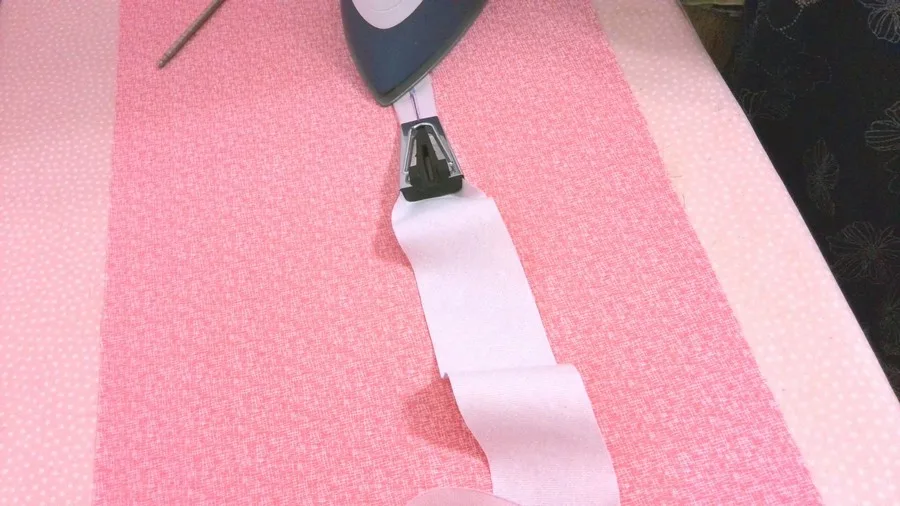
The length of the bias tape is around 32 inches. I made the bias strip 2 inches wide (or 5 cm).
I like to use my bias tape maker to make my bias tapes. For this project, I used a 2.5 mm metal bias tape maker. You can read how to do it in my tutorial Bias tape tutorial – how to use a bias tape maker.
Step 10
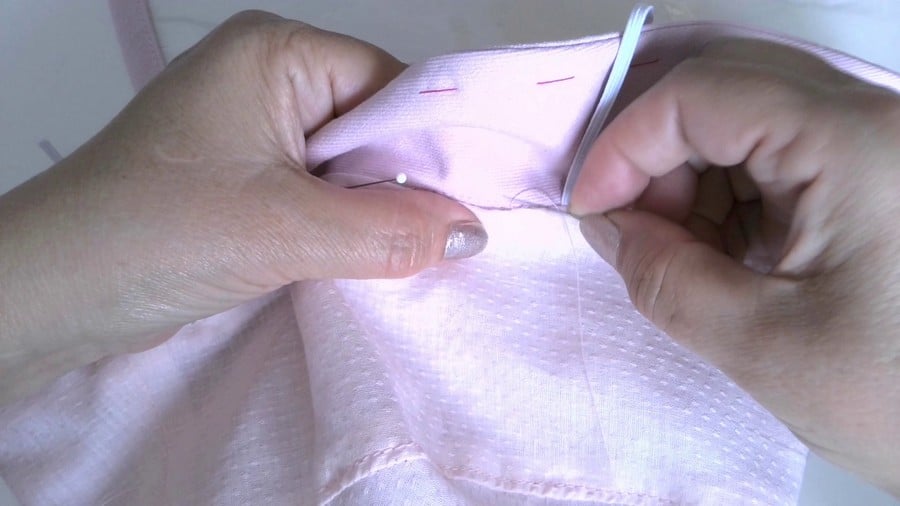
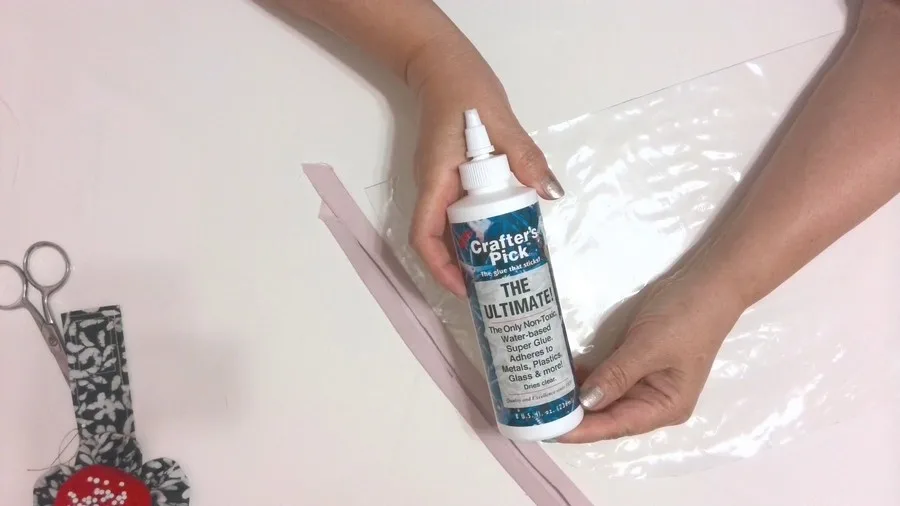
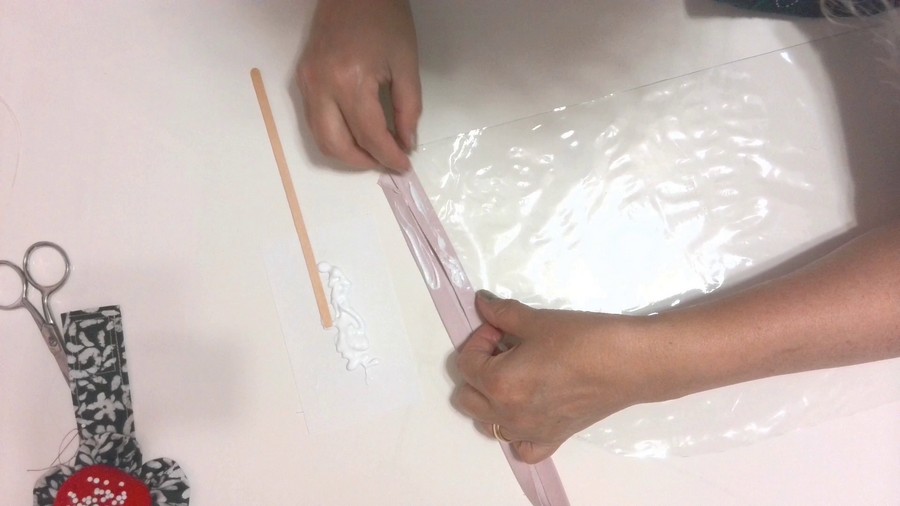
Now we need to attach the bias tape to the vinyl piece. It’s better to fix the tape over the vinyl before sewing. You can do it with sewing clips called Wonder clips. Or you can do it with glue as I did.
I like to use this glue – the Ultimate. It dries clear and doesn’t gum my needle too much.
After the glue dries out make a stitch attaching the bias strip to the vinyl shield.
Use a straight stitch of your sewing machine – set the stitch length to 3 mm.
If you can’t keep equal distance while topstitching check out my tutorial on How to sew straight: this tiny presser foot can create remarkable results


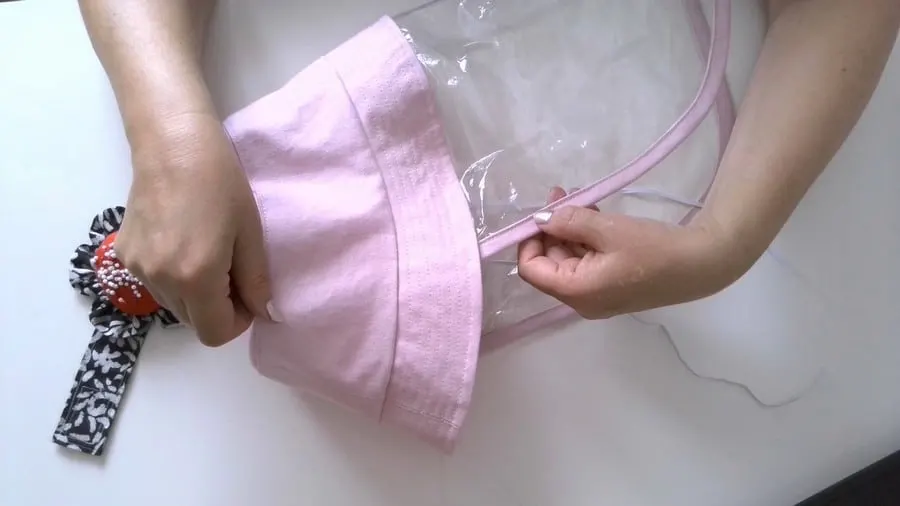
Step 11
The shield is ready to be attached to the hat’s brim.
Start attaching the vinyl piece from the center front. Mark center front on the brim with a marker. You can use Wonder clips for this but pins can be used also. The vinyl will have small holes from pins but they are not visible. Keep the seam allowances around ⅜ inch or 1 cm.
It’s not really comfortable to pin the vinyl but I did it little by little.

Step 12
Sew the vinyl shield. Keep the vinyl side up and the fabric side down on the needle plate. The stitch length is 3 mm. Use a straight stitch.
If your sewing machine doesn’t want to move over vinyl – use a Teflon presser foot ( I use it to sew leather all the time), or walking foot, or a Rotary even foot (read about the foot in my tutorial Presser foot guide: what is a Rotary Even Foot and how to use it.


Step 13
Now it’s good to put a few rows of stitches on the brim to make it a bit harder so it keeps its shape.

And this is the result.


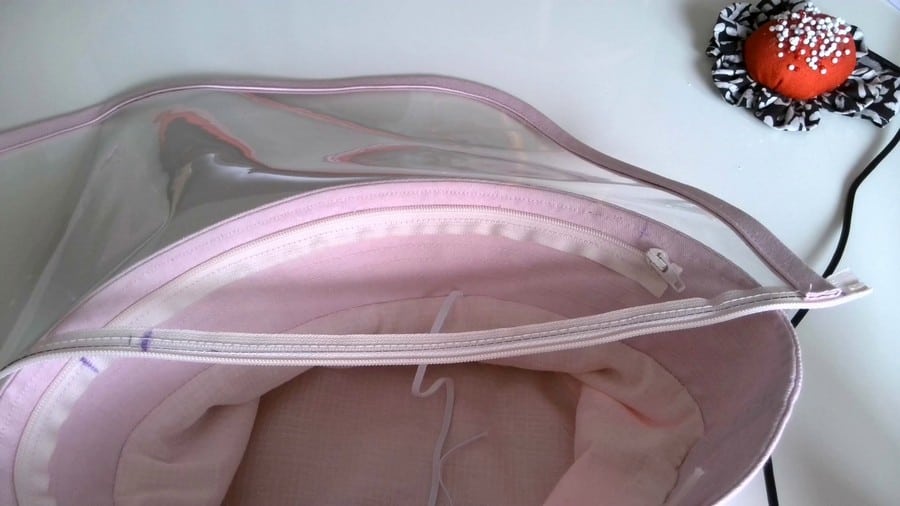
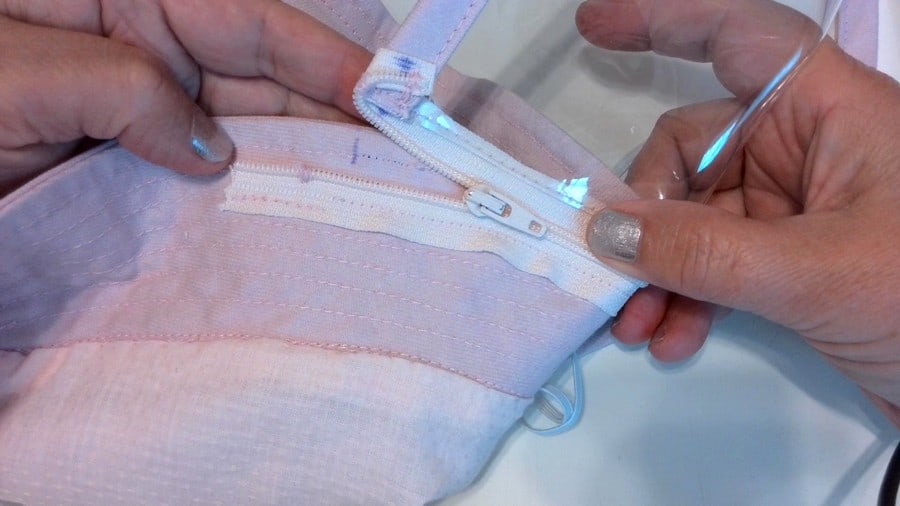
How to make a removable face shield
To make the face shield removable you will need a separating zipper – better use one that is softer and doesn’t have big plastic or metal teeth but has nylon teeth. The length of the zipper is 20 inches (51 cm) or more (you can cut it).
Like these in the images below.
First of all, mark the center point on the brim and mark also the side points on the brim.
The zipper ends should go about ⅜ beyond those side marks for easy fastening/unfastening. If you have a long zipper (22 inches or more), don’t cut it yet. But mark the zipper length necessary for the brim. Mark also the center point on the zipper.
Start pinning the closed zipper from the center point to the sides. We are going to sew the LEFT SIDE of the separating zipper to the brim, so the pin is only the left part of the zipper.


Open the zipper and remove the right part of it.
Make a stitch attaching the left part of the zipper to the brim.

Attach the shield to the right part of the zipper. Make sure you didn’t mix up the right and wrong sides of the zipper (for example, try to close the zipper and start attaching the vinyl shield). Unfasten the zipper again and continue attaching the shield.
Make a stitch, zipper side down, vinyl side under the presser foot. If your regular presser foot doesn’t work, use a Teflon foot, or walking foot.

If the vinyl will get stuck on the metal throat plate use tissue paper under the vinyl.
Close the zipper with the attached shield.
Now you have to finish properly the zipper ends.
I had the zipper bigger than 20 inches so I cut it – now I need to sew stoppers so the zipper pull doesn’t slip off. Just make a few stitches by hand on both sides of the zipper.
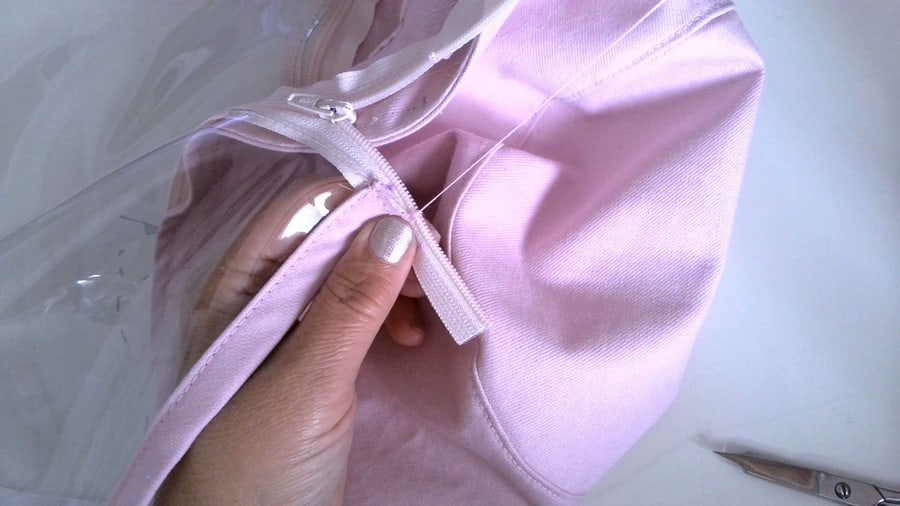
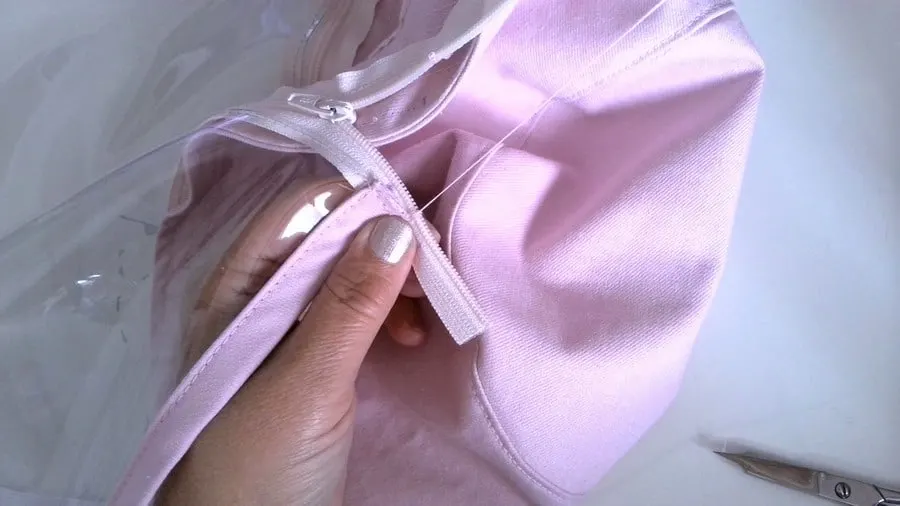
After that just sew the ends so that they are not visible from the right side.

And now I can wear the hat with the face shield or without.


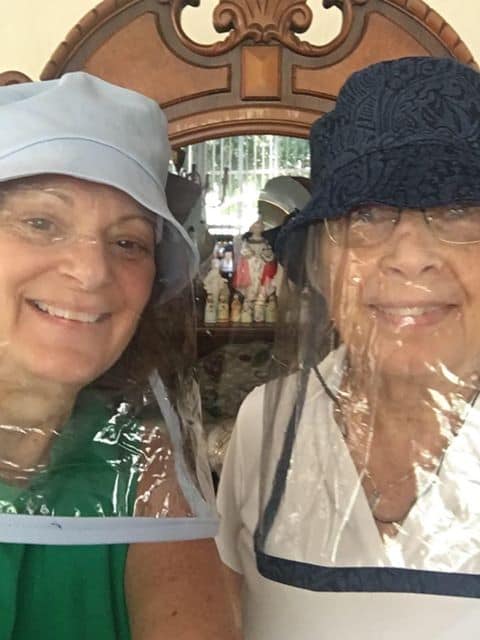
Some Feedback from my readers
LuAnn Molinaro Leahy
“I had no problem. Great pattern. My plastic was a medium weight used to cover a tablecloth. It was very easy to work with and oddly you can crunch it in the hat if you don’t want it down and take it down and the wrinkles seem to fall right out. Love it.”


You can also watch my YouTube video tutorial Face mask alternative DIY – a bucket hat DIY with a clear face shield.

If you are interested in my other fast and easy sewing projects check out these tutorials:
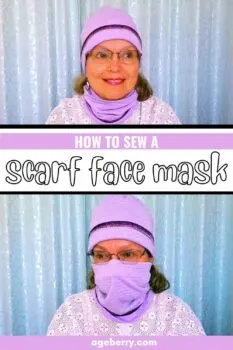


Did you find this tutorial helpful? If so, save this pin (see below) on your sewing board so you can come to this tutorial later when you are ready to sew your own bucket hat with a protective shield, and follow me on Pinterest for more tips, tutorials, and inspiration!


latest posts
- Think You Know Zippers? This Installation Guide Might Surprise You
- Why Does Your Seam Ripper Have a Red Ball? Discover Its Purpose!
- Topstitching Troubles? This Simple Trick Will Turn It Around Instantly!
- How to Sew Shirring: A Step-by-Step Guide to Elastic Thread Gathering
- Are Self-Threading Needles Really Useful?
- Amazon Spring Sale: Best Choices
- Elevate Your Prom Look: A Guide to 10 Neckline Choices (2024)
- No Pattern, No Problem: Turn Scraps into a Quilting Masterpiece
- Prom Perfection: A Guide to Choosing the Perfect Dress Color (2024)
