
In this tutorial, I want to show you how to applique with an embroidery machine. My embroidery machine is Brother Luminaire. But this technique can be used with many modern embroidery machines.
Attention! If you like the video format, at the bottom of this post, look for a YouTube video version where there is a step-by-step Brother Luminaire tutorial on how to applique with an embroidery machine. For a more complete picture, I recommend exploring both versions.
Let’s do it step by step.
So, step 1
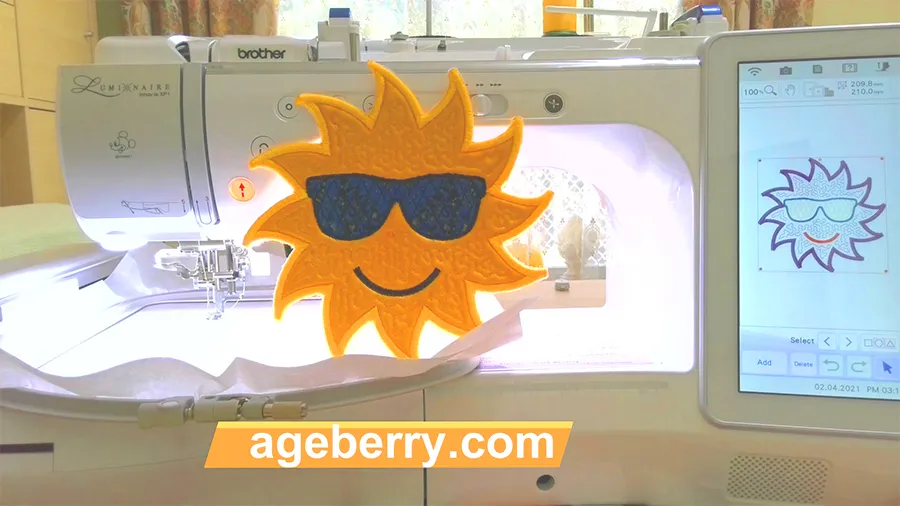
Choose your design and load it to Brother Luminaire (or another embroidery machine)
Have the design open on your screen.
You can easily design your own appliques with the Brother Luminaire machine. But in this tutorial, I will not show you how to create designs with Luminaire but how to actually make the applique with the machine using an already created design.
I designed this applique myself and you can download the free design from my resource library if you are a subscriber to my newsletter.
Also, I am not going to show you how to make this whole thing – this hot pad or mug rug (whatever you call it). I will just show you how to make an applique and in this case, the applique is the sunglasses.
Note: Some of the links on this page are affiliate links. This means I will receive a commission if you order a product through one of my links. I only recommend products I believe in and use myself.
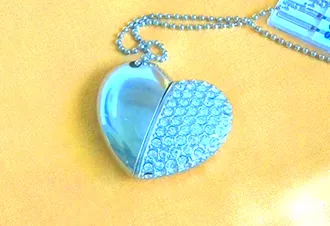
You will need to transfer the applique design from your computer to your embroidery machine. On Brother Luminaire you can transfer designs through WI-FI. But a USB drive is also a good option. This is the fancy USB drive I use for my embroidery projects.
Step 2
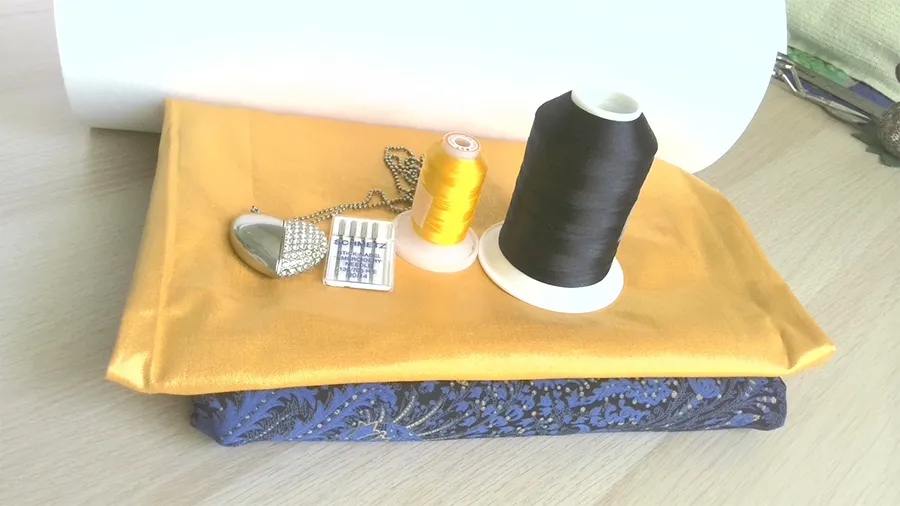
Choose your fabric combinations and embroidery threads you want to use for making an applique with an embroidery machine
Make sure that the fabric for your applique is not bleeding. Some dyes lose color when washed. Some of this color transfers to adjacent fabrics and leaves a stain. We don’t want this. I am using 100% quilting cotton. And recently I bought some good embroidery threads from Amazon – the brand is called BROTHREAD, they don’t break or fray, don’t loop or pucker and they hold up colors very well.
Step 3
Choose your stabilizers and batting if necessary
I used a medium-weight tear-away stabilizer for this project.
Hoop a piece of stabilizer.
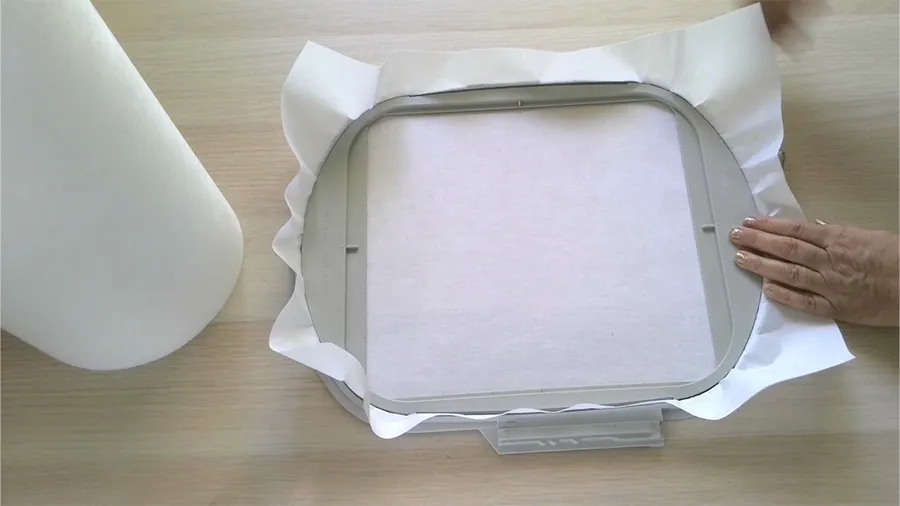
From now on you have a few choices.
- You can hoop a piece of clothes or home decor item (that piece where you want to attach the applique, it will be kind of a background for your applique) together with the stabilizer. Let’s call it a base fabric. You should place it right side up of course.
- Or you can just place the base fabric on the stabilizer without hooping it (right side up) – but you have to make sure the piece is not moving, you can hold it with your hands or run a basting stitch for example.
Step 4
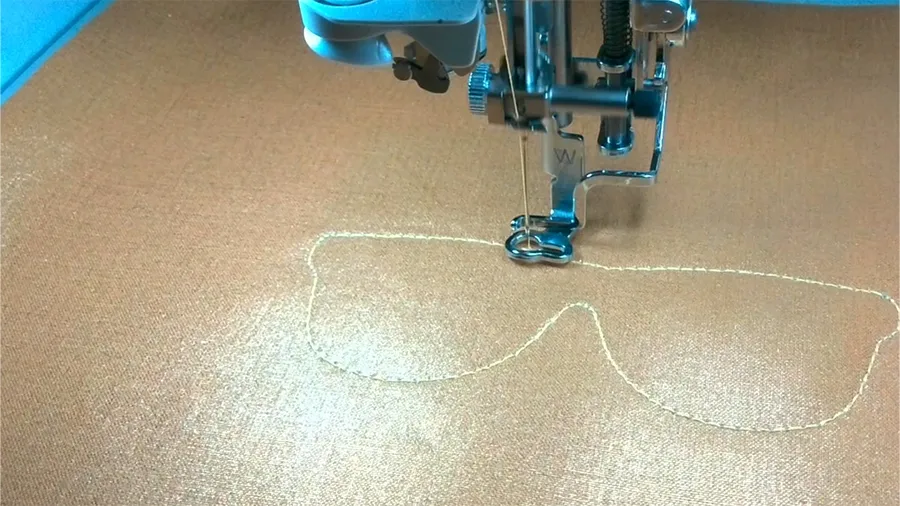
Run the first step of your applique design – a placement stitch
I think it’s called a placement stitch. Usually, it’s a running stitch, not a satin stitch. Use embroidery thread that matches the color of your base fabric.
Step 5
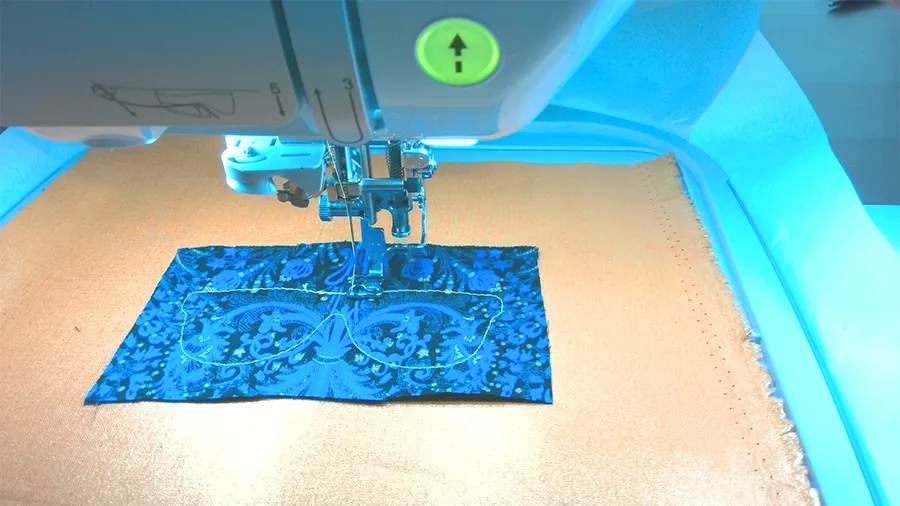
Run the next step of your applique design – a tack-down stitch
Take a piece of applique fabric and place it right side up over placement stitches. The applique fabric has to cover the stitches completely.
Run the next step of your applique design. In this step, the machine will attach the applique fabric to the base fabric.
Step 6
Trim the excess fabric from the tacking stitches
Take the hoop out of the machine.
From now on I will use it to demonstrate the actual project I am making – a mug rug in the shape of a sun.
Related post: Heat Resistant and Flame Resistant Fabrics 101
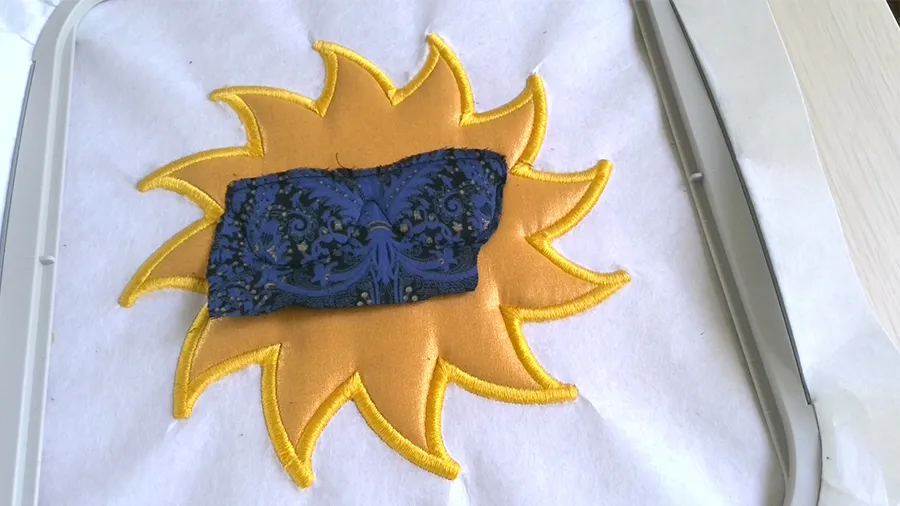
Take applique scissors and trim the excess fabric from the tacking stitches. I use duckbill scissors. Try to cut as close to stitches as possible.
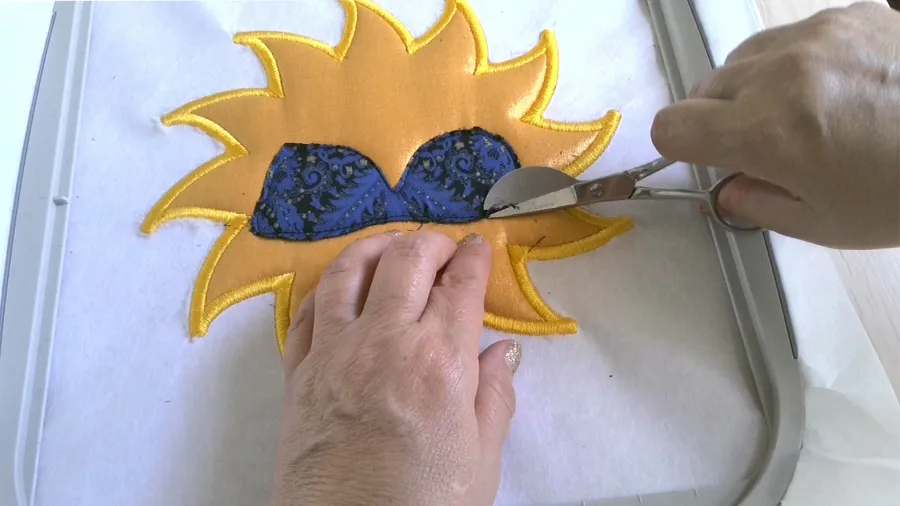
Let me tell you something about these duckbill scissors – they are absolutely essential if you like sewing and embroidery. You can trim around stitches without worrying you will cut the fabric or the thread. You can cut very close to the stitches.
Step 7
Finish the applique with the embroidery machine
Run the next step(s) of your applique design. Choose an embroidery thread to use. It can be a matching thread for your applique fabric or you can use contrast colors. If it’s just an applique without any additional embroidery the machine will usually sew so-called satin stitches (it’s very close zigzag stitches) or some other decorative stitches. These stitches will go all around the applique covering its raw edges.
But of course, the applique can be a part of a complicated embroidery design too. So let your machine finish the embroidery.
Related post: Quilting with an embroidery machine – be amazed!
So here I will have to run decorative fill stitches to finish the applique.
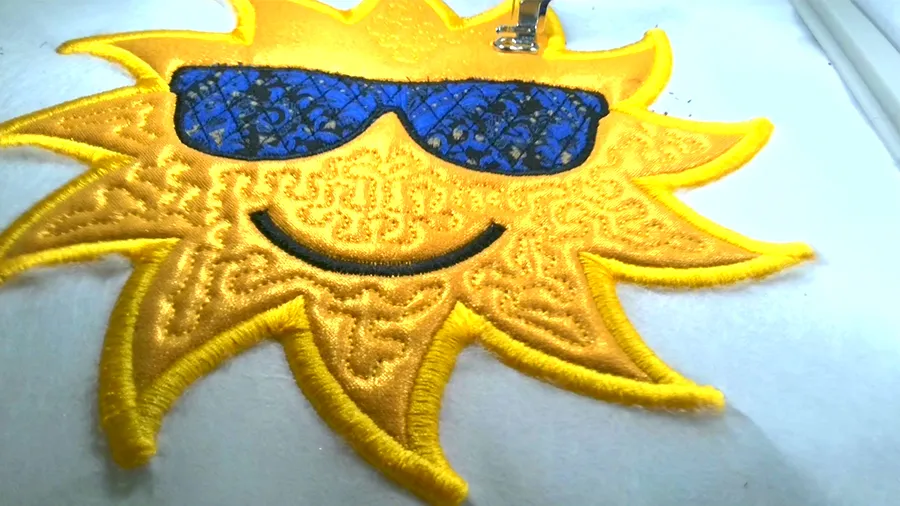
I hope you liked this Brother Luminaire tutorial. I think you can see how easy it is to make an applique with an embroidery machine. The process is very fast and precise – the only problem I had was choosing the fabric for my applique.
I made a quick video for you if you are the watching type. Check this out if you like to see how to applique with an embroidery machine instead of reading…

✅ Related tutorial: In The Hoop Embroidery Project: Fabric Christmas Tree Baby Bib
Did you find this tutorial helpful? If so, save this pin (see below) on your sewing board so you can come to this tutorial later when you are ready to make an applique with an embroidery machine, and follow me on Pinterest for more tips, tutorials, and inspiration!
latest posts
- Think You Know Zippers? This Installation Guide Might Surprise You
- Why Does Your Seam Ripper Have a Red Ball? Discover Its Purpose!
- Topstitching Troubles? This Simple Trick Will Turn It Around Instantly!
- How to Sew Shirring: A Step-by-Step Guide to Elastic Thread Gathering
- Are Self-Threading Needles Really Useful?
- Amazon Spring Sale: Best Choices
- Elevate Your Prom Look: A Guide to 10 Neckline Choices (2024)
- No Pattern, No Problem: Turn Scraps into a Quilting Masterpiece
- Prom Perfection: A Guide to Choosing the Perfect Dress Color (2024)
