
In this sewing tutorial, I will show you how to use a bias tape maker – a very simple but very handy tool. Do you use this precision tool that folds fabric into perfect halves automatically?
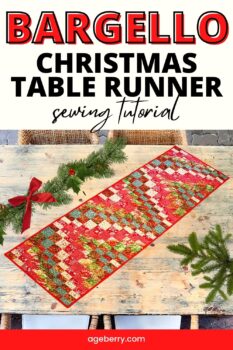
While sewing my Easter table runner I decided to embellish it with fabric strips between my applique pieces. And the question was – how to make these strips so there are no visible raw edges and there is no difference between them in size – they should be exactly the same, right?
To do it manually is quite tedious work but I didn’t want to spend hours just making some trims for my table runner. So I used this gadget called a bias tape maker.
Let me show you how to use it.
Attention! If you like the video format, at the bottom of this post, look for a YouTube video version where there is a step-by-step tutorial on how to use a bias tape maker. For a more complete picture, I recommend exploring both versions.

Note: Some of the links on this page are affiliate links. This means I will receive a commission if you order a product through one of my links. I only recommend products I believe in and use myself.
Step 1
How to cut fabric for making a bias tape
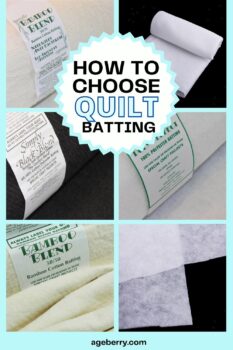
What fabric to use? These bias tape makers are good for quilting cotton and any medium-weight woven fabric. Some lightweight fabric can be used also but you will need to starch it so it becomes stiffer.
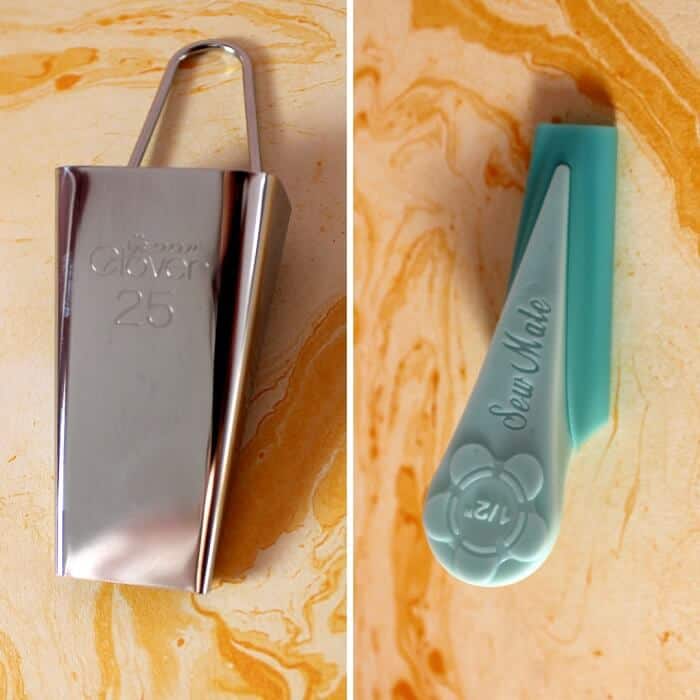
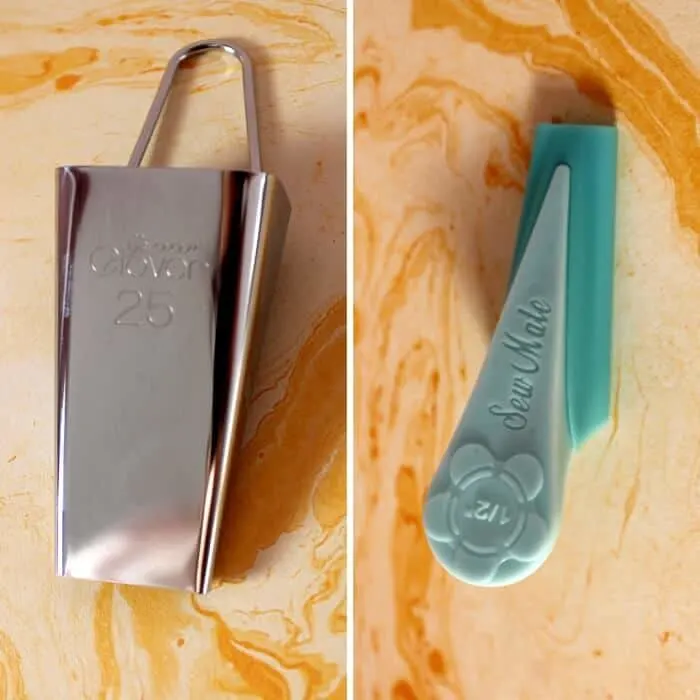
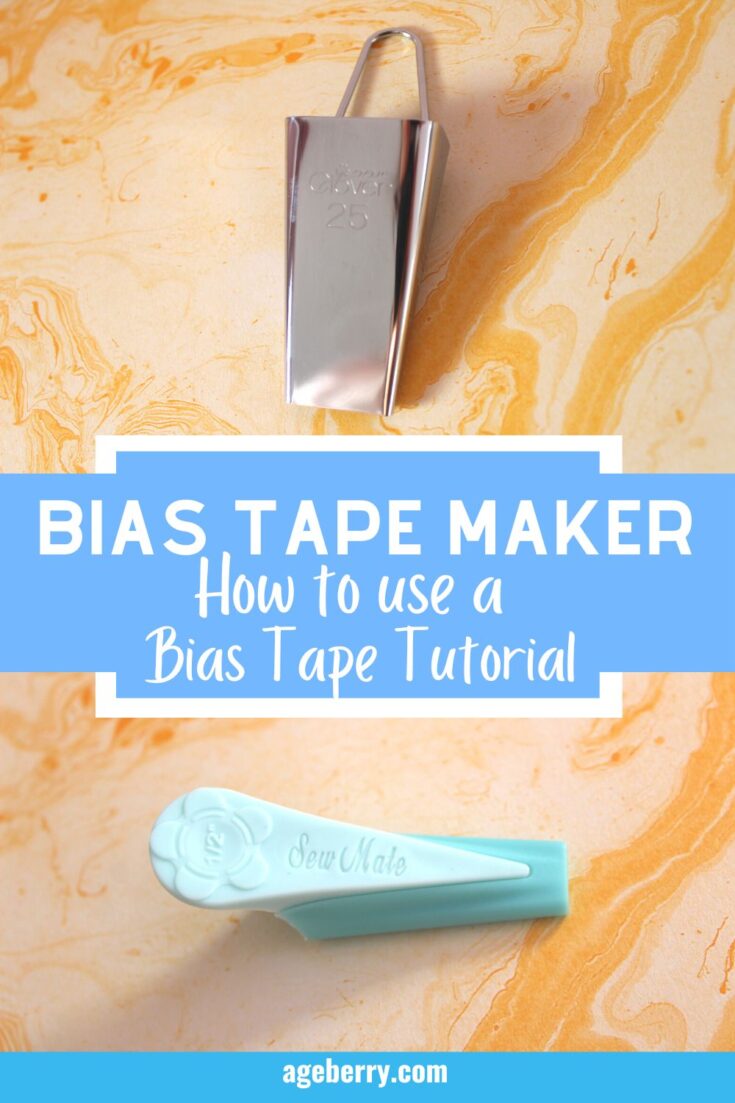
How wide to cut fabric for a bias tape maker? Usually, strips should be twice as wide as the size of the finished tape. On these tape makers, you can see some numbers. I have ½-inch and 25 mm tape makers – that’s the width of the final strips. So for the first one, I cut the strip 1 inch wide, and for the second I cut the strip 48 – 50 mm wide.
But I would test it out with a scrap piece before cutting the entire length of fabric because fabrics can have different weights and structures and you may need to adjust the width of the strip depending on the weight of the fabric.
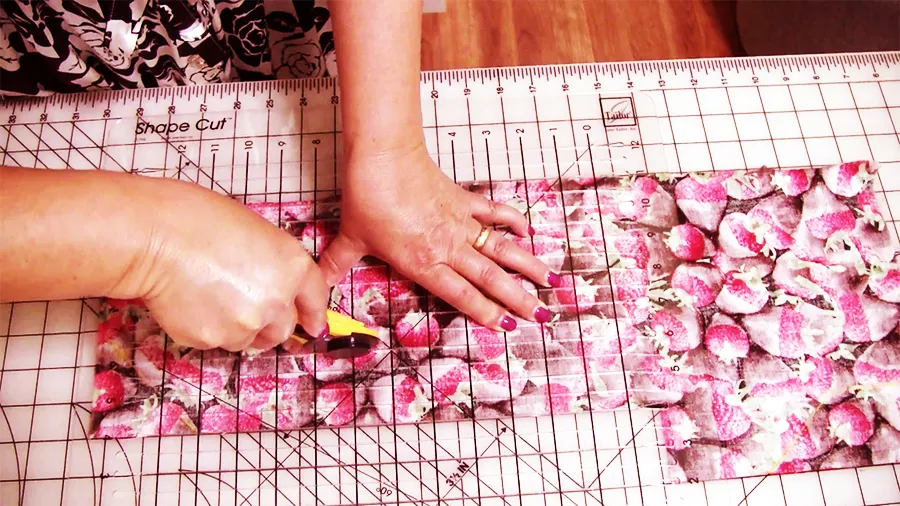
I am going to use my fancy quilting ruler Shape Cut Ruler.
It’s slotted! It makes the cutting process soooo much faster! With it, I can cut many strips at once using my rotary cutter. I highly recommend this product because it drastically cut down on the time I spent cutting my fabric.
✅ Related tutorial: Rotary cutter tips and tricks
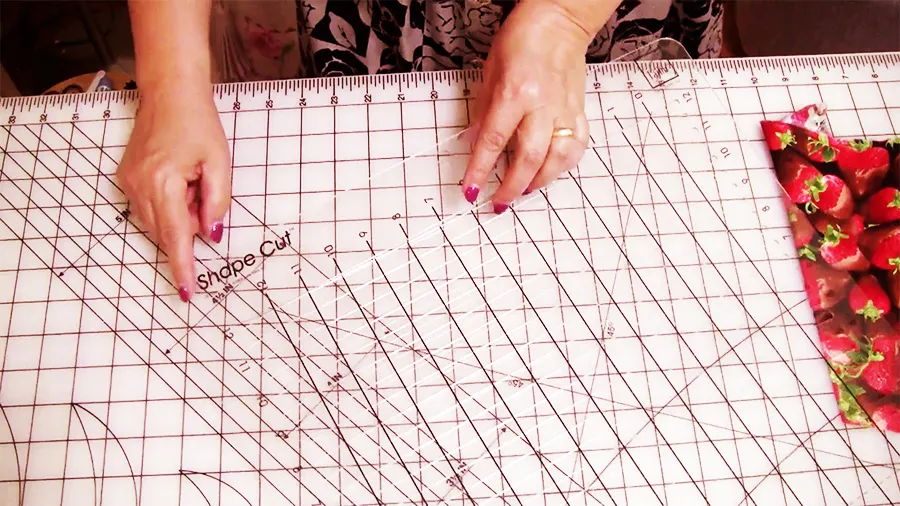
You can cut the strips vertically, horizontally, or diagonally. If you want to make a bias tape then cut it diagonally (on the bias) using 45 degrees angle.
I will use the tape maker to make some fabric trims on my table runner. I just need the narrow strips with enclosed raw edges. So I am going to cut vertically.
Step 2
How to use a bias tape maker
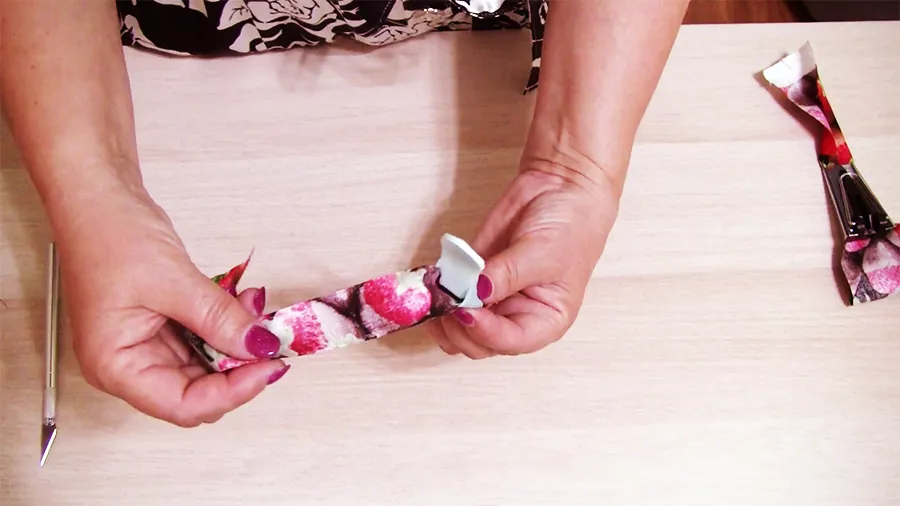
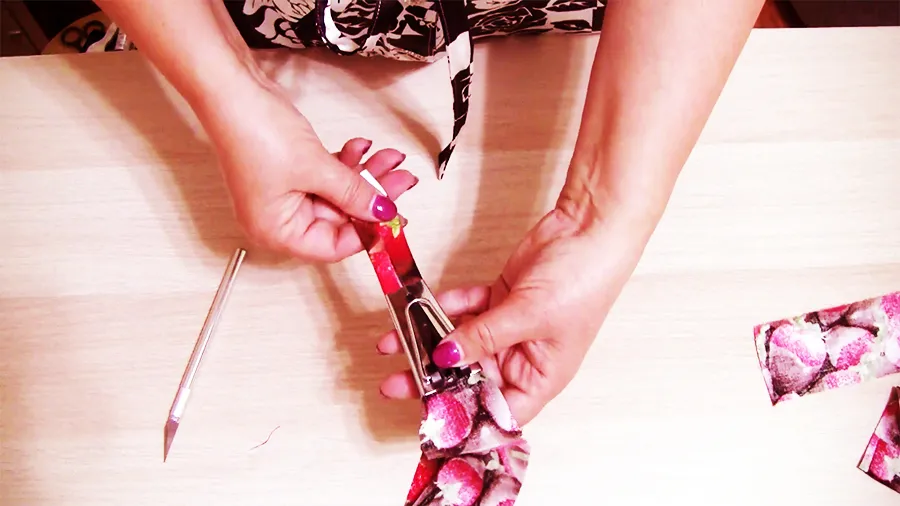
Now insert the strip into the tape maker. The wrong side of the fabric should be up. Feed one end of the strip into the wide end of the tape maker.
But it doesn’t pass very easily. So use something to force it through. You can see a little channel down the center of the tape maker so you can push the fabric through it.
Or you can use a bit of spray starch to make the fabric stiffer and then it will pass through the channel easier.
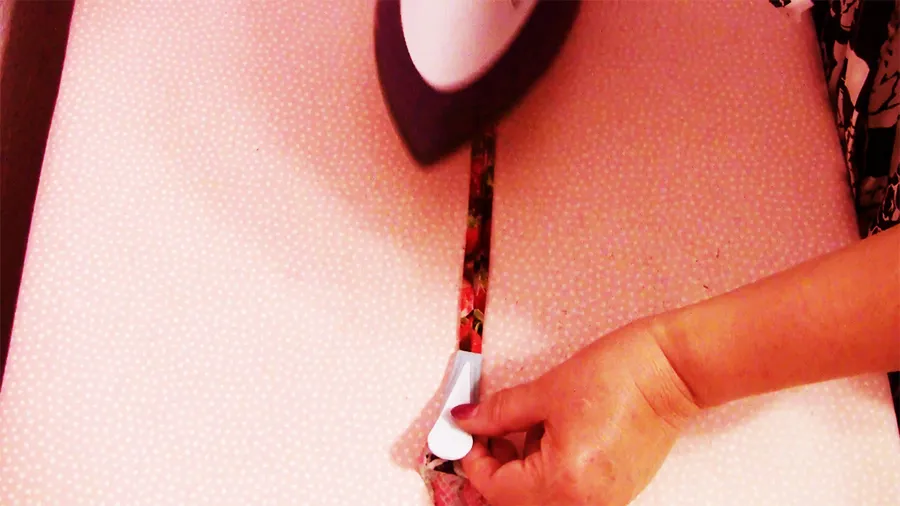
Then the fabric edge is going out of the narrow end of the tape maker. Pull this edge and bring the fabric forward. You can see now that the sides of the strip are folding and meeting in the center.
You can have a problem with the fabric being twisted. So move the strip around to make it fold correctly.
✅ Related tutorial: How to make a quilt binding with perfect mitered corners
Step 3
Making the bias tape with the bias tape maker
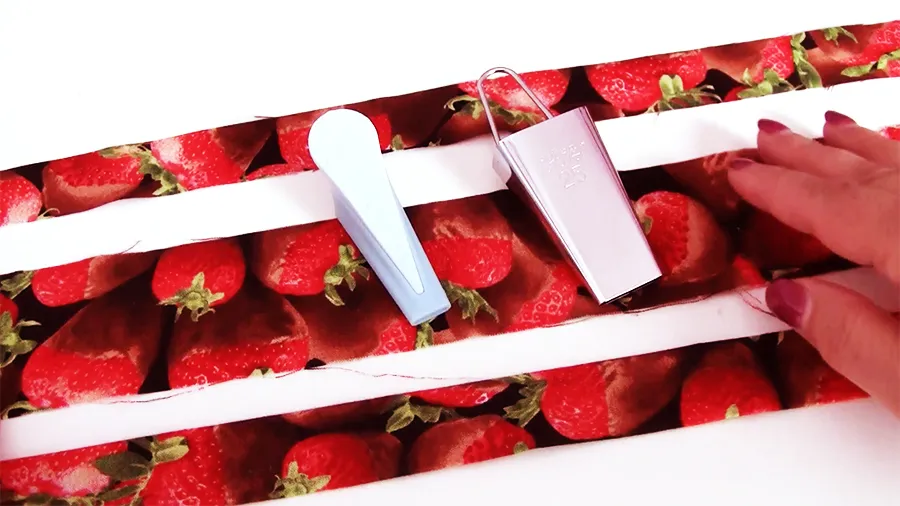
You can see that the fabric tape coming from the tool is folded. I mean both edges of the strip are folded toward the center. So iron the folded tape while pulling the tape maker but don’t pull too hard, just lightly.
Tape makers come in many different sizes, so you can always find the right size for your projects. Great little gadget!
Now I am going to use a different size tape maker, it’s written on it 25 mm and it’s metal not plastic like the previous one. For this tape maker, I cut the strips wider, 50 mm.
✅ Related tutorial: How to make a reversible table runner with appliques
So here is my YouTube video. Check this out if you like to see how to use a bias tape maker instead of reading…

Did you find this tutorial helpful? If so, save this pin (see below) on your sewing board so you can come to the article later when you need this information on stay stitching , and follow me on Pinterest for more tips, tutorials, and inspiration!

Ready to take the next step in your sewing journey? Check out more step-by-step tutorials from my blog and don’t forget to share!


latest posts
- Think You Know Zippers? This Installation Guide Might Surprise You
- Why Does Your Seam Ripper Have a Red Ball? Discover Its Purpose!
- Topstitching Troubles? This Simple Trick Will Turn It Around Instantly!
- How to Sew Shirring: A Step-by-Step Guide to Elastic Thread Gathering
- Are Self-Threading Needles Really Useful?
- Amazon Spring Sale: Best Choices
- Elevate Your Prom Look: A Guide to 10 Neckline Choices (2024)
- No Pattern, No Problem: Turn Scraps into a Quilting Masterpiece
- Prom Perfection: A Guide to Choosing the Perfect Dress Color (2024)
