
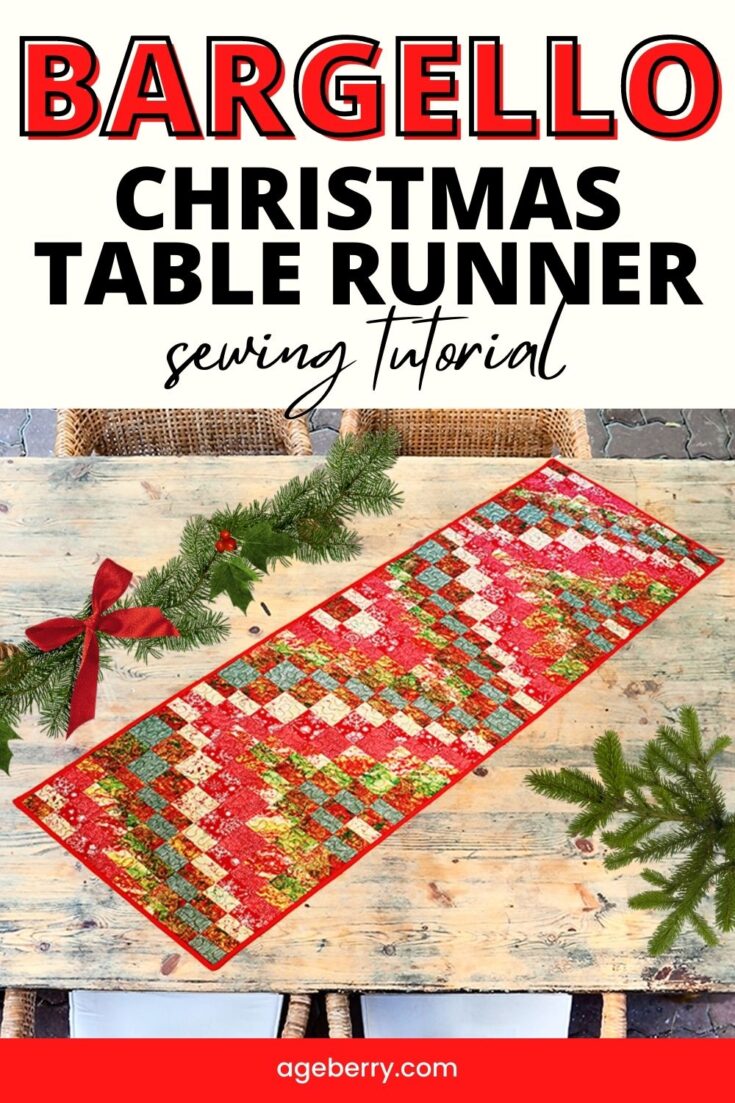
Bargello quilts seem more art than sewing, and I was always fascinated with them. And I also was wondering: “Bargello quilting – how difficult is it”? Well, now I have the answer because I made a quilted Christmas table runner in this technique. It is not difficult, but it does require work.
You may want to read my previous roundup post about Bargello quilting: A Comprehensive Guide to Creating Bargello Quilts.

I wanted to make something for Christmas and decided to make a table runner in Christmas colors. But the pattern that I created can be used to make a full quilt, and the downloadable file has 9 variations that you can peruse to create quilts from 25” x 30” to 127” x 56”. Metric corresponding sizes are 62.5cm x 75cm to 317.5cm x 140cm.
These dimensions do not include the border which you can always size to make the quilt as long or wide as you wish. In the above, the first dimension is the LENGTH of the quilt, the second the WIDTH.
For comparison, a queen size bed is 60” x 80” in the US, and a king size is 76” x 80”. In metric, these dimensions are 150cm x 200cm and 190cm x 200cm. The smallest size for this pattern is larger than a standard placemat (12” x 20”, or 30cm x 50cm).
And to end the discussion about sizes, I computed the sizes using three different strip widths: 2.5”, 3”, 4” (6.35cm, 7.62cm, and 10cm). Precut strips (so-called Jelly Roll strips) are usually 2.5”. Varying the strip width you will alter both the length AND the width of the design.
One more important dimension to keep in mind: we will take ¼” as standard seam allowance. We need to remember this value.
Here is a step-by-step sewing tutorial.
First, let’s take a look at the basic building block of the pattern (basic panel). The pattern (.pdf) is free to all subscribers of my newsletter.
When you subscribe, you will receive a coupon that will allow a free download of the pattern from my shop: Bargello pattern. You will also receive the password to my resource library page where there are many other free patterns available for download: Resource library.
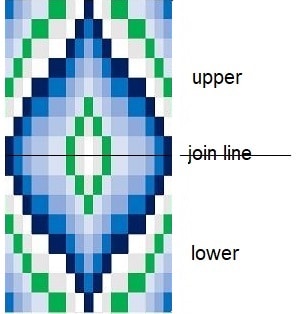
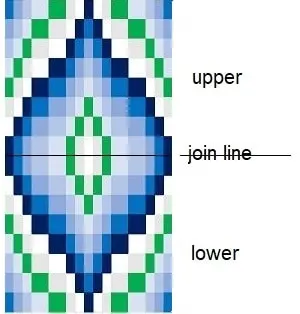
The upper half and the lower half are identical in appearance and to obtain the full panel one has to join the pattern in the middle (join line).
However this is not a rule – you can join them any way you wish, and I chose to arrange them side by side instead, as you can see in the images of the actual table runner.
Choose fabrics and a pattern
For the bargello quilt pattern to be clearly visible it’s better to choose some fabrics with contrasting colors. The colors in the original pattern as designed are on the blue side of the spectrum, and that did not seem appropriate for my Christmas table runner. Besides, I wanted to use what I had in the house.
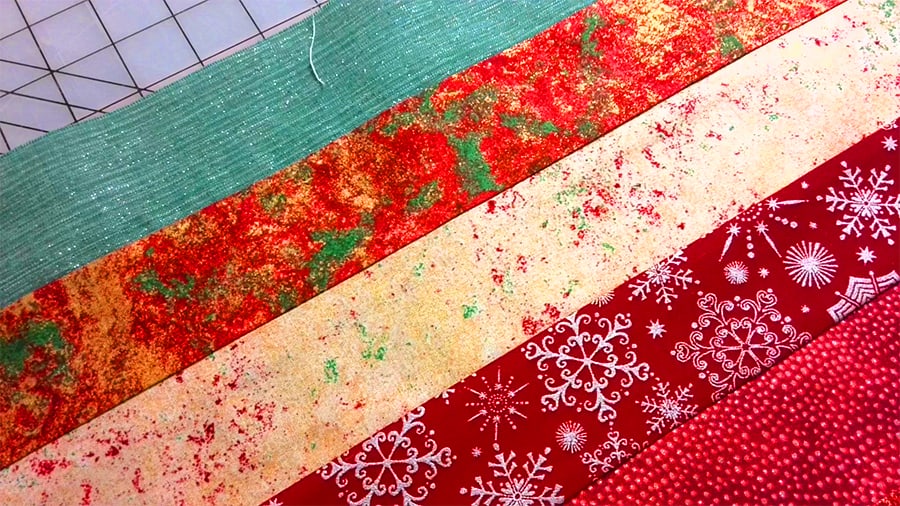
I think now that I made a mistake with choosing my fabrics when I decided to use Christmas colors. With the virus going on I didn’t want to go to a fabric store and I thought that I have enough contrasting colors for my bargello quilt. But it turned out that the contrast was not enough.
For example, instead of the yellowish-white I used, I should have used snow white, then the bargello pattern would have looked nicer. Also, the green and red colors are not really contrasting enough.
But this is hindsight, right? So let’s put it down as a lesson learned.

I also made another mistake in choosing the fabrics for my bargello quilt. And I think it’s good that I made it because now I can tell everybody who plans to do bargello projects how to avoid it. So, the advice is this: use only fabrics that are similar to each other in density and other characteristics. I used quilting cotton, but there are different kinds of quilting cotton, and the brands of quilting cotton are really different.
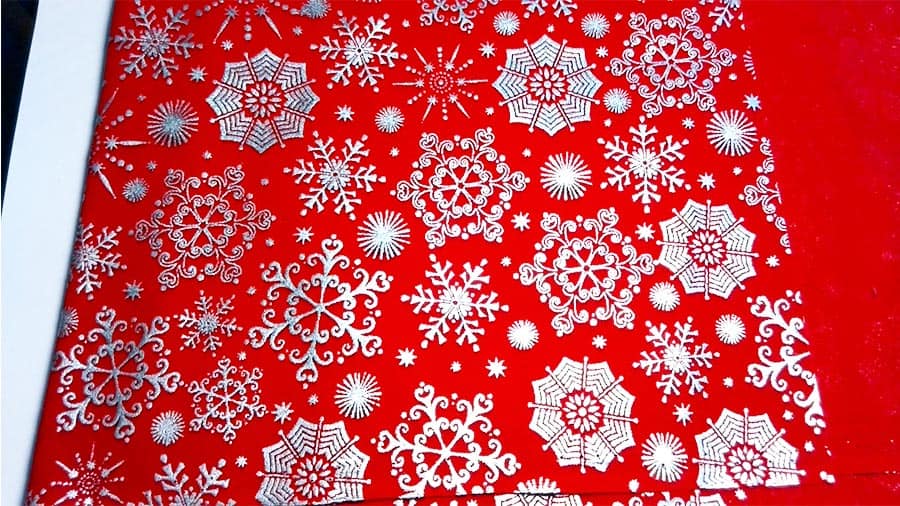
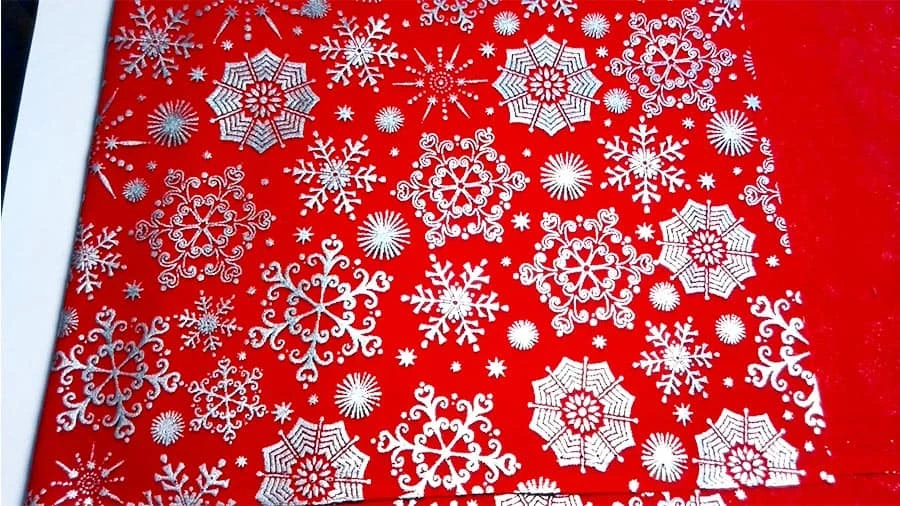
For example, one of my fabrics for the bargello table runner had very dense silver snowflakes that are not woven into the fabric itself but printed/painted on the fabric.
While the fabric is really nice it’s not so great to use for this project because it’s denser in places where are these snowflakes, and also because I can’t iron this fabric on the right side and it means I can’t iron the whole projects on the right side without using a pressing cloth.
And another one from my fabrics was much thinner than all others, and because of this, it was stretching more than the others. It was light green fabric with silver threads.
When you download the actual pattern you will see that there are eight colors, numbered 1 to 8 in the pattern; you will need to choose carefully those colors.
As for the pattern, I asked my husband to make the pattern for me, and he did. I wanted to have a pattern for Christmas resembling a Christmas ornament, and this does look like one, right?
Below is the image of the half of the basic panel in my colors before stitching; when I made the two parts I was supposed to attach them on the middle line (upper side in the image below) (this panel is missing a strip to the left).

This is what the quilt was supposed to look like if I would have followed the pattern.
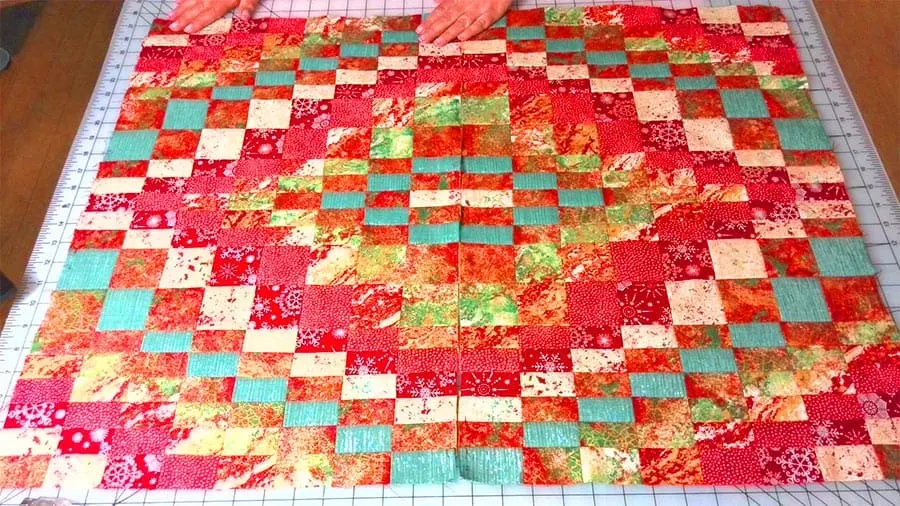
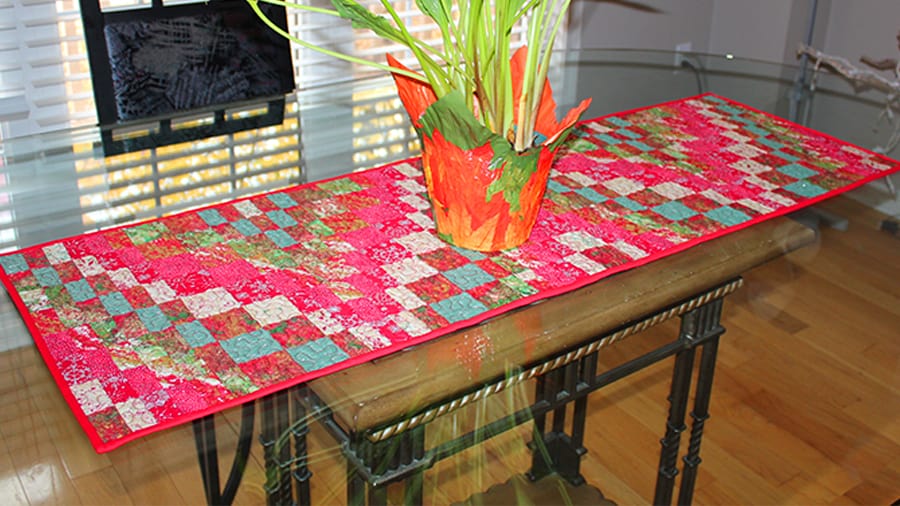
But I wanted to make a table runner for Christmas and the width would have been too big for that, so in the end, I decided to place them differently, side by side. You can still see the pattern though.
Prewash or otherwise prepare the fabric
I didn’t prewash my fabric for the project but I pressed it with steam; that should be enough for this project. Make sure you flat out all the wrinkles with a hot iron.
Cut strips from fabrics prepared for the project
Bargello quilts start with strips of fabric. I decided to go with 2.5“ strips, and the pattern was created for strips of 8 different colors. Beware that these strips are NOT the final strips that will be used in making the pattern. The final strips will be having all colors in them while the ones we are talking about now have only one color. Let’s call these the original strips and the others the processed strips.
For the moment we will only deal with the original strips only.
Cutting strips is an easy task but only if you have proper cutting tools: a cutting mat, a rotary cutter with a new blade, and a special quilting ruler. I also bought special fabric grippers that I placed on the underside of my ruler so the ruler doesn’t slide on the fabric. They are really helpful!
Note: Some of the links on this page are affiliate links. This means I will receive a commission if you order a product through one of my links. I only recommend products I believe in and use myself.


I wrote an article about rotary cutters: Rotary cutter tips and tricks. The conclusion there was that if you have a rotary cutter, a brand-name blade is a must. In fact, in sewing, it is very frequent that brand-name items are much better than no-name, scissors for example.


So the main concern is to make strips with exactly 90 degrees angles at the fold so they are perfectly straight. For this, you fold the fabric selvage to selvage and make sure your fabric is squared up before cutting. If you wonder how to do that, perhaps you can read my articles How to cut fabric straight and How to square up fabric.
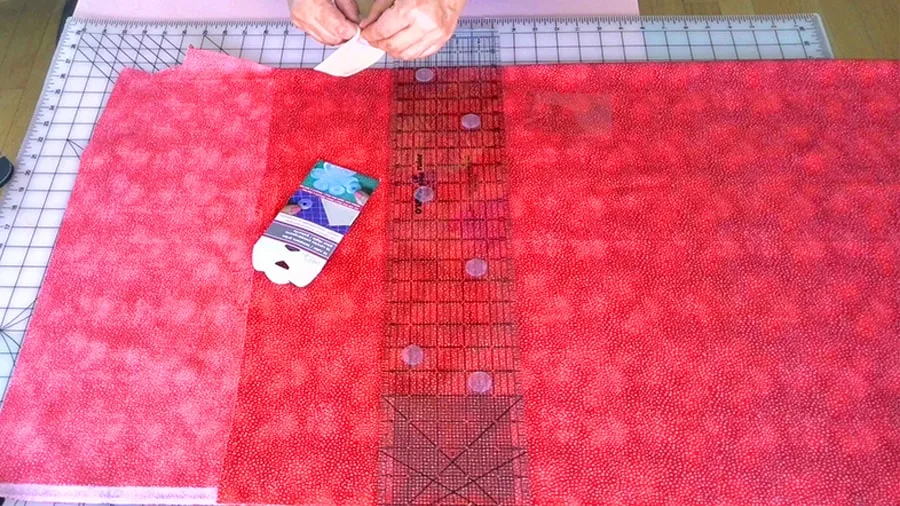
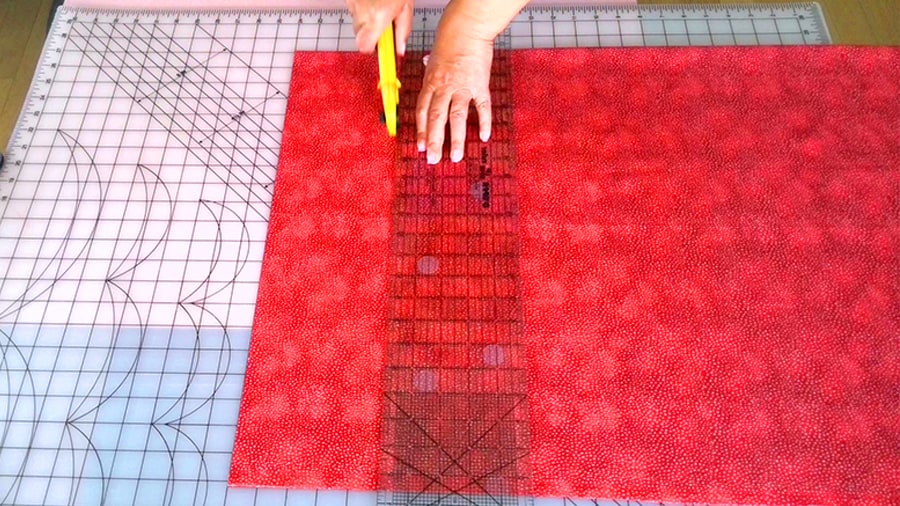
Position the folded fabric on your cutting mat so that the folded edge is down, closer to you, and align the fold with the horizontal line on the cutting mat.

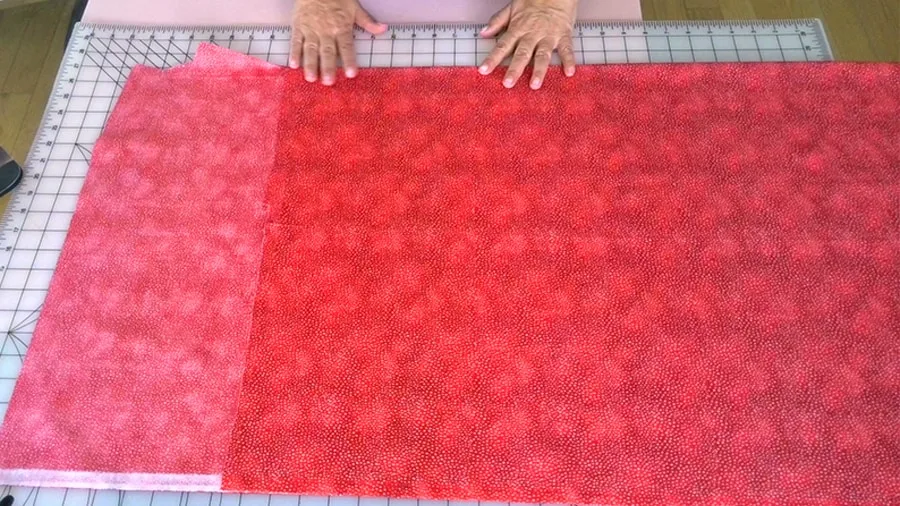
Now I need to straighten the edge of the fabric. I placed the ruler in such a way that the horizontal line on the ruler is aligned with the fabric fold. And cut.


Now what? How am I going to cut the 2.5 “ strips? I decided to use lines on my cutting mat and first cut the strip 5 inches wide. After that it was easy to cut it in half using lines on my ruler. So now I have two strips 2.5” wide from the first fabric. I need to repeat the same process for 7 other fabrics.
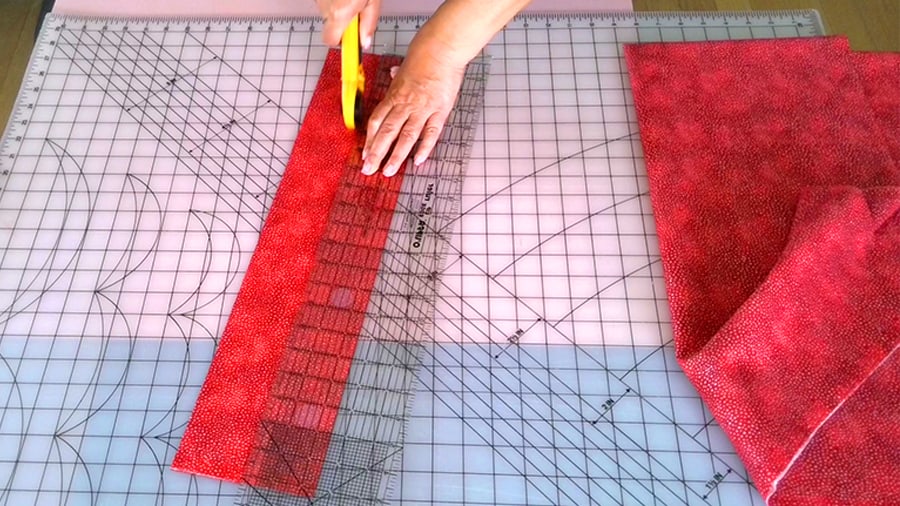
Hold your rotary cutter perpendicular to the fabric and place the blade right along the edge of the acrylic ruler. Cut away from your body, toward the selvage. Hold the ruler with your hand. If you can’t cut in one move stop and reposition your hand that holds the ruler.
Check the strips – any distortion in the middle? If you did everything right the strips will be perfectly straight.
For my project, I cut 2 strips from each fabric because I needed to make just 2 strip sets for the table runner. The width of the quilting cotton is standard – 44 inches. That was the length of my folded strips.
Computing how many original strips to cut
Computing how many 44” strips you need for each color is relatively simple: Looking at the pattern (which you downloaded I hope) you will find out the number of processed strips and their widths.
Let’s take the basic panel from my first image as an example and see what we need for it. The pattern will tell us we need 11 narrow strips (these are processed strips ) and 4 wider strips. The pattern will tell us that the narrow strips are 1” + 2 x seam allowance, which is 1 ½” wide. The pattern also tells us the wide strips are 2” + 2 x seam allowances, which is 2 ½” wide. Therefore the basic panel needs a total width of 11 x 1 ½” + 4 x 2 ½” for a grand total of 16 ½” + 10” = 26 ½”. We have two sides (lower/upper), so we will need a width of 53” total.
THIS is the length of the original strips we need, so 44” (one fabric width) is not enough, we need two strips each 44” wide. As you see, we don’t really need 44” + 44”, but it is easier to cut whole strips of the original fabric instead of stopping 2/3rd of the way (which would be enough for us).
So after this computation, we know that we will need to cut two strips each 44″ long out of the original fabric, and we also know we will have plenty of leftovers in case we make a mistake. This was only an example of the image in this article.
In reality, I made the panel presented in Pattern 7 which has 17 half-width strips and 4 full widths for a total width of 35 ½”, not much shorter than our 44”.
Sew the original strips together
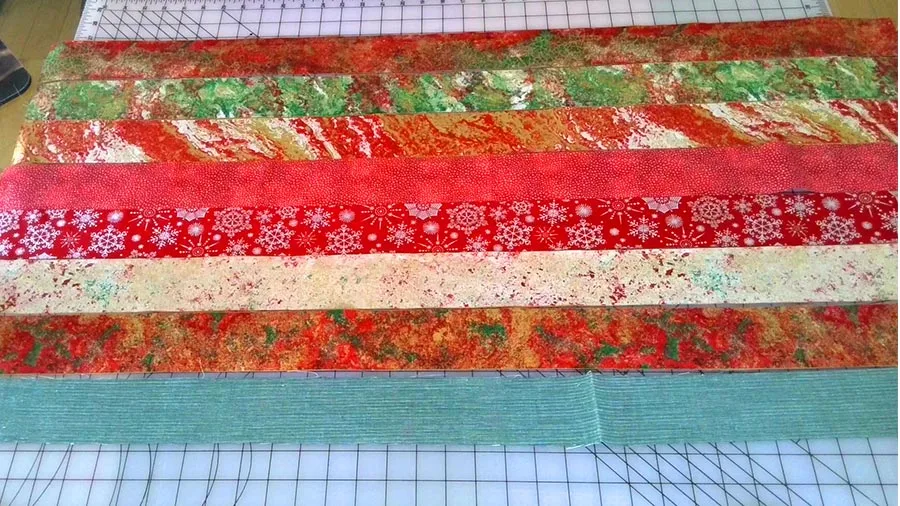
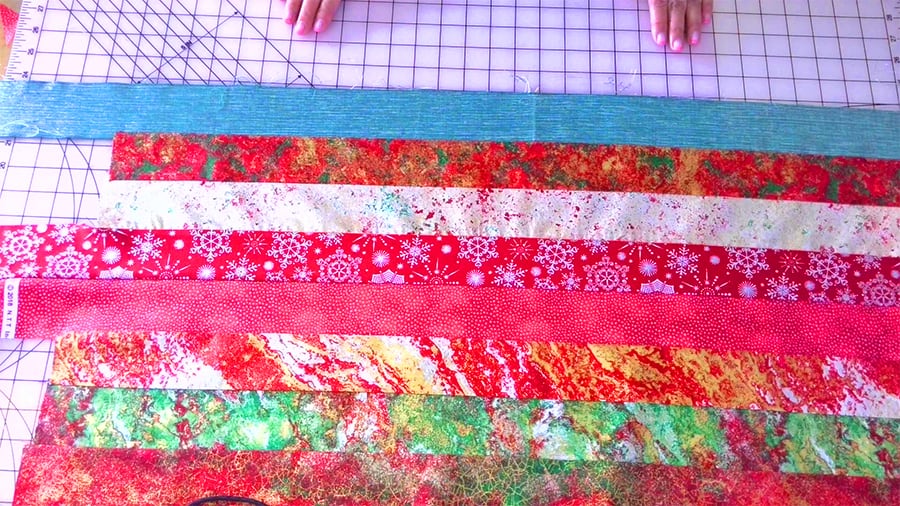
Place strips in order according to the pattern and sew them together using quarter-inch seam allowances. Very important to keep quarter-inch seam allowances or your strips will not align. This is what the strips look like before stitching:

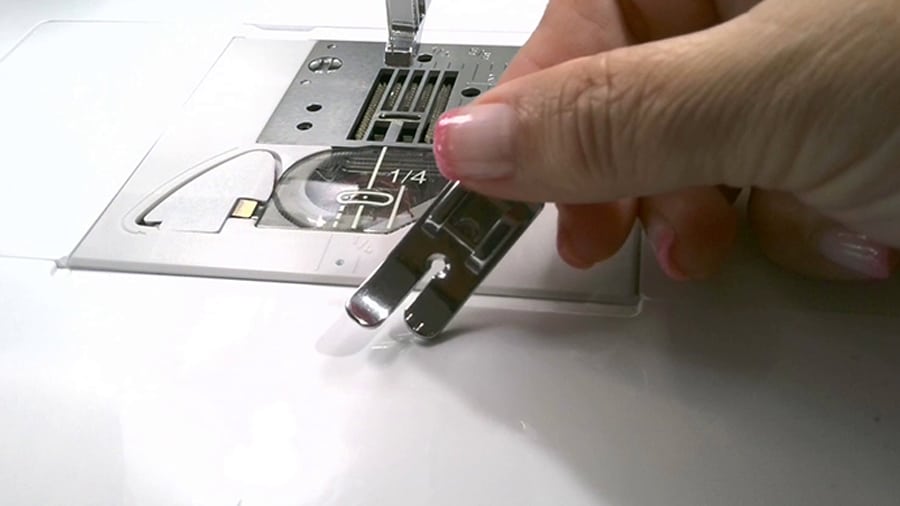
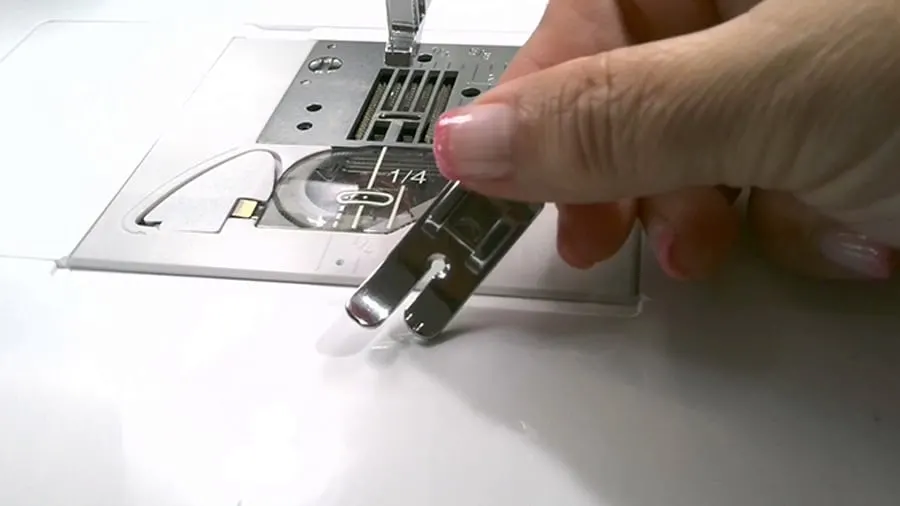
I like to use this special presser foot. The right part of the foot is exactly a quarter inch, it is very much used by quilters, and – surprise! – it is called “the quarter inch foot”. The 1/4″ feet come in many shapes, mine looks like this:


Very important: choose the correct thread. All my fabrics have something red in them so I chose red thread for stitching. The thread should be strong enough to keep strips from unraveling.
I don’t baste the strips, I don’t pin them together, I just keep them aligned and when I sew I usually keep the strips a little bit up, it helps to align their edges correctly.
Press seam allowances
Now, the question is – what to do with the seam allowances? We have ¼” on each side to hide.
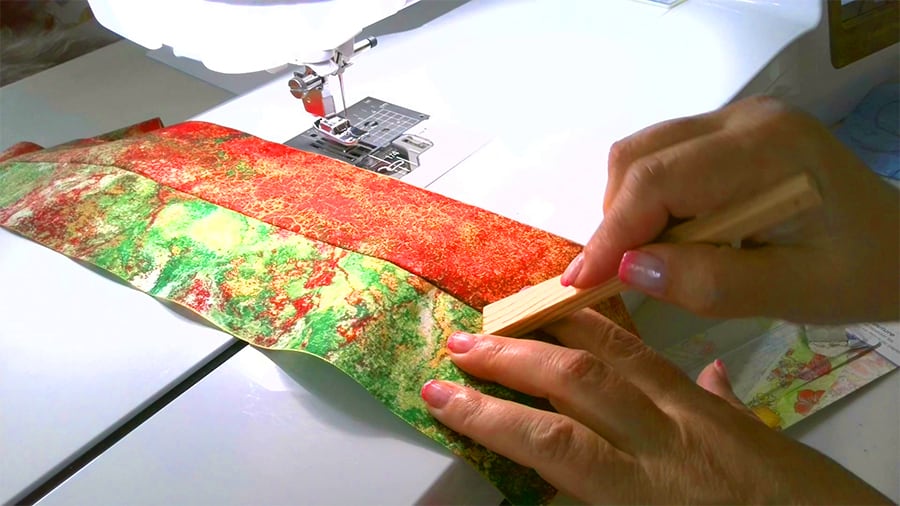
First of all, you should finger-press them right away. But press them in different directions, for example, finger press the first seam to the right, the second seam to the left, the third seam again to the right, and so on.
But it’s kind of too much finger pressing, right? We have to take care of our fingers. So there is a special tool to use instead of fingers.
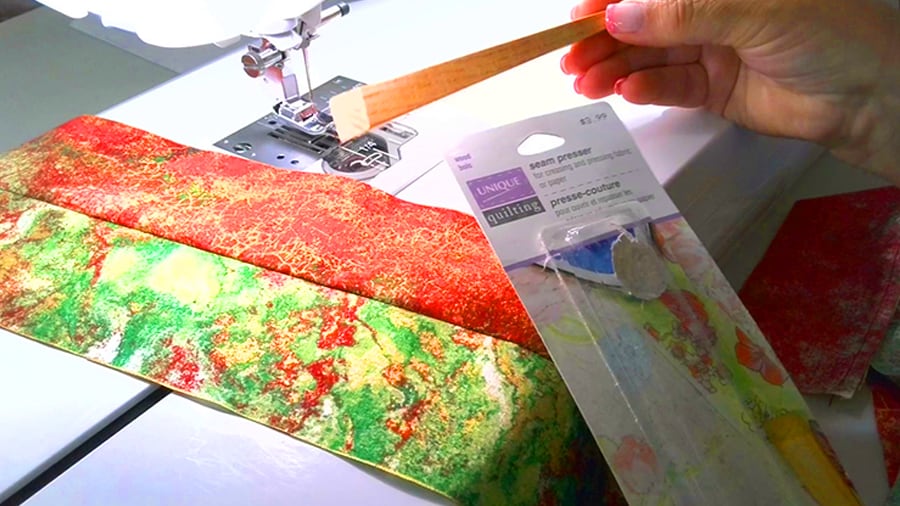

Mine is just a piece of wood stick specially cut at the edge. It works wonders for quilting cotton, and I don’t even need to iron the seams until all 8 strips are sewn together. I have seen others made out of plastic or metal, even some rollers.


But press this thoroughly with a steam iron after you finish stitching all the strips.
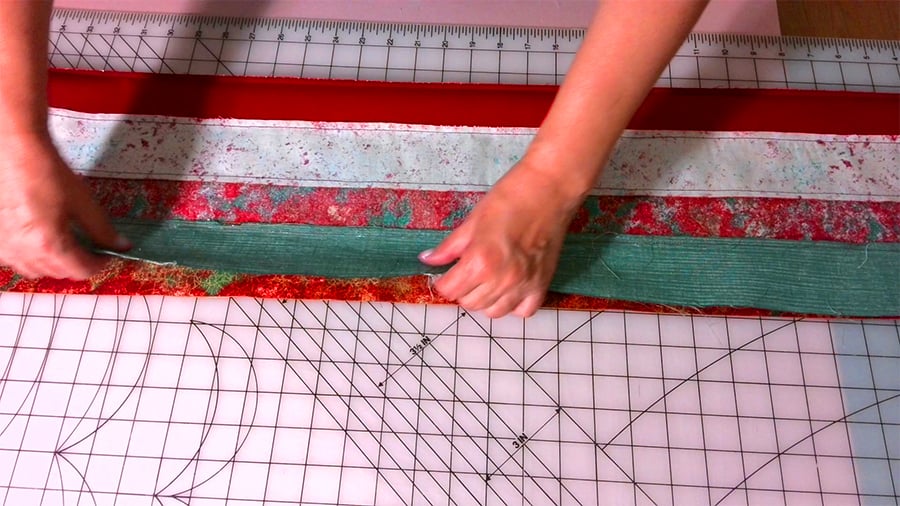
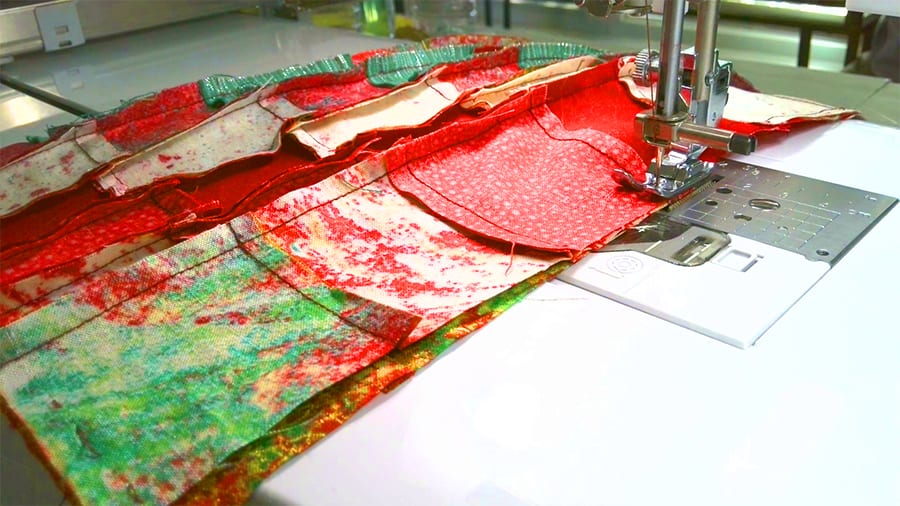
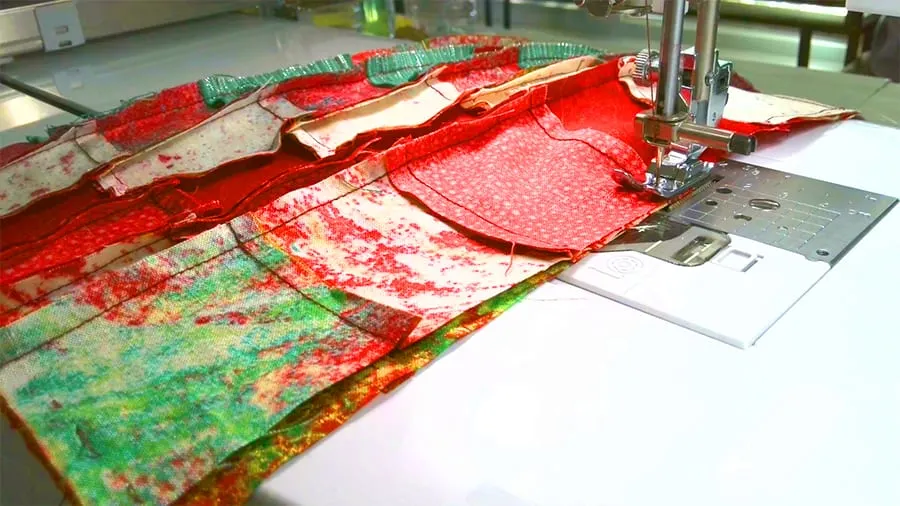
The main thing is to check if the prepared strip sets are correct rectangles and if all the strips are exactly parallel to each other. Check especially if the long edges of the prepared pieces are parallel to each other. If you see some distortion you will need to correct it before proceeding with the bargello quilting project.
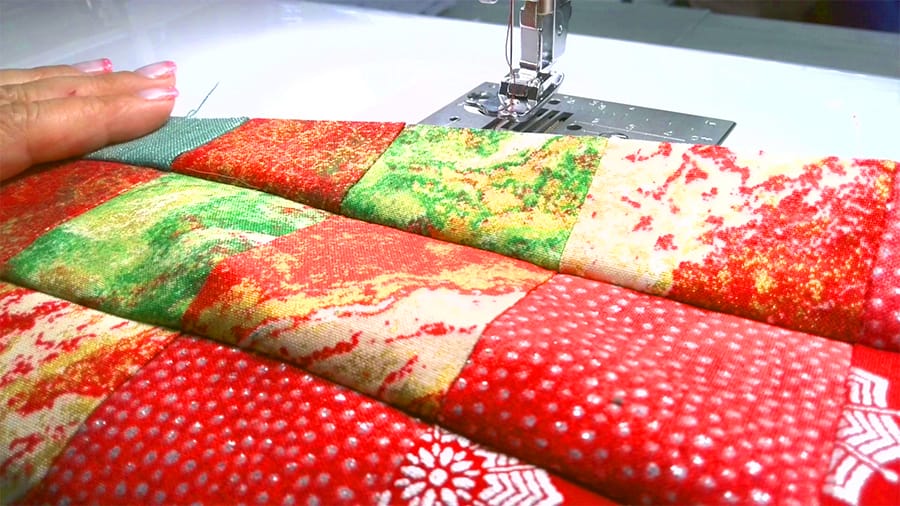
And one of my strip sets was curved after I checked it.

Why? Because I had seam puckering in one of my seams. Look at this image above: see how the seam puckers between white and red fabric strips? This happened because the red fabric was much denser than the white one, and I had to change my sewing machine settings to redo the seam.
By the way, I have the whole course on how to fix or prevent seam puckering. Check out this page if you are interested: Seam puckering: what it is, how to avoid it, and how to fix it. As you can see, it is a real problem, but easy to fix (thread tension properly adjusted).
So I had to redo this seam (ripped it first, of course, to me there is no sewing without ripping somehow).

After that, I had 2 strip sets as perfect rectangles with all the seams parallel to each other.
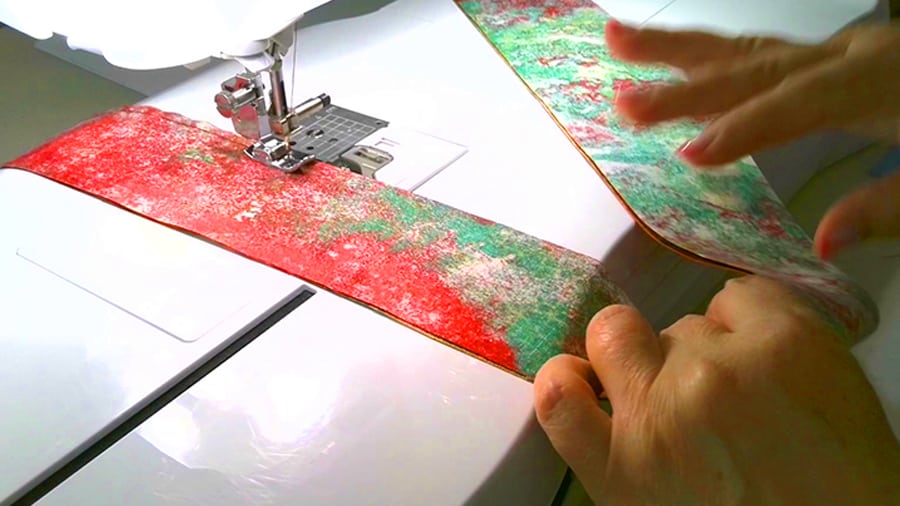
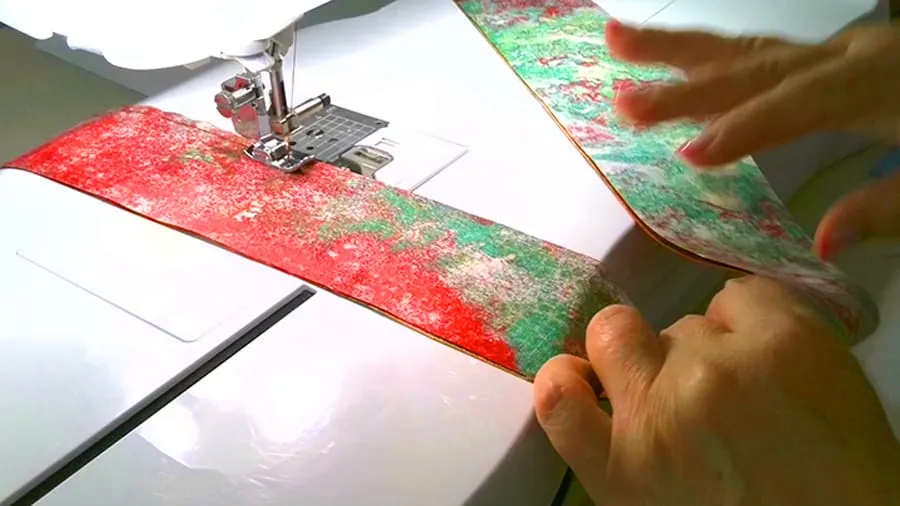
Sew the first strip to the last strip in your set
With this operation, you have effectively formed a tube. Press the seam but don’t push it to the left or to the right. Your tube now stays flat on the table and we can start the next step: cutting the processed strips.

Cut the final (processed) strips
Cut each strip set into measured rows of required sizes. According to my pattern, I had to cut only 8 strips 2.5 inches wide ( 4 for each half panel) and 34 1.5 inches wide (17 for each half panel). Well, I did that. Ha! I REALLY deserve a medal!

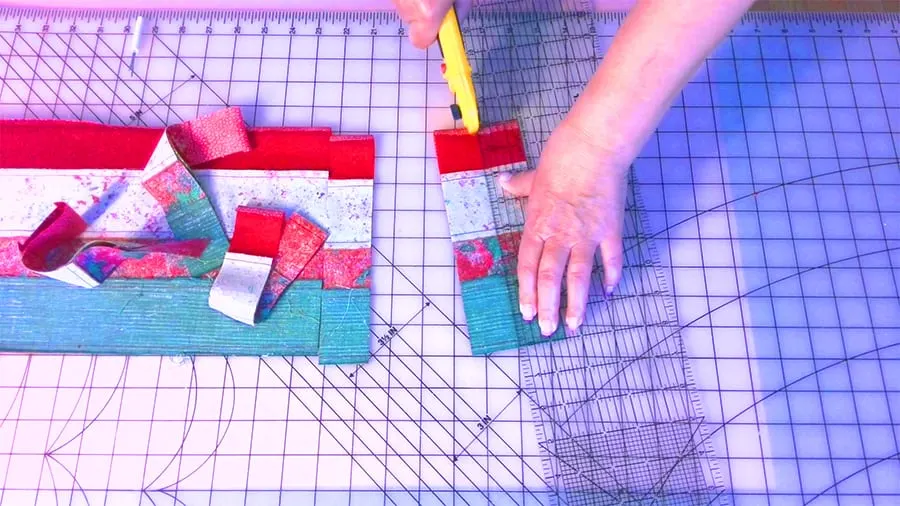
The new strips should be very straight too, so align the fold with the line on the cutting mat and use the acrylic ruler to cut the strips correctly. The main trouble at this point was to be very careful and cut all the strips exactly the same size. The next problem was to keep the fabric tube from moving. So I preferred to cut a wider strip from the beginning (5 inches for 2.5” cuts and 3 inches for 1.5” cuts) and after that cut it in half.
We are now coming to the next step:
Sew the processed strips together
I can tell you outright it’s no fun to sew so narrow strips together with quarter-inch seam allowances. But I’m getting ahead of myself! Let’s do the job, complaints, after.
Place the new strips together according to the pattern with the proper color up. You can start from the middle, or from one side – as you prefer. It is not really important where you start. I started on one side, the right side of the image below. Again, pay attention to the pattern.
You will roll the tube so that the correct color comes up at the top, then lie it flat back on the table. When all the strips have been arranged, we need to pluck apart the seams in the correct places. This is at the bottom of the tube in the image below. After that, the processed strips will lie flat on the table in the final pattern.

How to sew the strips together: we have all the processed strips on the table, right side up. Let the leftmost strip where it is, and put the second strip over the first, right side to the right side (you will see the wrong side of the second strip on the top). Then sew the left side of the two strips with the ¼” allowance.
I thought from the beginning that it will be very hard to nest the small seams exactly in the corners but it was surprisingly easy because they were placed in opposite directions and it helped a lot. I was really surprised to see that all corners are aligning so nicely without too much work from my side.
Finger press seam allowances. I used my wood presser – such a small tool but so useful! And it saw a lot of use for this pattern. Repeat the steps until all strips have been sewn together.
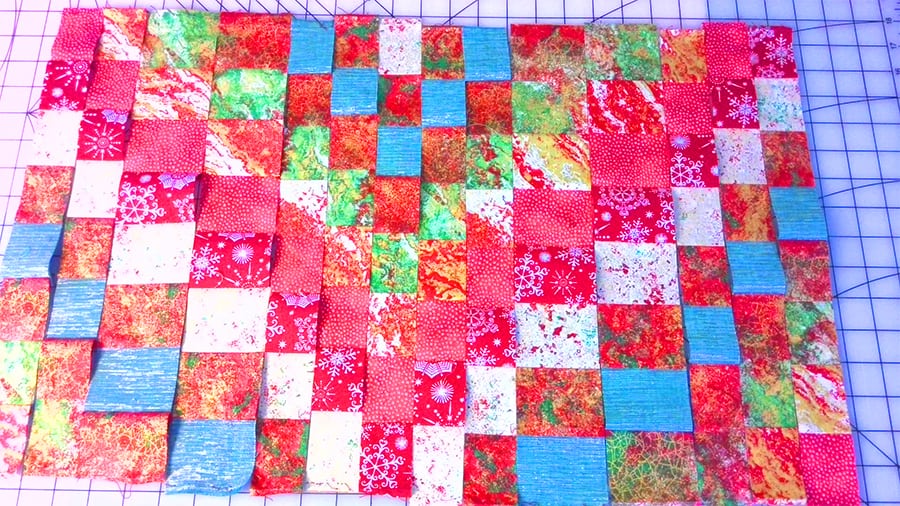
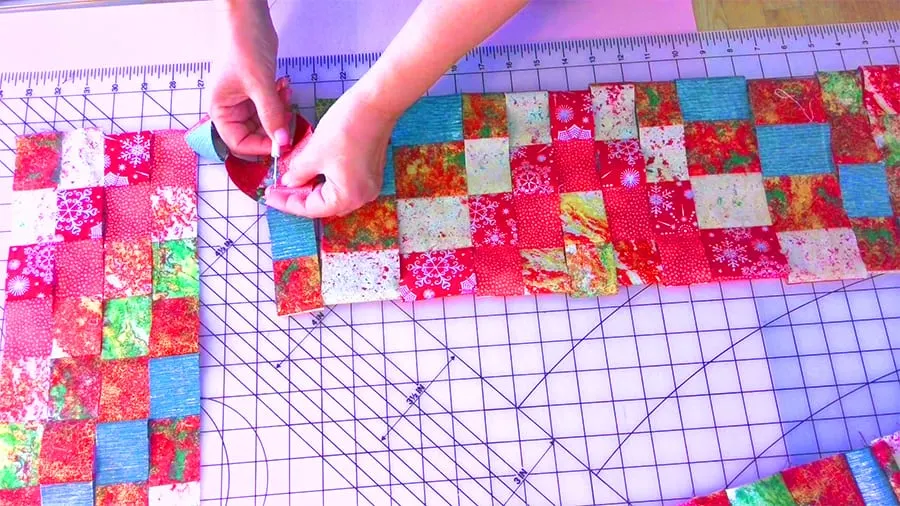
See below what the half-panel looks like, right side up. Look – all corners are aligned very well.

Now we have to press the strip sets with a hot iron. We have obtained the half-panel! In the image below you can see the two half panels ready to be assembled.
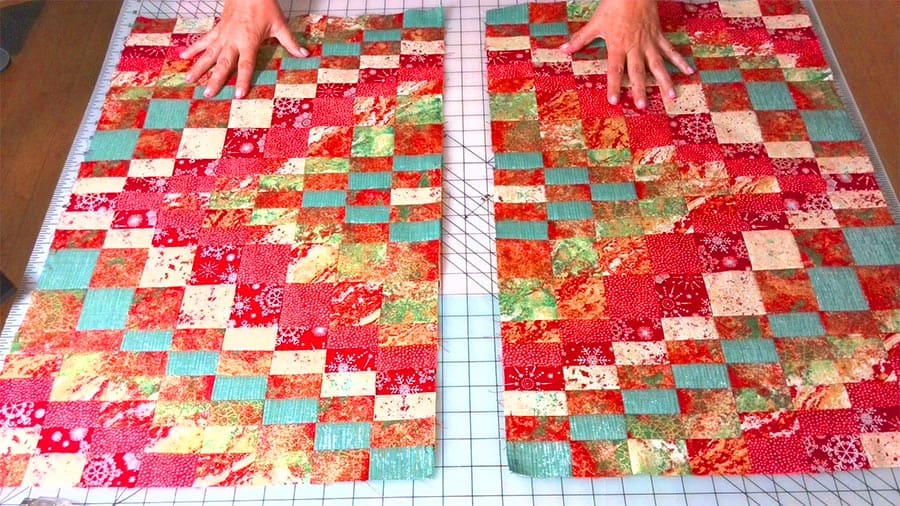
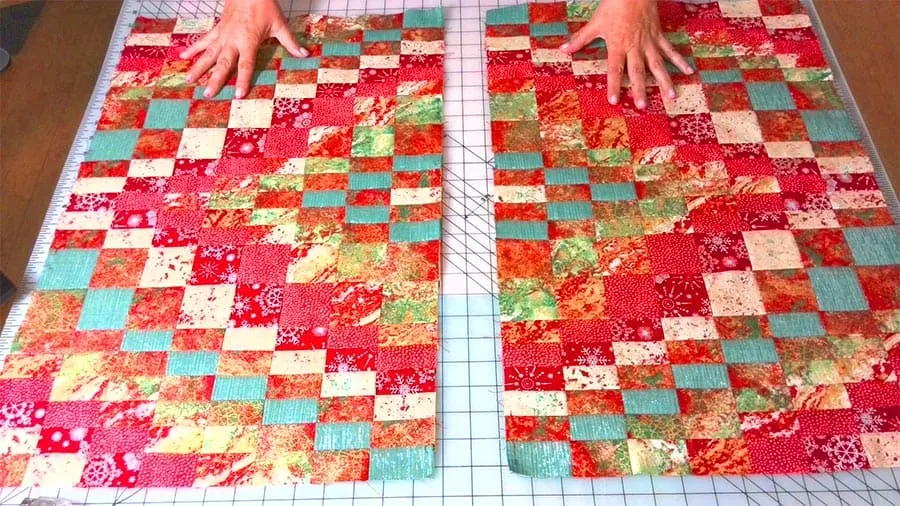
They have to be proportional rectangles and if the cutting and sewing were done correctly, they should align without any problems.
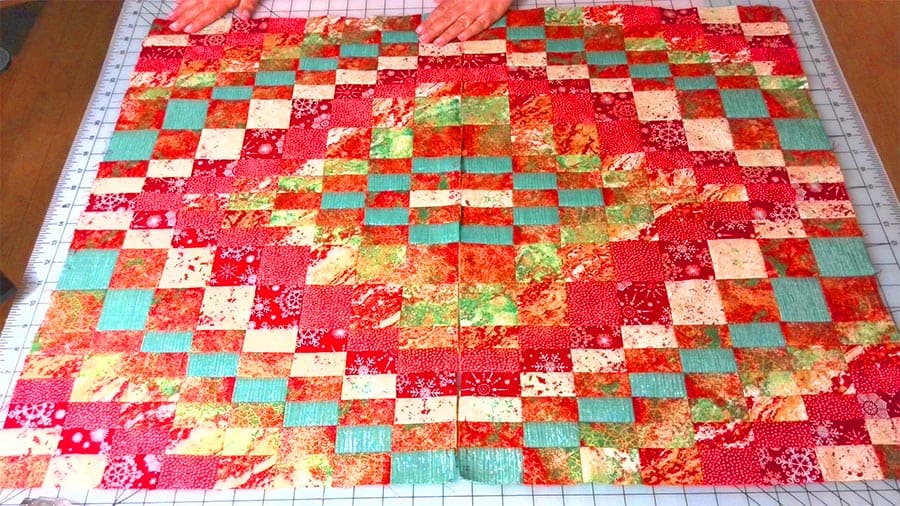
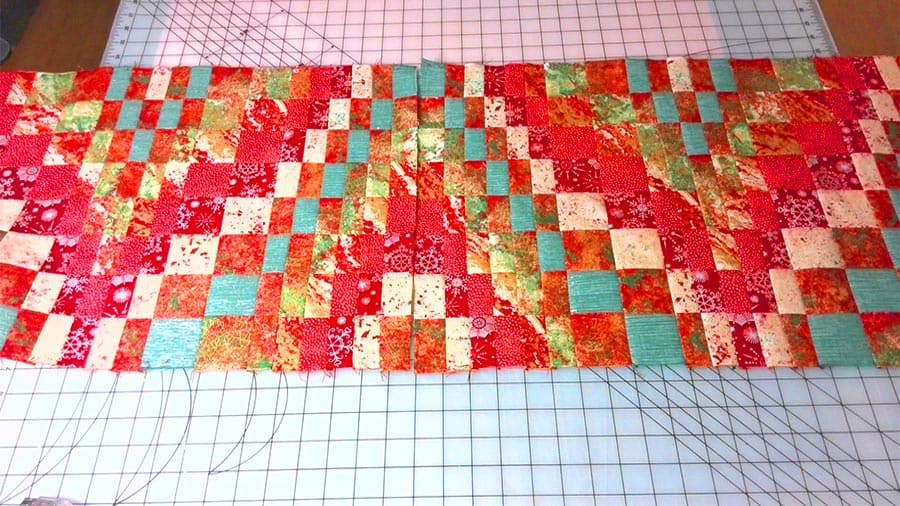
Sew the strip sets together according to the pattern
The pattern requires that the half panels should be sewn as in the image above, however, I decided that I would prefer a runner that is longer and narrower so I decided to sew them together on the short side.
Note: the patterns will still align properly if the cutting and sewing were done correctly.

Finish the quilt
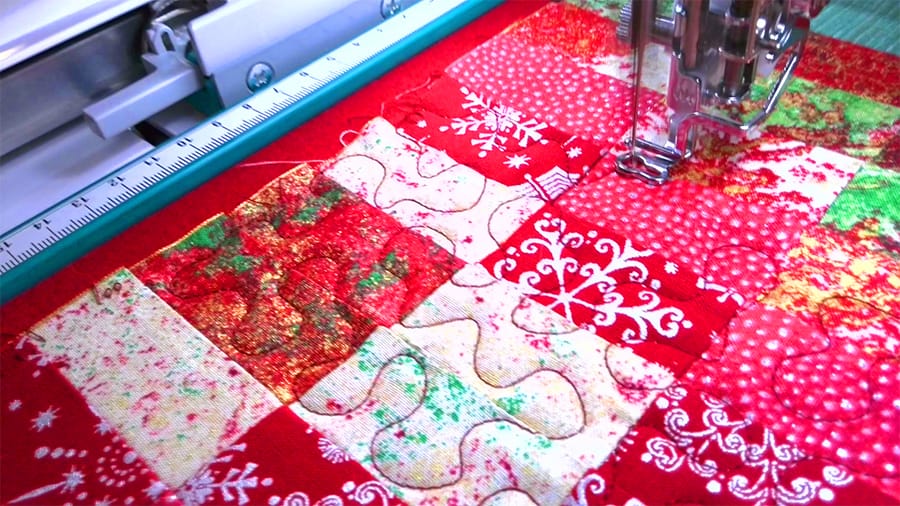
I will not explain in detail how to finish the quilt, this is a different subject that I may deal with separately. Suffice to say, at this point, we need to sandwich together the quilt top, the batting, and the backing and then quilt it.
I used my embroidery machine to quilt 8 x 8 inches squares with a stippling pattern. I used a magnetic embroidery frame.

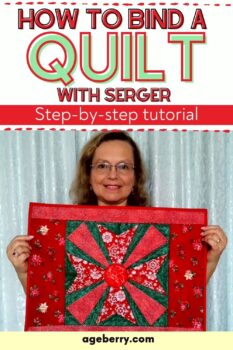
Bind the quilt
I like to bind the quilt with my serger. If you would like to know how to bind a quilt with a serger check out my tutorial Making quilt binding with a serger.

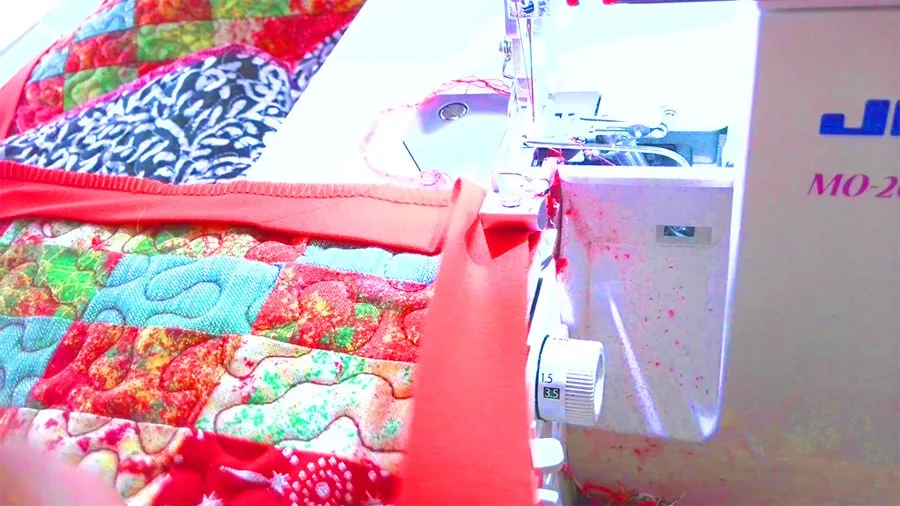
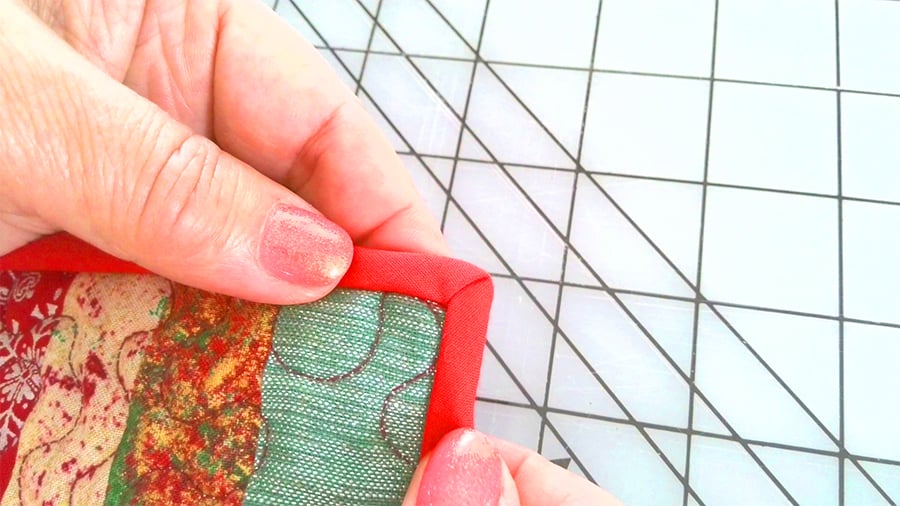
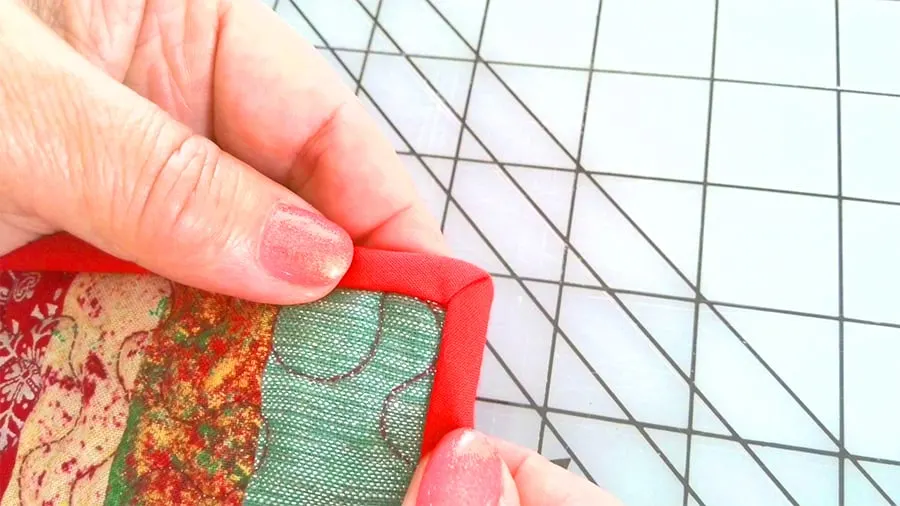
The binding, in this case, has perfect mitered corners and they are so easy to make too.
I like to finish the binding by hand sewing using an invisible stitch.
Done! That was easy, right?
Did you find this tutorial helpful? If so, save this pin (see below) on your sewing board so you can come to this tutorial later when you are ready to make a Bargello quilt, and follow me on Pinterest for more tips, tutorials, and inspiration!


latest posts
- Think You Know Zippers? This Installation Guide Might Surprise You
- Why Does Your Seam Ripper Have a Red Ball? Discover Its Purpose!
- Topstitching Troubles? This Simple Trick Will Turn It Around Instantly!
- How to Sew Shirring: A Step-by-Step Guide to Elastic Thread Gathering
- Are Self-Threading Needles Really Useful?
- Amazon Spring Sale: Best Choices
- Elevate Your Prom Look: A Guide to 10 Neckline Choices (2024)
- No Pattern, No Problem: Turn Scraps into a Quilting Masterpiece
- Prom Perfection: A Guide to Choosing the Perfect Dress Color (2024)
